How to allow arbitrary Widget content to be added to sections of your WordPress theme

When you use WordPress to house your thoughts, you get the flexibility to update sections of your WordPress site through the WordPress dashboard.

For example, I can change the content within the sticky portion of my sidebar as and when I need to. Such content can be provided through the various WordPress Widgets that are available in my WordPress installation.

So how can we mark sections of our WordPress themes for displaying Widget content?

With this in mind, let us look at how we can allow arbitrary Widget content to be added to sections of our WordPress theme via the WordPress dashboard.
How to make a portion of your sidebar sticky as you scroll till the footer of your web page with jQuery and some CSS styles

You want a portion of your sidebar to stick as you scroll down your web page.

When you reach the footer of your web page, you want that portion to stop just above the footer of your web page.

In this case, you can use jQuery to help you achieve this behaviour.

Given that, this post shows how to make a portion of your sidebar sticky as you scroll till the footer of your web page with jQuery and some CSS styles.

How to make applications on your Windows 10 laptop use the camera and microphone of your webcam

One of the demo stations in my office needs to run applications that receive video and voice from the user. Since we have several Windows 10 laptop lying around, we decided to use one to run the applications.

Given that the Windows 10 laptop is to be hidden in a cabinet, I need to use an external webcam with microphone.

However, the integrated camera and microphone can be chosen by the applications that I run on that laptop.

So how can we make applications on a Windows 10 laptop to use the camera and microphone of your webcam?

This post shows how I made applications on my Windows 10 laptop use the camera and microphone of my Logitech C525 HD Webcam.

How to send a HTTP request with client certificate + private key + password/secret in Python 3

When we need to create a HTTP client that communicates with a HTTP server through certificate-based authentication, we will typically have to download a certificate, in .pem format, from the server.

After we had downloaded the .pem file, the HTTP client will use the private key and certificate to authenticate itself with the HTTP server. Sometimes, the HTTP client will need to decrypt the private key with a password/secret first.

So with a .pem file and a password/secret, how can you create a HTTP client in Python 3 to send a HTTP request to the HTTP server?

In case you need it, this post shows how to send a HTTP request with client certificate + private key + password/secret in Python 3.

How to solve “No API definition provided” error for Flask-RESTPlus app on Cloud Foundry

When you create an API endpoint that generates a QRCode with Flask-RESTPlus, you may want to deploy it onto Cloud Foundry.

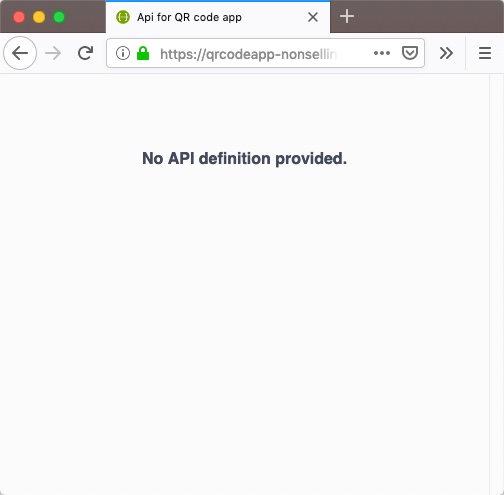
However, when I first tried to do so, I was greeted with a No API definition provided when I accessed the Swagger Api portal page.

qrcodeapp showing No API definition provided

So why is there a “No API definition provided” error for Flask-RESTPlus app on Cloud Foundry?

In case you are facing such a problem, this post discuss how I had managed to solve the “No API definition provided” error for my Flask-RESTPlus app on Cloud Foundry.

How to use NSSM to setup Jupyter Notebook as a Windows Service running its own Python 3 virtual environment

When you take Andrew Ng’s Deep Learning Coursera course, you can get a better understanding of deep learning. In addition, you will get many Jupyter Notebook documents that you can reference while building models that can solve interesting problems.

When you want to readily access those documents, you can setup Jupyter Notebook as a Windows Service on your Windows machine.

As I had mentioned in how to use NSSM to run a Python 3 application as a Windows Service in its own Python 3 virtual environment, NSSM is a very helpful tool for us to create Windows Services.

Since we can install Jupyter Notebook via pip, we can run Jupyter Notebook from its own virtual environment. In addition to that, since we can create a Python 3 virtual environment in Windows 10, we can setup Jupyter Notebook as a Windows Service running its own Python 3 virtual environment.

Given these points, let us look at how we can use NSSM to setup Jupyter Notebook as a Windows Service running its own Python 3 virtual environment.

How to use NSSM to run a Python 3 application as a Windows Service in its own Python 3 virtual environment

If you want to run a Python 3 application as a Windows Service, then you are going to love NSSM. Since NSSM handles the life cycle of a Windows Service for our Python 3 application, we can keep it platform agnostic.

Previously, we saw how we can use a Python 3 virtual environment in Windows 10. Given that, let’s see how we can use NSSM to run a Python 3 application as a Windows Service in its own Python 3 virtual environment.

How to write a C# program to communicate with an ESP32 development board via Bluetooth Serial

Coupled with Bluetooth Serial and GPIO pins, ESP32 can augment a Windows machine with the ability to read from sensors.

So with an ESP32 development board, you can turn your old Windows machine into an IOT gateway that can sense its operating environment.

Given these points, let us look at how we can write a C# program to communicate with an ESP32 development board via Bluetooth Serial.