How I use my Raspberry Pis to help me work on with my side projects
Undeniably, Raspberry Pi has revolutionised the way we use computing technology in our lives. In addition to being energy efficient, a Raspberry Pi is a single board computer that does not take up too much space.
Given these points, a Raspberry Pi is an ideal programmer gift and one of the things that you should buy if you are a computer programmer.
On the other hand, pursuing side projects help me explore technologies that I may not be able to explore at work. For example, through Techcoil, I got to know more about:
- web development with the LEMP stack,
- building and deploying solutions based on Raspberry Pi,
- using Python for building things,
- running a blog as a programmer
In case you are wondering how to use Raspberry Pis to help you work on your side projects, read on to find out more.
Setup a Raspberry Pi 3 reverse proxy server
Many of the applications that I deployed at home are web applications. Although I am only given one public IP address for my Internet subscription, the HTTP protocol allows for a single web server instance to respond to requests directed at different domain names.
In short, a reverse proxy server is that web server instance that can be configured to look at the Host header in each HTTP requests for a domain name. Given that Host header, it can then reroute the HTTP requests to different web servers in the same network. Therefore, with a reverse proxy server, we can host multiple websites from home.
Given these points, setting up a Raspberry Pi 3 reverse proxy server is the first step that I did to facilitate the deployment of multiple web applications on Raspberry Pis or other computers. In addition to that, I configured my router to forward port 80 and port 443 of the public IP address to the private IP address of my Raspberry Pi 3 reverse proxy server.
Since I have bought a Synology DS418 NAS, I also configured my Raspberry Pi 3 reverse proxy server to proxy HTTP requests to my Synology DiskStation Manager.
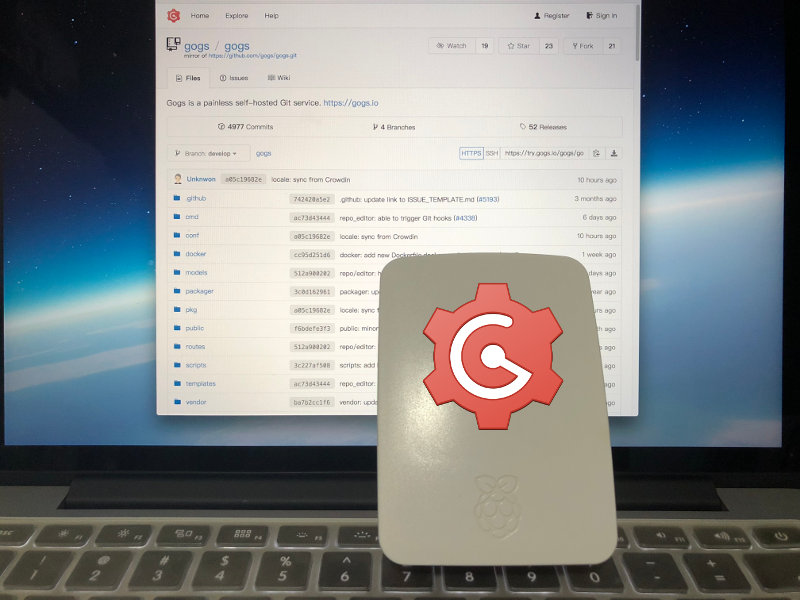
Setup a Raspberry Pi git server
Since a git server can help to keep track of code changes, it is a helpful tool for my software projects. Therefore, I also setup a Raspberry Pi 3 git server with Raspbian Stretch Lite and Go Git Service (gogs) to help me manage the codes for my software projects. Since Go Git Service is created with the Go programming language, it performs really well on a Raspberry Pi 3.
In case you only have a Raspberry Pi Zero W with you, you can setup a Raspberry Pi Zero W git server with Raspbian Stretch Lite and Go Git Service (gogs) that perform decently as well.
By setting up my own Raspberry Pi 3 git server, I get a real private git server that allows me to create as many project repositories as I like at low running cost.
Setup a Raspberry Pi project management platform
Ever experienced constant procrastination when it comes to realising a side project? I used to face such problem and it takes eons to progress.
The thing about side projects is that I have the luxury of delaying it and not working on it. Even if I had managed to seat myself down to work on my side projects, I could face a lack of ideas for execution. On the other hand, when ideas come to me, I am often in the situation of not being able to work on them.
That's why I setup Taiga project management platform on my Raspberry Pi 3 to help me capture tasks for a later date when I get more bandwidth to execute them.
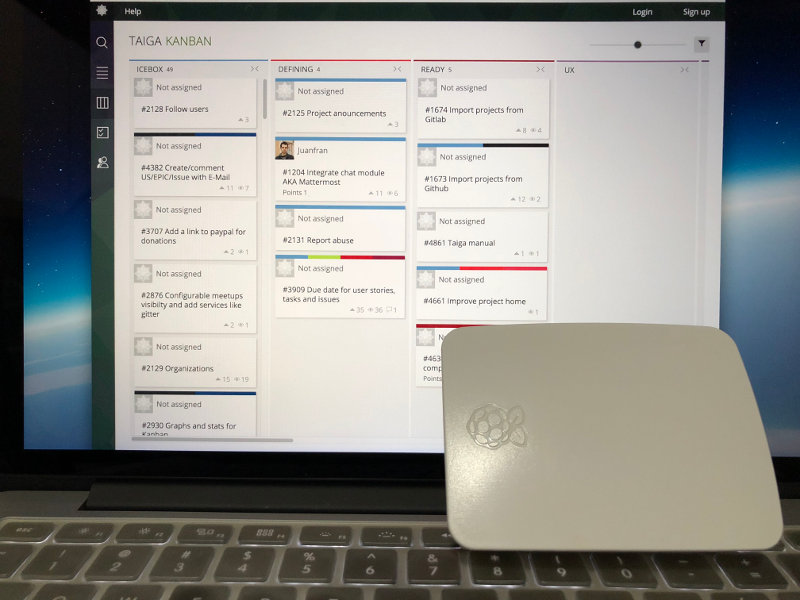
How I use the Taiga Kanban board for my side projects
Since I am the sole executor for most of my side projects, I use the Kanban board to keep track of action items that I generate on the go. In addition, I park my action items into bucket lists depending on the type of work that I want to do for a side project.
Structuring my Kanban board
For example, the Kanban board for my blog looks like this:
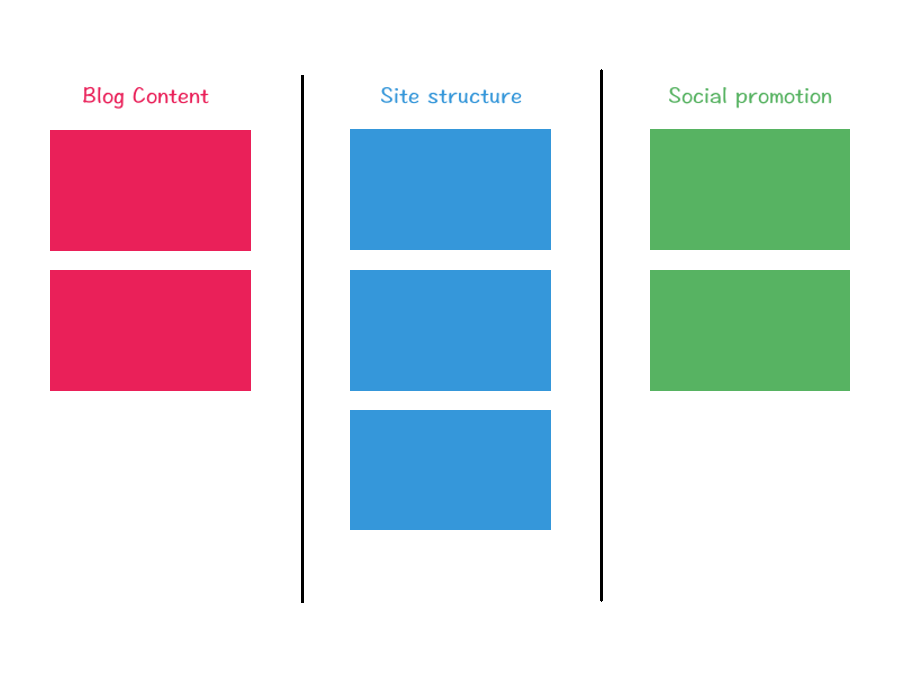
The action items are created and placed into the respective bucket lists - Blog Content, Site Structure and Social Promotion.
The Blog Content bucket will keep action items for the creation of blog posts.
The Site Structure bucket will keep action items for tweaking the visual elements of the website, creating of new web pages, creating custom page templates in WordPress and etc.
The Social Promotion bucket will keep action items for promoting my blog content on social media.
Marking work progress for action items
I mark those tasks as being worked on by assigning myself to the action items. Those action items that I am not working on are left without assignees.
Working on action items
Once I had an idea of what to work on during longer sessions of free time, I will close the board to avoid the temptation to work on multiple action items at once.
Setup a Raspberry Pi Web IDE
A Web IDE allows me to write code with a browser that is connected to the Internet. Anticipating that I could need to write code with a browser, I setup a Raspberry Pi 3 Web IDE with Raspbian Stretch Lite, Nginx, Codiad, PHP and MariaDB.
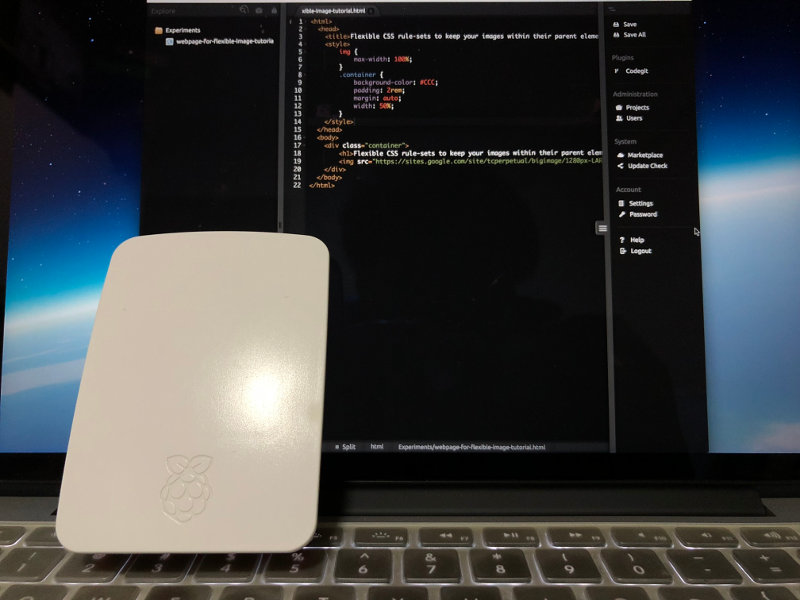
Indeed, this setup was particularly useful when it comes to creating microsites. For example, I built my creativity portfolio with my Raspberry Pi 3 Web IDE.
Since a Web IDE is accessible with a browser, I can easily resume work on a project from a computer that does not have any coding tools.
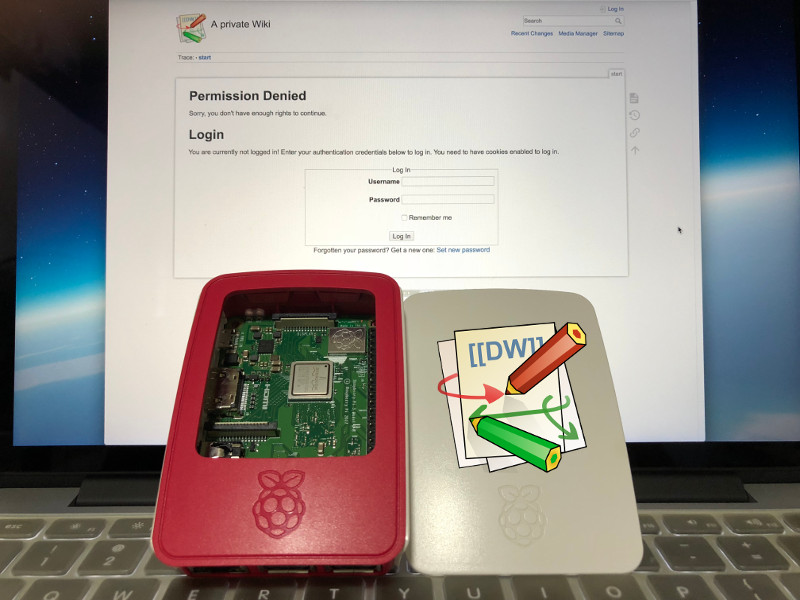
Setup a Raspberry Pi Wiki site
While the Taiga project management platform helps me create actionable items for my side projects, a Wiki help me document the storylines for these side projects. With that, I setup a Wiki site on a Raspberry Pi 3 with Dokuwiki, Raspbian Stretch Lite, Nginx and PHP.
Whenever I forget why I had created a particular action item for a side project, I will look up the project storyline to help me remember the key details of that task.
Setup a Raspberry Pi WordPress site
Undeniably, WordPress is one of the most powerful blogging platform for programmers to express their thoughts. By setting up WordPress on a Raspberry Pi 3, I can try out a new blog topic before spending money to host it on a cloud infrastructure service like DigitalOcean.
Apart from staging a new blog, I also use a Raspberry Pi 3 WordPress instance as a development site for Techcoil. Whenever there is an action item for changing the site structure, I will work on the item with this development site before putting the changes online.
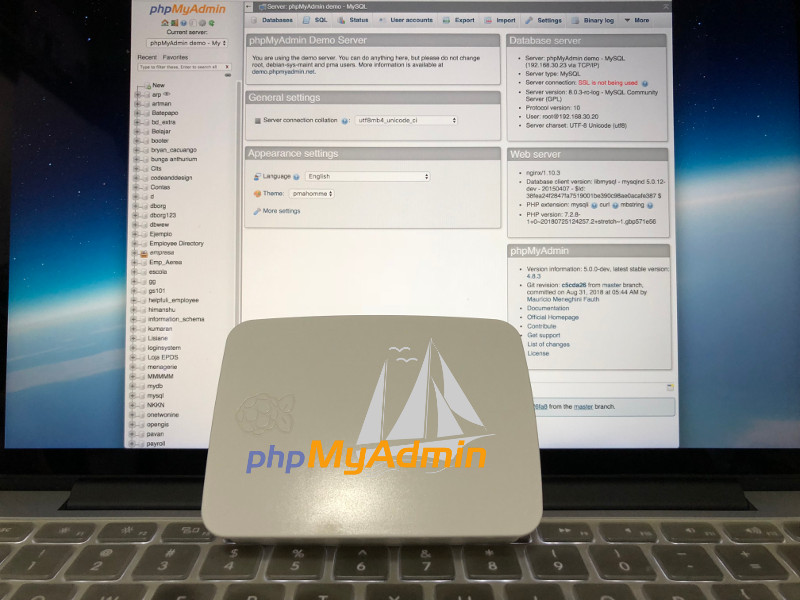
Setup phpMyAdmin on Raspberry Pi 3
In order to refresh the WordPress content of my development site to mirror that of my online site, there will be several database changes needed for the development site.
Therefore, I setup a phpMyAdmin instance on the Raspbian Stretch Lite, Nginx, MariaDB / MySQL and PHP 7 LEMP stack that my WordPress site is hosted at to make it easier to perform those database changes.
What to get for implementing your own Raspberry Pi to help you in your side projects?
In case you do not own a Raspberry Pi yet, I will recommend that you setup these productivity applications on a Raspberry Pi Model 3B+. The following are some Raspberry Pi Model 3B+ builds that you may want to consider getting:
- V-Kits Raspberry Pi 3 Model B+ Basic Starter Kit and Sandisk Ultra 32GB Micro SDHC UHS-I Card with Adapter - 98MB/s U1 A1
- CanaKit Raspberry Pi 3 B+ (B Plus) with Premium Clear Case and 2.5A Power Supply and Sandisk Ultra 32GB Micro SDHC UHS-I Card with Adapter - 98MB/s U1 A1
- NeeGo Raspberry Pi 3 B+ (B Plus) Basic Kit Pi and Sandisk Ultra 32GB Micro SDHC UHS-I Card with Adapter - 98MB/s U1 A1
If you do not like the hardware combination in the kits, you may want to take a look at our Raspberry Pi 3 buying guide to mix and match different Raspberry Pi 3 components for your project.
