How to associate a virtual environment with a Python project in PyCharm
When it comes to Python development, PyCharm is my favourite IDE.
Before working on a new Python project, I like to create a virtual environment and associate it with the corresponding PyCharm project. In case you like this mode of operation, this is how you can associate a virtual environment with a Python project in PyCharm.
Creating a virtualenv environment for a new Python 3 project
First, let us create a virtual environment for that new Python 3 project.
Since Python 3.5, the recommended way to create a new virtual environment is through the venv module within Python 3.
When we have a version later than Python 3.5 installed on an linux environment, we can run the following command to create a virtual environment:
python3 -m venv proj_1_venv
After the command completes, you will find the proj_1_venv folder in your current working directory. Inside proj_1_venv folder, you will find a bin folder that contains the Python binary and scripts to activate and deactivate the virtual environment.
Associating a virtual environment during PyCharm project creation
To associate a virtual environment durung PyCharm project creation, you can go through the following screens:
Click on Create New Project

Select Existing Interpreter and click on ...
Click ... to select a Python Interpreter
Include the path to proj_1_venv/bin/python and click OK
Click OK to confirm the virtual environment selection
Click Create to create a new PyCharm project
Associating a virtual environment to an existing PyCharm project
To associate a virtual environment to an existing PyCharm project, you can go through the following screens:
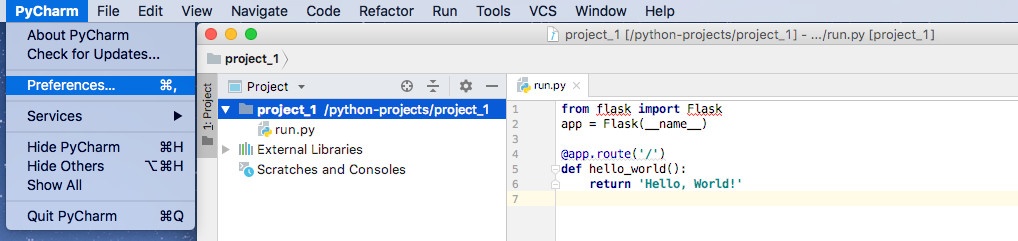
While your project is selected, click on PyCharm -> Preferences...
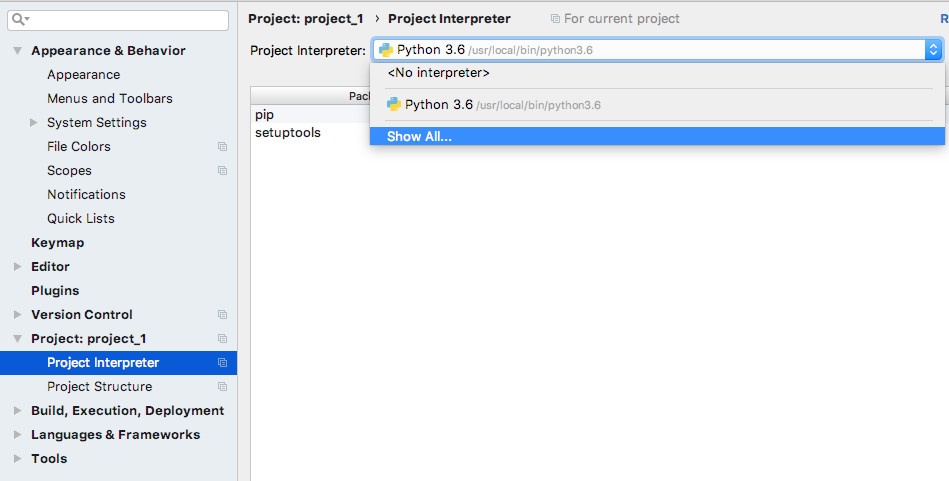
In the Preferences window, select Project Interpreter for your project
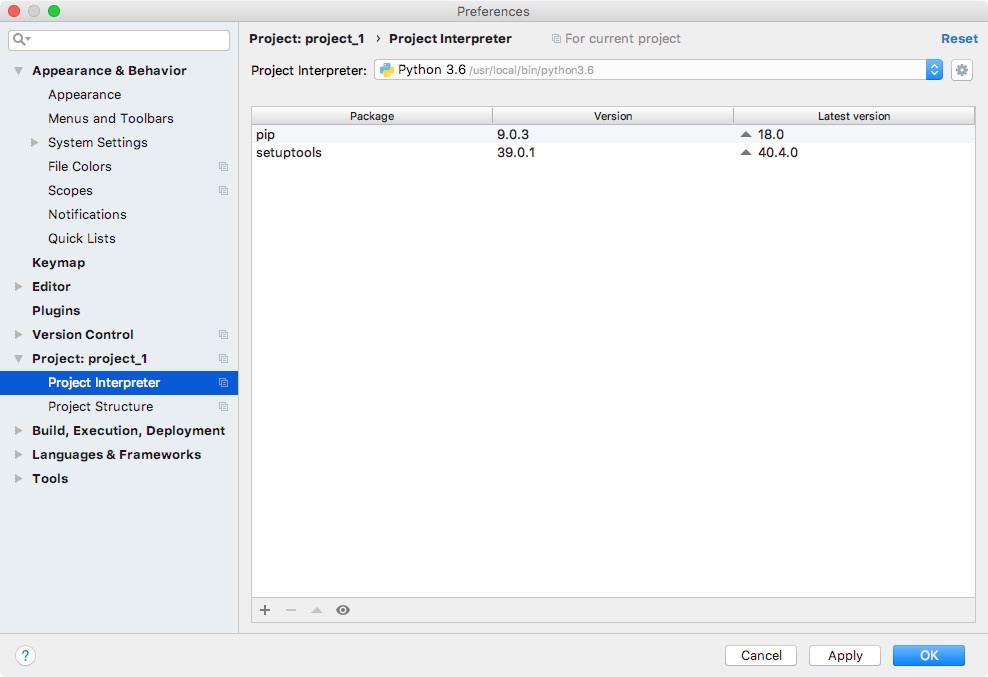
Click on the Project Interpreter dropbox and then click on Show All...
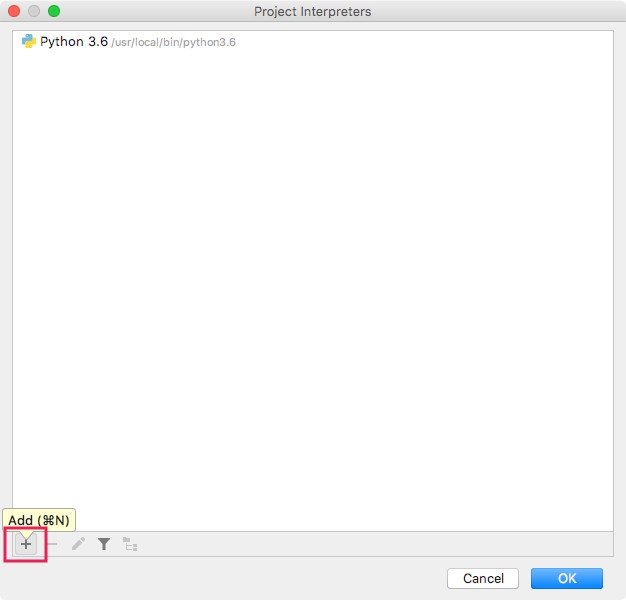
In the Project Interpreters Dialog, click on +
Select Existing Interpreter and click on ...
Click ... to select a Python Interpreter
Include the path to proj_1_venv/bin/python and click OK
Click OK to confirm the virtual environment selection
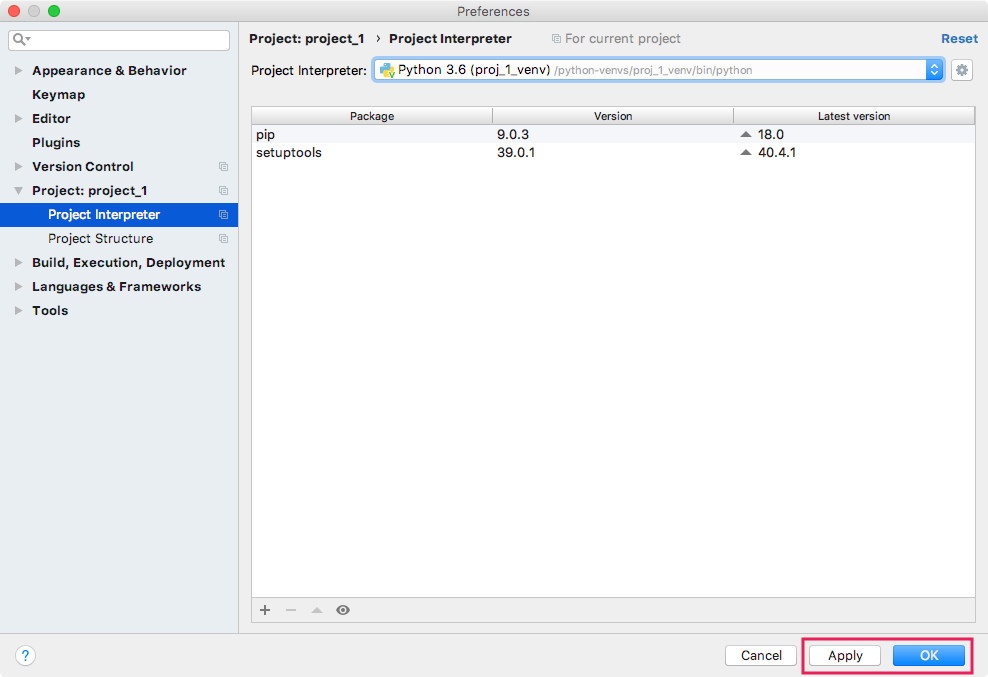
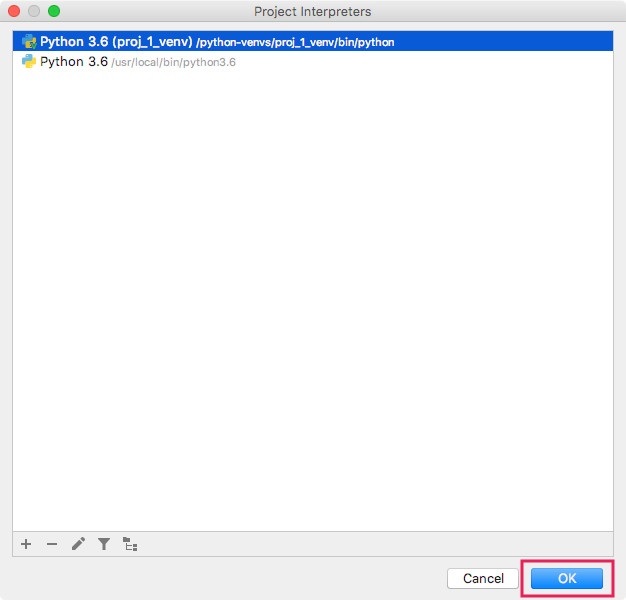
Click OK to select the associated virtual environment for your project
Click Apply then OK to confirm the virtual environment for your project