Quick References

As a constant learner, I get to touch upon many ideas in different areas. This category is for me to capture those ideas which I felt people may reference to get ahead of their tasks. Most of the time, I do come back to this section of my blog to remember what I had learnt in the past.

How to setup Raspbian Stretch on Raspberry Pi 3 for developing Python 3 applications

Previously, I had shared:

Although Raspbian Stretch Lite is ideal for running Python 3 applications on Raspberry Pis, it is not so handy for developing Python 3 applications.

For example, if you are building a Python application that interfaces with the GPIO ports and CSI camera of your Raspberry Pi 3, it is hard to test it out on Raspbian Stretch Lite.

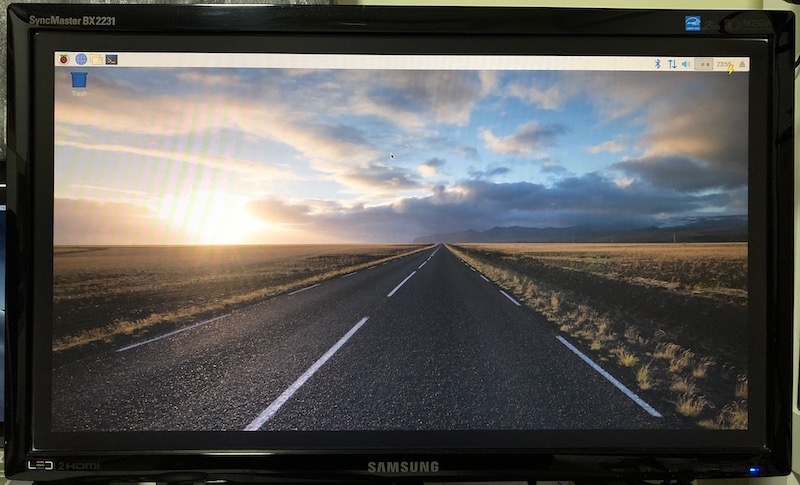
Since Raspbian Stretch includes a desktop environment, it is more convenient for developing Python 3 applications for Raspberry Pi. With this purpose in mind, this is how to setup Raspbian Stretch on Raspberry Pi 3 for developing Python 3 applications.
How to create a virtual environment for your Python 3 application with python3-venv in Linux or Unix

The python3-venv module allows us to create lightweight “virtual environments” with their own site directories, optionally isolated from system site directories. Given that, we will be able to run multiple Python 3 environments with varying dependencies on the same computer.

This post shows how to create a virtual environment for your Python 3 application with python3-venv in Linux or Unix.

How to make your Raspberry Pi fill up your entire monitor screen by disabling overscan in Raspbian Stretch

After you had booted up Raspbian Stretch for the first time, you may notice that your Raspberry Pi does not fill up your entire monitor screen:

Raspbian Stretch 20181113 not filling entire computer screen

In such a situation, the overscan function in Raspbian could be what you should disable. Given that, this post shows how to make your Raspberry Pi fill up your entire monitor screen by disabling overscan in Raspbian Stretch.

How to setup Jupyter Notebook on Ubuntu 16.04 of your Nvidia Jetson TX2 developer kit

When you want to quickly test out your machine learning algorithm, you can create Python 3 notebooks via Jupyter Notebook.

Therefore, Jupyter Notebook is one of the things that you may want to setup after getting started with your Nvidia Jetson TX2 developer kit.

With this in mind, this post shows how to setup Jupyter Notebook on Ubuntu 16.04 of your Nvidia Jetson TX2 developer kit.

How to use a Python 3 virtual environment in Windows 10

When you need each Python 3 application that you are building to run in its own isolated environment, you can turn to virtual environments.

Since Python is available on Windows 10, you can also use virtual environments on Windows 10.

Typically, using a Python 3 virtual environment in Windows 10 involves the following steps:

  1. Installing Python 3 with pip and several features.
  2. Creating a Python 3 virtual environment with Python 3 venv module.
  3. Activating the Python 3 virtual environment.
  4. Installing Python 3 packages that your Python application is using into the virtual environment.
  5. Running your Python 3 application within the Python 3 virtual environment.
  6. Deactivating the Python 3 virtual environment.

Enabling ESP8266 Development on Arduino IDE

Undeniably, the ESP8266 NodeMCU LUA Development Board is cost efficient for IOT solutions. Available at a low price point and built-in WiFi, we can easily get sensor readings and make them available on the Internet.

In order to run our program on ESP8266 NodeMCU LUA Development Board, we will need to write our program into the flash memory of the development board. Since it is easy to write code and flash programs with Arduino IDE, it is a good tool to use with the ESP8266 NodeMCU LUA Development Board.

In case you are looking for a reference to enable ESP8266 development on Arduino IDE, this post shows how you can do so.