How to use a Raspberry Pi Zero W?
After figuring out why you will want to get a Raspberry Pi Zero W, you may wonder how you can use it.
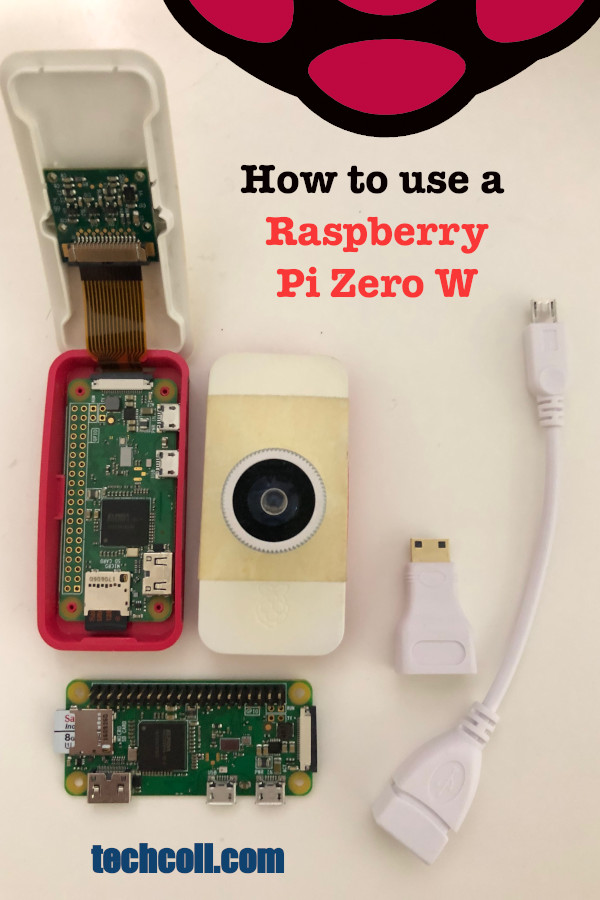
Given that, this post shows how you can use a Raspberry Pi Zero W in your next IoT project.
At a glance, using a Raspberry Pi Zero W involves the following steps:
- Getting a Raspberry Pi Zero W board with or without GPIO header
- Using a camera with your Raspberry Pi Zero W
- Getting GPIO extensions for your Raspberry Pi Zero W
- Buying or building a case for your Raspberry Pi Zero W
- Displaying HDMI output of your Raspberry Pi Zero W onto a monitor screen
- Connecting USB peripherals to your Raspberry Pi Zero W
- Buying the microSD card to install the operating system to run your Raspberry Pi Zero W
- Deciding on the operating system to run on your Raspberry Pi Zero W
- Bringing your Raspberry Pi Zero W to life
- Configuring your Raspberry Pi OS
- Installing applications that others had built
- Using a programming language to build your own application
- Running your application as a daemon
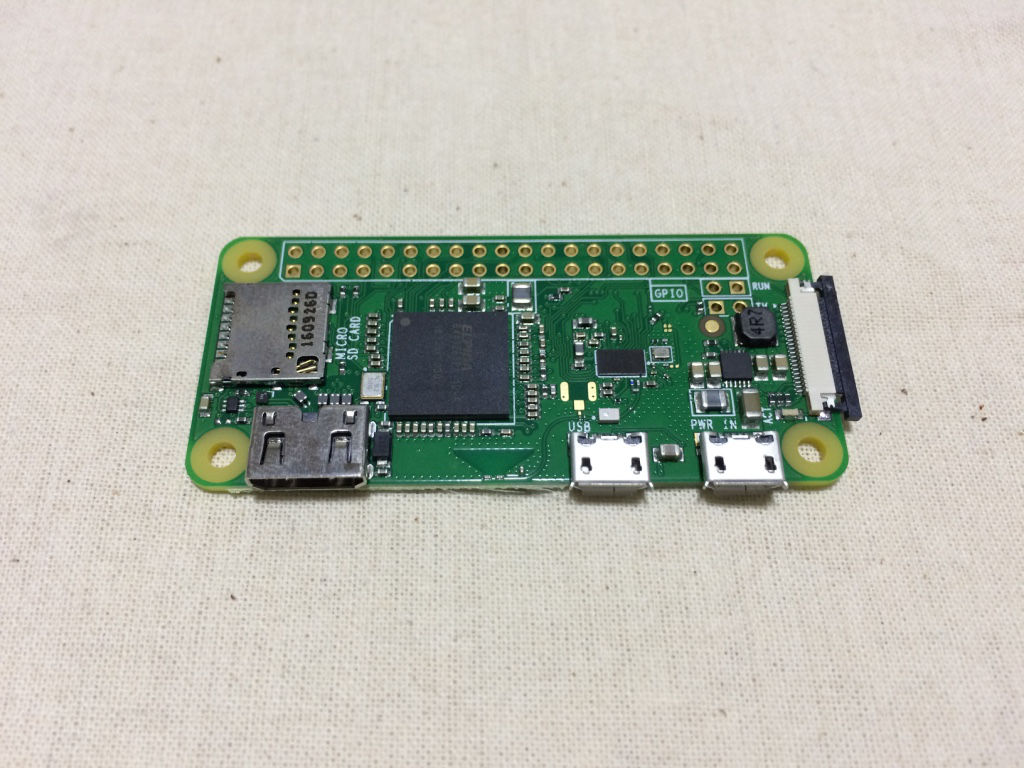
1. Getting a Raspberry Pi Zero W board with or without GPIO header
When you are not sure whether you need the GPIO header pins, you can buy one without the pins first. If your board don't have a GPIO header, then your IoT project can take a smaller form factor.
If you need to connect to the GPIO pins, then you can have the flexibility to do so later.
Since there are metal conductors at both sides of the board, you can solder header pins on either side.
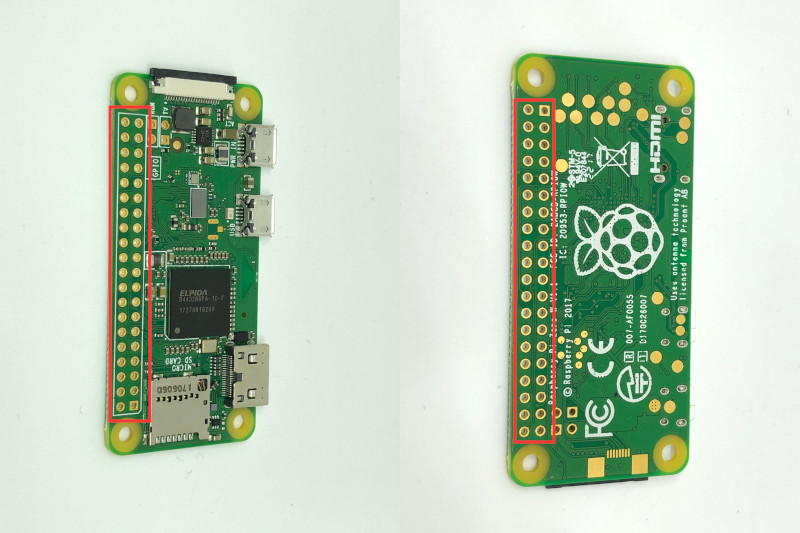
In addition, you can choose the type of header pins. For example, you can choose to solder male or female GPIO header on the top or bottom of the board.
If you are only using a few of the GPIO connections, then you may solder the wires directly onto the connection points.
2. Using a camera with your Raspberry Pi Zero W
If you are going to capture images with your Pi Zero W, then you will need a camera.
Since there is a Camera Serial Interface (CSI) on your Pi Zero W, it is best to get a camera to connect to that interface.
In order for such a camera to connect to your Raspberry Pi Zero W, you will need a cable like this. If you are getting a Raspberry Pi Zero W kit or the official case, then a cable may be included in the package.
In case you are wondering, this is how a CSI camera is connected to the Raspberry Pi Zero W board: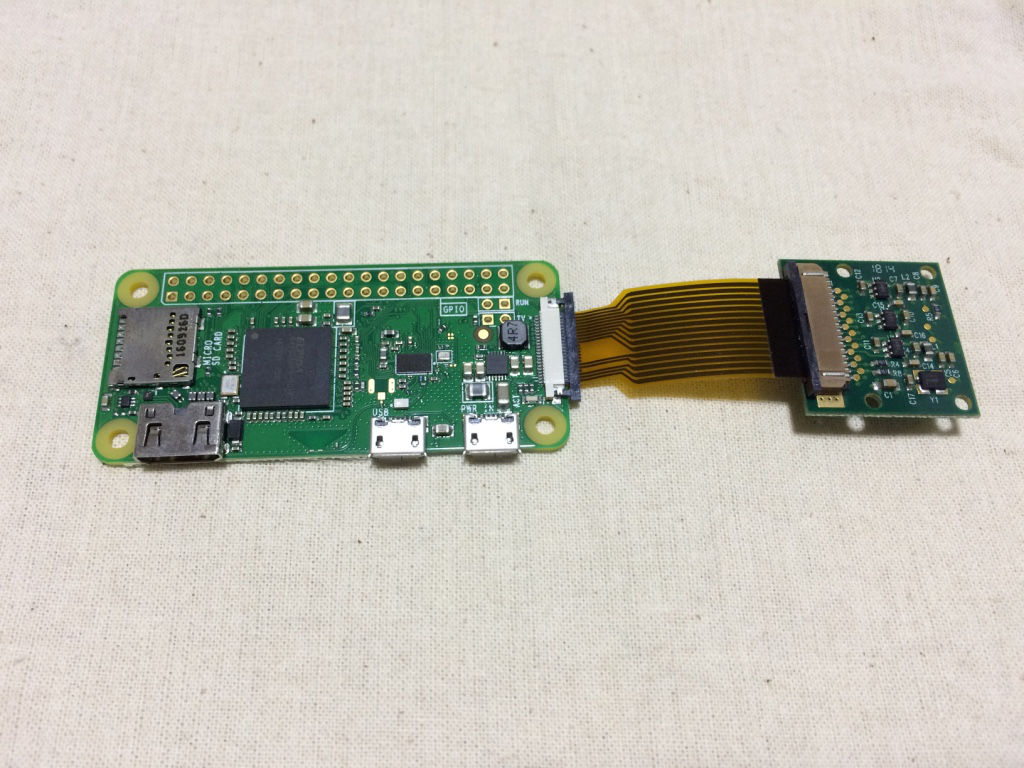
Given that you have the ribbon cable, there are several types of camera that you can use:
- Raspberry Pi Camera Module V2
- Raspberry Pi Camera Day & Night Vision
- Arducam Noir Camera
- Arducam Auto Focus Pi Camera
- Raspberry Pi 8MP Camera IMX219 Sensor Wide Angle 160 Degrees Fov Camera Module Replacement + Raspberry Pi Camera Module V2
Bear in mind that the camera you choose affects the kind of case that you can buy.
If you choose a camera with augmented lens or peripherals, then you will probably have to build your own case. In this situation, you may choose to build your case with a 3D printer, some LEGO blocks, wood or recycled materials.
3. Getting GPIO extensions for your Raspberry Pi Zero W
If you solder male pins on the top of your Raspberry Pi Zero W, then you can use many of the GPIO HAT extensions in the market.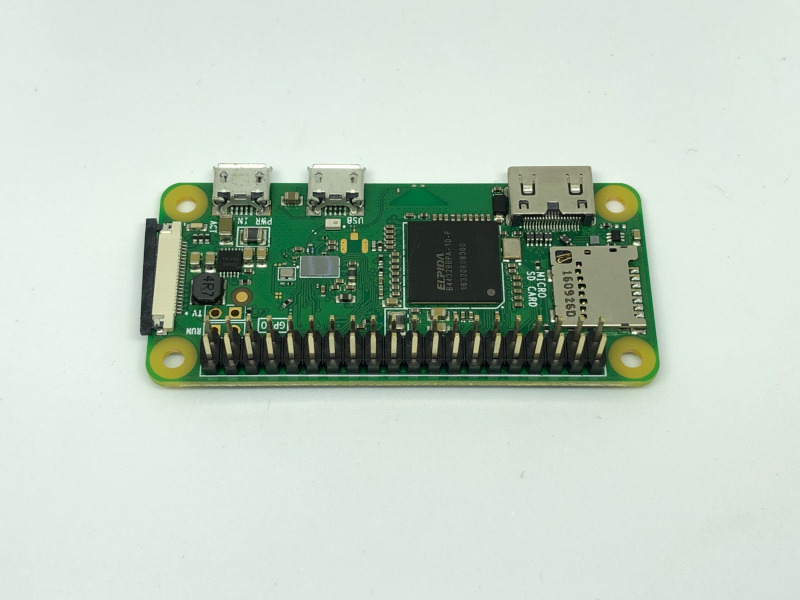
For example, you can attach a 2.7inch E-Ink Display HAT to give your Pi Zero W a display that is energy efficient.
In addition to that, you can use the GPIO references as they are.
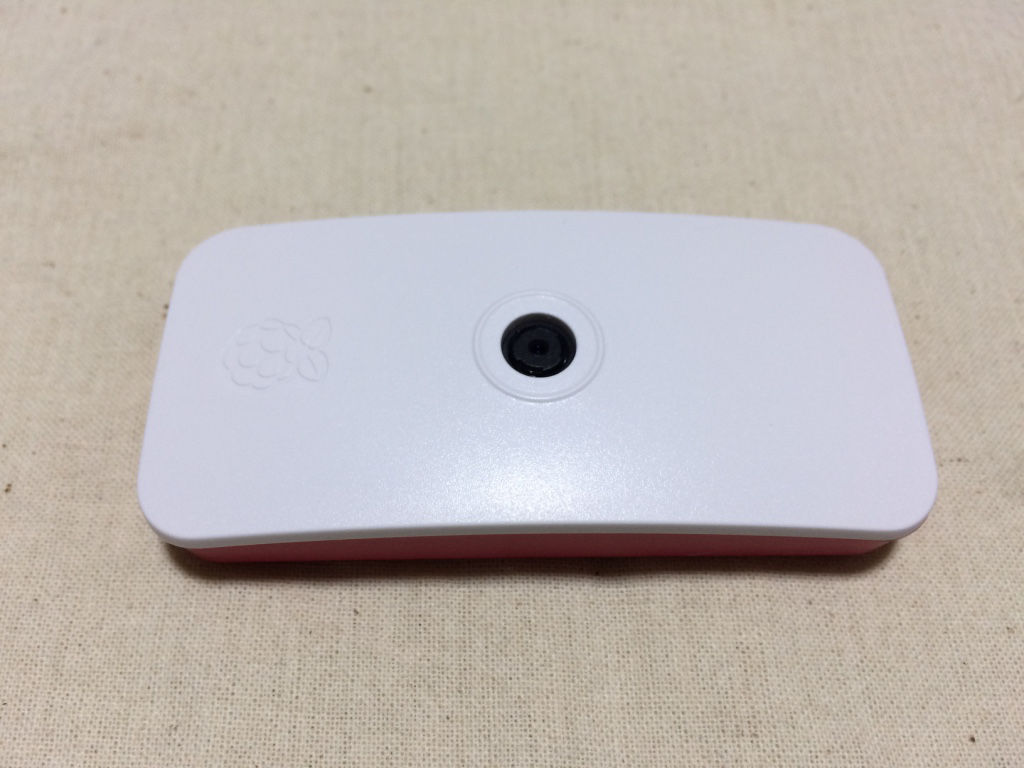
4. Buying or building a case for your Raspberry Pi Zero W
If you are looking for a ready-to-use case, then you can look at the Official Pi Zero case.
In order to cater for several use cases for your Pi Zero W, 3 different lids are included.
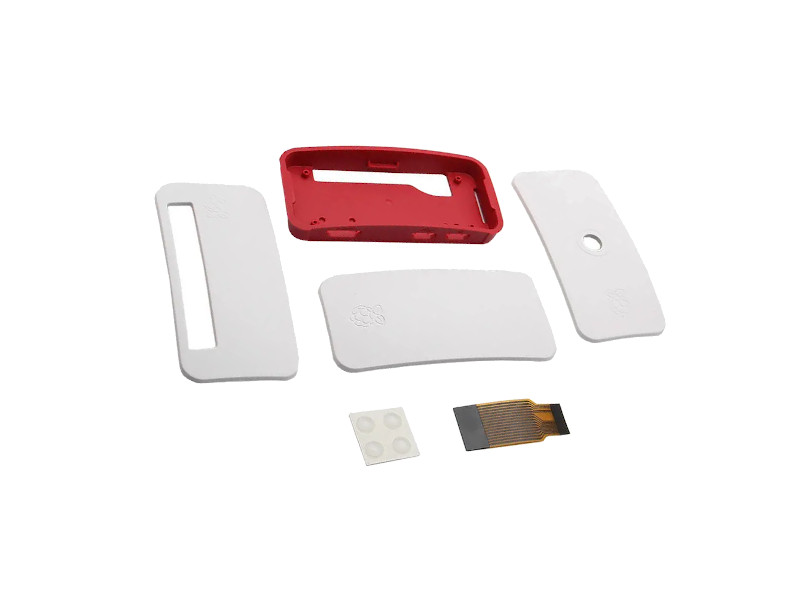
If you are using a Raspberry Pi camera with the same form factor as the camera v2, then you will be able to use the camera lid.
However, in order to use the camera lid properly, either you leave out the GPIO headers or solder them on the bottom.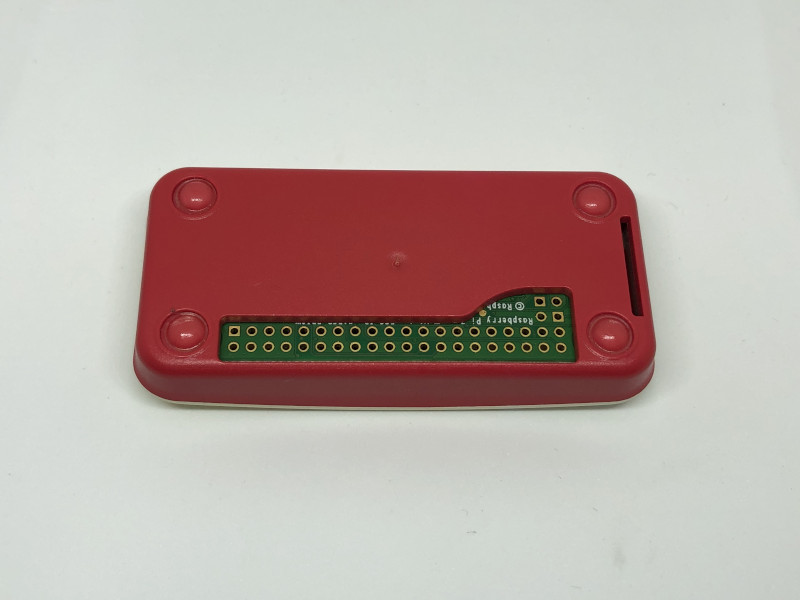
If you solder the GPIO headers at the top, then you cannot close the camera lid properly.
5. Displaying HDMI output of your Raspberry Pi Zero W onto a monitor screen
Since the Raspberry Pi Zero W is trading off power with cost, you may not want to use the HDMI output in your project.
However, if you wish to check out the HDMI output of your Pi Zero W, you can get a mini HDMI adapter.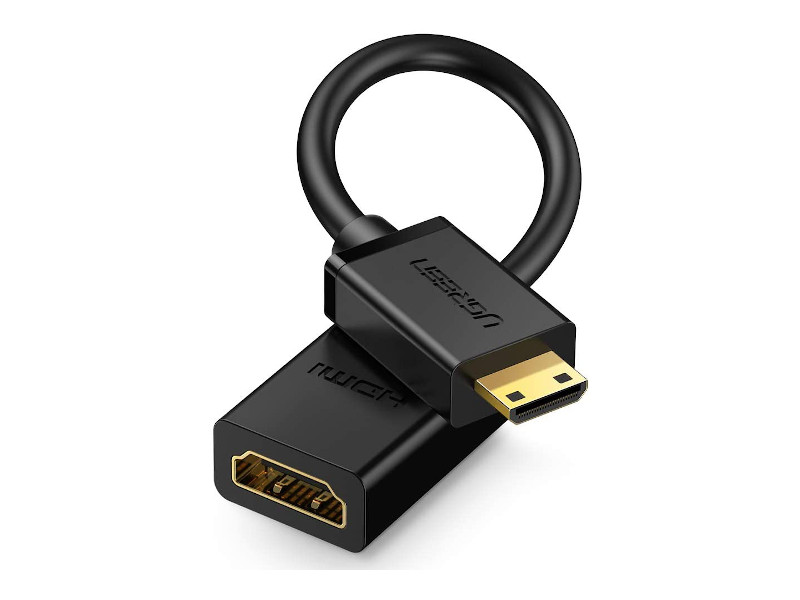
6. Connecting USB peripherals to your Raspberry Pi Zero W
If you wish to connect USB peripherals to your Pi Zero W, then you can the micro USB port.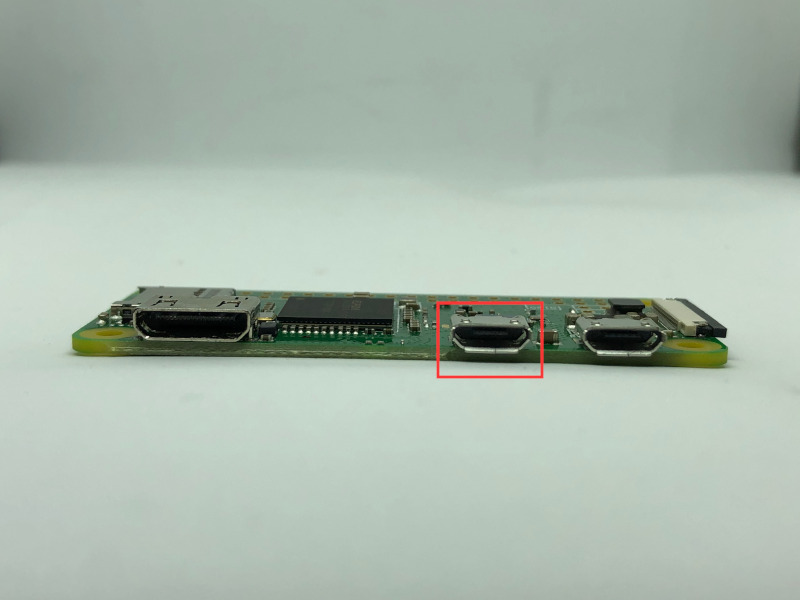
When you want to connect only 1 peripheral, you can use Micro USB 2.0 OTG Cable.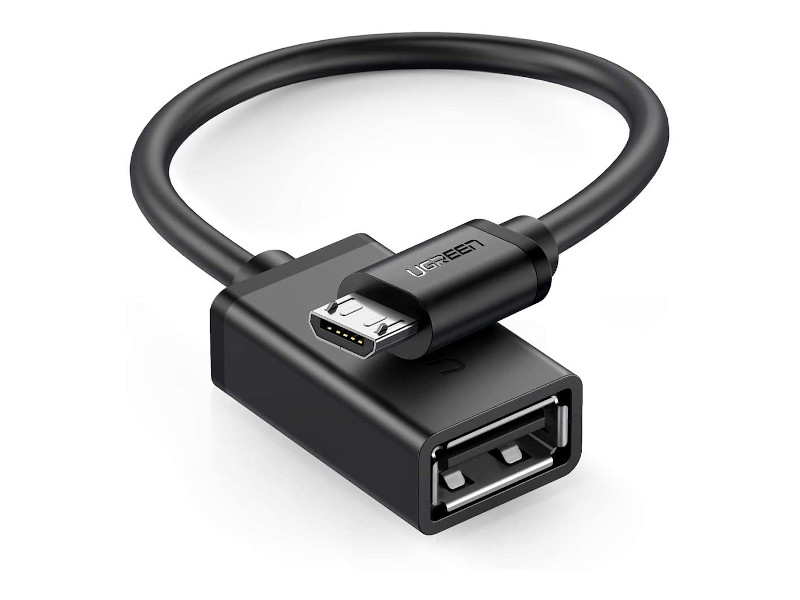
If you wish to connect more peripherals, you can use a Micro USB OTG Hub to connect up to 4.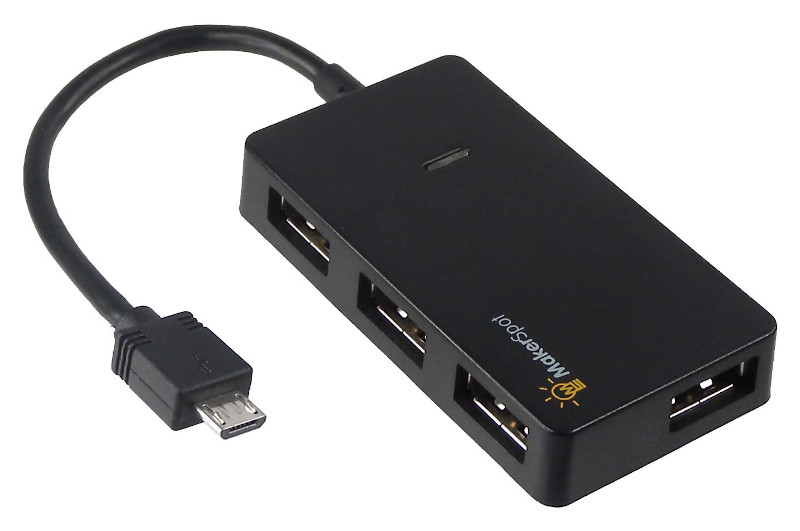
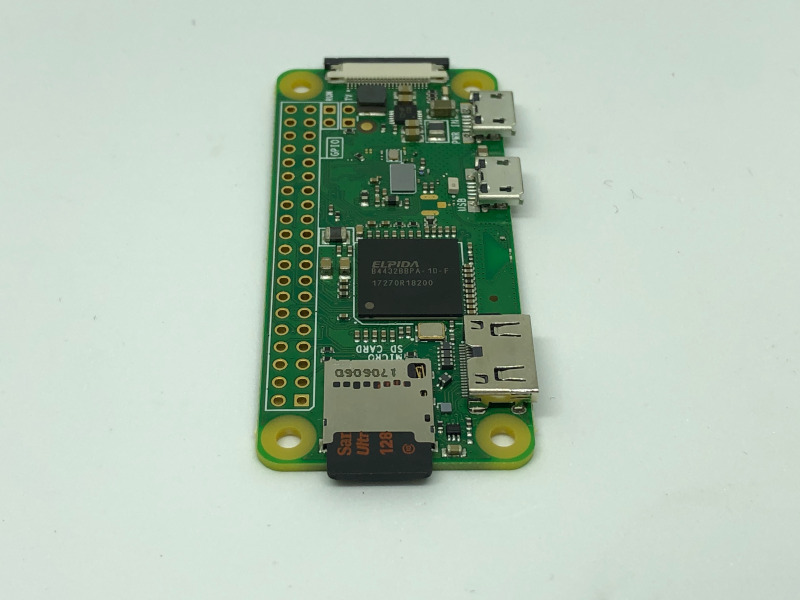
7. Buying the microSD card to install the operating system to run your Raspberry Pi Zero W
In order to run the Raspberry Pi Zero W, we will need to install an operating system into a microSD card.
Typically, we will get a class 10 microSD card.
If you want to store all your data on your Pi Zero W, then you can consider getting one of considerable size. For example, if you want to build a Raspberry Pi security camera, then you can get a 128GB microSD card.
If your work computer have an in-built SD card reader, then you will need to get a SD card adapter.
8. Deciding on the operating system to run on your Raspberry Pi Zero W
Typically, we choose an operating system without the windowing system to run our Pi Zero W. In addition, we have to decide between using it for multiple use cases or dedicating it to serve a single purpose.
When you use the Raspberry Pi OS (32-bit) Lite, you have more control over the kind of software that you can install. For example, you may want your Raspberry Pi Zero W to function as a reverse proxy server and a security camera. In such a situation, you may build your security camera with a version of the Raspberry Pi OS Lite.
On the other hand, you may want to use your Raspberry Pi Zero W as a security camera only. In this situation, it is easier to install motionEyeOS on your Raspberry Pi Zero W to build your security camera instead.
9. Bringing your Raspberry Pi Zero W to life
Once you have the hardware parts, you can then bring your Raspberry Pi Zero W to life. In order to do so, you typically go through the following steps:
- download the Raspberry Pi imager and install it onto your work computer.

- choose an operating system to run your Raspberry Pi Zero W. If the operating system is not in the list, then you will need to download it and choose the use custom option.
- install the operating system onto your microSD card.
- create a
.sshfile in the root directory of the microSD card to enable the ssh server on an operating system like Raspberry Pi OS if you want to administer your Pi Zero W remotely. - create a
wpa_supplicant.confroot directory of the microSD card to connect Pi Zero W to your home network via a WiFi router on first boot. Note that your Raspberry Pi Zero W can only connect to a 2.4 GHz WiFi network. - remove microSD card from your work computer and insert it into the microSD card slot of your Pi Zero W.
- plug in a Micro USB HUB Adaptor for multiple USB peripherals to interact with the Pi Zero W if needed.
- plug in a HDMI monitor through a Mini HDMI Adapter and a standard HDMI cable if needed.
- attach a CSI camera through a 15 Pin 1.0mm Pitch to 22 Pin 0.5mm Camera Cable if needed.
- attach conventional sensors to your Pi Zero W to make sense of the real world if needed. As I had noted before, you will need a soldering iron kit if you got the board without header pins.
- plug a microUSB power adapter to your Pi Zero W and supply power to it.
 If the operating system is not in the list, then you will need to download it and choose the use custom option.
10. Configuring your Raspberry Pi OS
If you had installed the Raspberry Pi OS, enabled SSH and connected WiFi on your Pi Zero W, then you can use your work computer to access it via the same network.
When you do so, you will be able to configure your Raspberry Pi OS through your work computer.
If this is your first Raspberry Pi OS setup, then you can find the IP address of your Raspberry Pi Zero W by running the following command on your work computer:
ping raspberrypi
When you have multiple Raspberry Pis in your house, you can also find the IP address through your router's network map.
Once you got the IP address of your Raspberry Pi Zero W, you can then SSH into it. For example, you will run the following command if your Pi Zero W is given 192.168.1.115 as its IP address:
ssh pi@192.168.1.115
When you are prompted for the password for the pi user, enter raspberry.
Given that, you will be able to configure your Raspberry Pi OS through your work computer.
At this point in time, you can use the Raspberry Pi Software Configuration tool to help you with the configurations:
sudo raspi-config
11. Installing applications that others had built
Once you had performed some configurations, you may want to install some applications on your Pi Zero W.
Since Raspberry Pi OS is based on Debian, you can use the Debian package management tools to install applications that you can leverage on.
For example, you may want to leverage Nginx to host images that your Pi Zero W captures as a static website. In this case, you can install Nginx with the following commands:
sudo apt-get update
sudo apt install nginx -y
12. Using a programming language to build your own application
If you want to write your own application, then you will need to learn how to use a programming language.
When you choose an operating system like Raspberry Pi OS, you will have a myriad of programming languages to choose from.
Since Python is a versatile programming language, I will recommend using Python to build the application that you need.
Another popular programming language that Raspberry Pi builders like is Node.js.
Once you had developed your application on your computer, you can then send your codes to your Raspberry Pi Zero W via SSH.
For example, I can run the following command to send the entire /python-app directory on my work computer to the home directory of the Pi user on my Raspberry Pi OS:
scp -r /python-app pi@192.168.1.115:~/
13. Running your application as a daemon
If you leave your Raspberry Pi Zero W running 24/7, then you will want your application to run as a daemon.
Since systemd is included in Raspberry Pi OS, you can use it to run an application as a daemon.
For example, in how to put your Raspberry Pi server on the internet with ngrok, I had shown how we can run the ngrok client as a daemon with systemd.