How to use your Raspberry Pi for Python development
Since its inception, the Raspberry Pi had progressed by leaps and bounds. Indeed, one of the reasons why we want to get a Raspberry Pi is its versatility. Apart from the huge selection of hardware, there are many Python libraries for you to build Raspberry Pi applications.
If you want to build something out of a Raspberry Pi, then you will benefit from setting up one for Python development.
Even if you do not build Raspberry Pi projects for a living, setting up a Raspberry Pi Python developer machine can be useful. For example, you may be a Solutions Engineer who build proof of concepts for demo purposes. In this case, you can build your demos with Python and run them on your Raspberry Pi.
If you are thinking of using Raspberry Pi for Python development, then this post is a reference for you.
Select the best Raspberry Pi model that you can afford for your Python development machine
One of the reasons why you will want use a Raspberry Pi 4 as a desktop computer is its ability to connect 2 monitor screens.
Therefore, get a Raspberry Pi 4 with 8GB of ram if you can afford it. Given that, you will have the best possible Raspberry Pi + Python development experience with a desktop operating system.
If you want an all-in-one pack, then you can get the LABISTS Raspberry Pi 4 8GB RAM Starter Kit with 128GB Micro SD Card (8GB RAM).
In addition, you can get the following items to complete your Raspberry Pi Python machine setup:
- 2 x micro HDMI cables
- 2 x HDMI computer monitor screens
- RJ45 cable (optional)
Install an operating system for your Raspberry Pi
Since the Raspberry Pi OS is the foundation's recommended operating system, you will want to install a copy of Raspberry Pi OS with desktop features.
So how can you install an operating system for your Raspberry Pi?
First, you will need a computer with an imaging software that can write an operating system image onto a microSD card. If you do not have one, you can download Raspberry Pi Imager through one of the following options:
Once you had the imaging software, insert the microSD card into a microSD card reader attached to your computer.
If you get the Raspberry Pi kit, then use the USB microSD card reader provided with the kit. Otherwise, you will need to get a microSD card reader if your computer does not come with one.
At this point in time, you can use the Raspberry Pi imager to install a version of the Raspberry Pi OS. Choose the Raspberry Pi OS with desktop and recommended software.
Run your Raspberry Pi
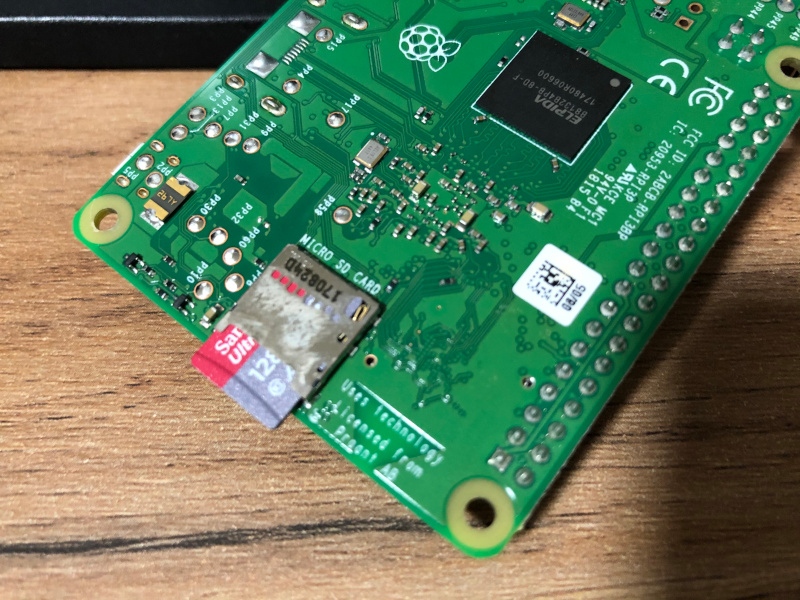
Once you had installed the Raspberry Pi OS, remove the microSD card from your computer and insert it into the microSD card slot on your Pi.
After that, attach:
- the micro HDMI cables to your Pi and the monitor(s).
- the keyboard and mouse to your Pi.
- the USB power adapter to your Pi and the wall socket.
Once you had done so, turn on the power supply.
When you do so, your Raspberry Pi will load the OS. Before you get into the desktop for the first time, the file system will be resized to take the entire size of the SD card. Therefore, it can take quite some time before you get into the desktop for the first time.
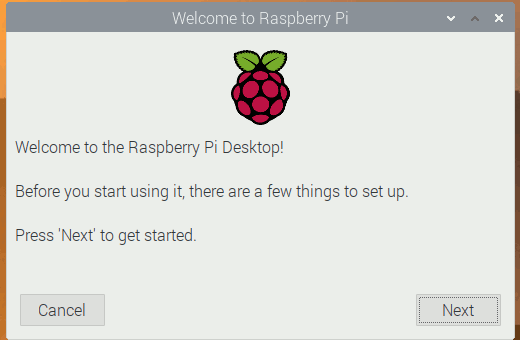
Complete the initial setup
When you get into the desktop for the first time, you will be prompted with an initial setup wizard.
Follow through the steps to configure your Raspberry Pi for the first time.
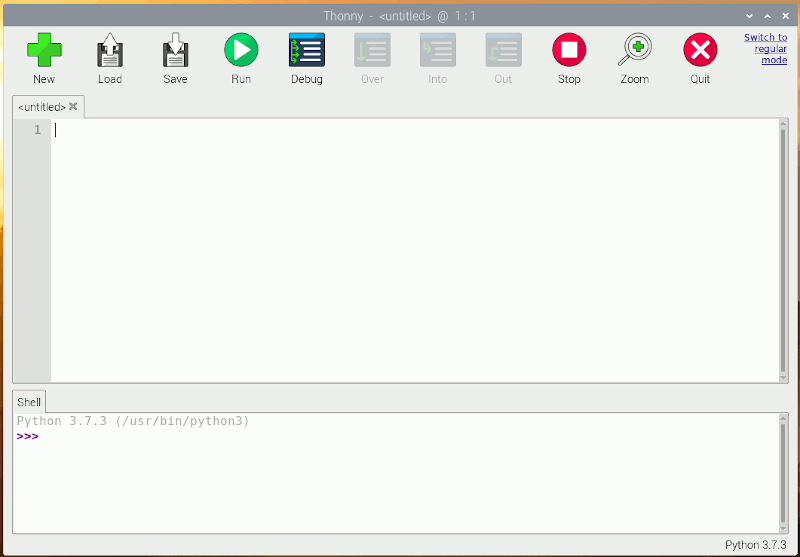
Use the default Python IDE on Raspberry Pi OS
Since the Raspberry Pi OS that you had chosen came with Thonny IDE, you can use it for development.
If you want another option, then you can consider installing Visual Studio Code through the Recommended Software application:

Learn how to use Python virtual environments
When you are going to develop multiple Python applications on your Pi, it is good to learn how to use virtual environments.
Given that, learn how to use Python 3 virtual environments to run Python 3 applications on your Raspberry Pi.
Once you have done so, you will be able to work on different Python applications that uses Python frameworks with differing versions.
After you are familiar with the concept of Python virtual environments, you can also:
- use Python environments in Visual Studio Code.
- associate a Python 3 virtual environment with Thonny.
Python libraries to control or interact with hardware attached to your Raspberry Pi
Since Raspberry Pi is designed to be a single board computer that interacts with sensors, we often look for Python libraries that can help us control or interact with the hardware.
gpiozero, RPi.GPIO and pigpio
 The Raspberry Pi includes a set of GPIO pins that you can attach sensors to. In order to interact with these GPIO pins from Python, you can install the gpiozero, RPi.GPIO and/or pigpio library. If you want simplicity, then you can just install the gpiozero library, which uses RPi.GPIO and pigpio under hood. However, you can use RPi.GPIO and/or pigpio if you want more control.
picamera
 Most of the Raspberry Pi models also include a Camera Serial Interface (CSI). If you want to control a CSI camera from your Python script, then you can also install picamera library.
pySerial
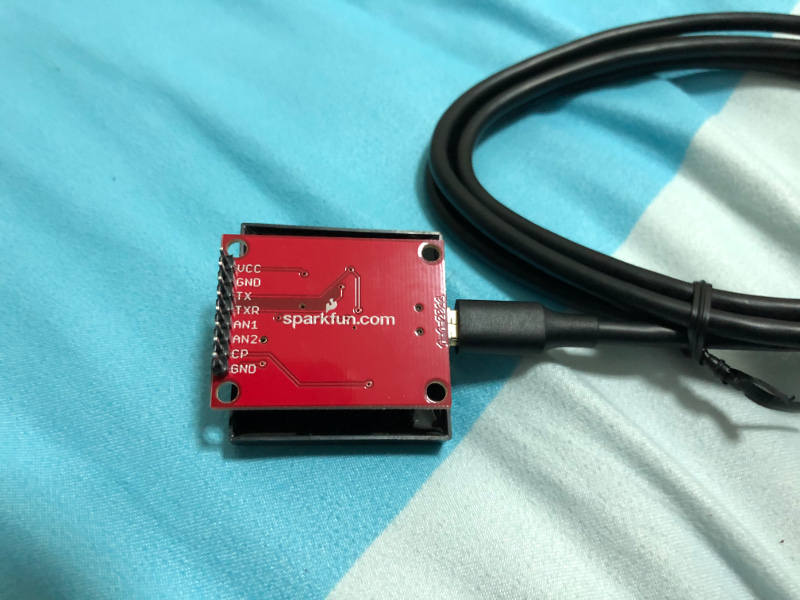 Quite a number of hardware devices can communicate with your Raspberry Pi via Serial Communication. Therefore, you can install the pyserial library to write Python codes to interact with devices via Serial Communication. For example, you can read RFID tags from SparkFun RFID USB Reader with pyserial.
Python libraries for building web servers on your Raspberry Pi
When you are looking to create a web interface to your machine, you will want to use Python libraries for building web servers.
Python Flask
![]()
If you are looking to learn one, then you can look at Python Flask. In addition, you can easily build a portal to try out your HTTP endpoints with Flask-RESTPlus.
Python Django
![]()
If you want to build a web server with batteries included, then you can explore Python Django.
Python libraries for storing content on your Raspberry Pi with an embedded database
If you are using your Raspberry Pi as an IoT gateway, then you will most likely need a way to store data.
When you want store information without installing an external database server, you can use embedded databases on your Pi.
sqlite3
![]()
Since sqlite came along with Python, we can readily use it to store data on our Raspberry Pi via SQL. If you want a quick way to interact with sqlite database on your Pi, then you can use the sqlite3 library. Given that, you will be able to interact with your database via the SQL syntax.
pickleDB
![]()
Another option that you can look at is pickleDB. If you use pickleDB, then you will be able to store data in key-value pairs.
tinyDB
![]()
So what if you want to store your data in a document oriented way? In such a situation, you can look at have a look at tinyDB.
Python library for manipulating images on your Raspberry Pi
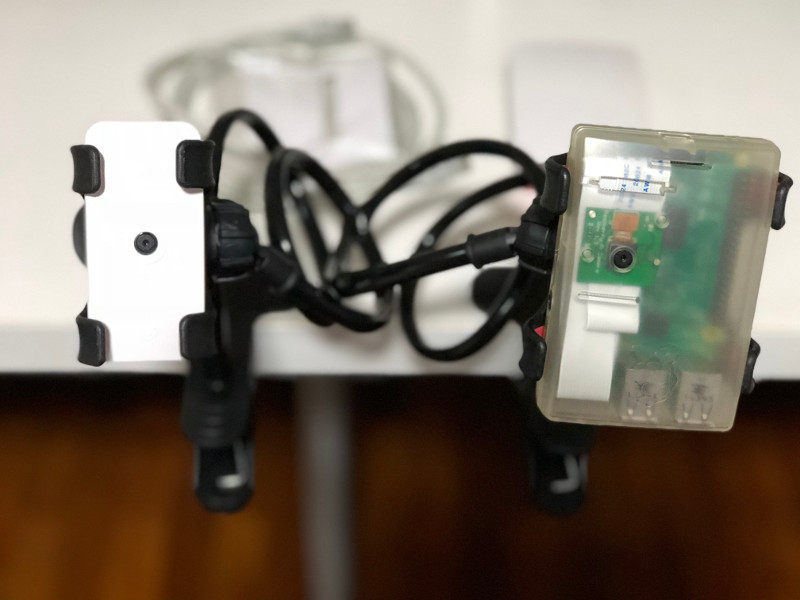
If you had attached a Raspberry Pi camera to your Pi, then you may want to manipulate images on it.
Pillow
Pillow is a fork from the Python Imaging Library (PIL).
When you setup Pillow on your Raspberry Pi, you get image processing capabilities.
Pillow provides extensive file format support, an efficient internal representation, and fairly powerful image processing capabilities.
The core image library is designed for fast access to data stored in a few basic pixel formats.
Therefore, it should provide a solid foundation for general image processing with your Python application.
Python libraries for sending data to HTTP servers from your Raspberry Pi
Another task that an IoT gateway does is to send aggregated information to another server endpoint.
In such situation, your Python script acts as a HTTP client sending information to a HTTP server.
requests
The requests library helps you send HTTP requests from your Python script easily. Therefore, it is often the first library that I will install for building Python applications that acts as HTTP clients.
Some examples are:
- Send an HTTP request to a HTTP Basic Authentication endpoint in Python 3 with requests library
- Upload a file and some data through HTTP multipart in Python 3 using the requests library
- Download a file via HTTP POST and HTTP GET with Python 3 requests library
http.client
If you need more control on crafting HTTP requests, then you can use the http.client library directly.
For example, your IoT cloud solution provider may provide a client certificate for your device to upload data securely. In this case, you can send a HTTP request with client certificate + private key + password/secret through the http.client library.
Python library for running periodical or scheduled tasks on your Raspberry Pi
When you have sensors attached to your Raspberry Pi, you could be running periodical tasks to get some sensor readings.
Advanced Python Scheduler (APScheduler)
If you are reading sensory data with your Raspberry Pi, then you will need some form of capability to perform tasks at fixed intervals. In this case, you can use the Advanced Python Scheduler schedule your Python code to be executed later, either just once or periodically.
If you are also running Flask on your Raspberry Pi, then you can also look at Flask-APScheduler. When you use Flask-APScheduler, you are presented with the following options:
- Loads scheduler configuration from Flask configuration.
- Loads job definitions from Flask configuration.
- Allows to specify the hostname which the scheduler will run on.
- Provides a REST API to manage the scheduled jobs.
- Provides authentication for the REST API.
In addition to creating an interval task that runs periodically within your Python 3 Flask application with Flask-APScheduler , you can also:
- Use Flask-APScheduler in your Python 3 Flask application to run multiple tasks in parallel, from a single HTTP request
- Use threading.Condition to wait for several Flask-APScheduler one-off jobs to complete execution in your Python 3 application
Python library for building graphical user interfaces
If you are building a kiosk, then you may want to build your own graphical user interface (GUI).
When you are able to build a web server, you can build a web application and present the GUI to a browser on your Raspberry Pi OS.
tkinter
However, if you want to skip the web server part, then you can use the tkinter library.
When you use the tkinter library, you are given a standard Python interface to the Tk GUI toolkit. This can help you build simple user interface for users to interact with your Raspberry Pi.