Why get a Wio Terminal for your next IoT project?
If you have 30 USD and is looking for a microcontroller, then you will want to consider the Wio Terminal.
Since Seeed Studio had kindly sent me one for free, I got to picture my 30 bucks alongside the box:
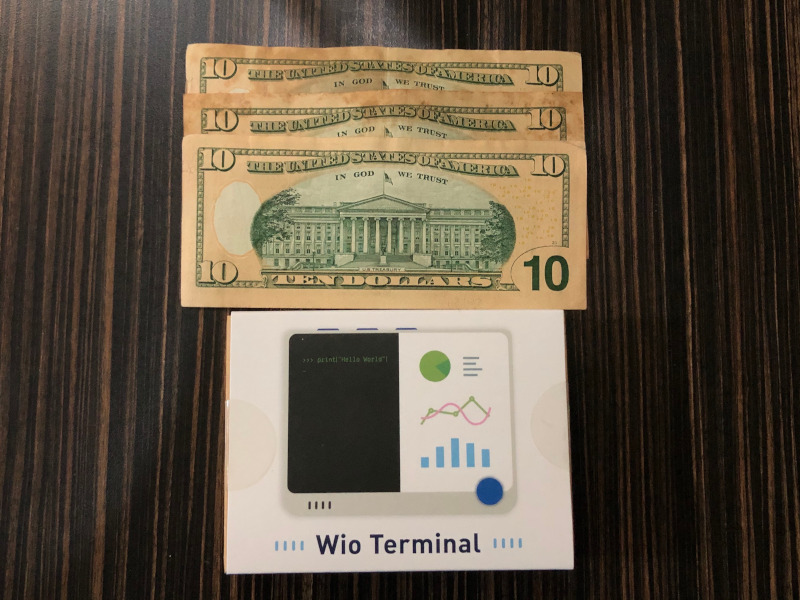
Although 30 bucks is not a lot of money, it is good to know what the Wio Terminal is capable of before buying. When we do so, we can prevent adding on to that electronics stockpile which is collecting dust in the house.
Given these points, let's look at why you will want get a Wio Terminal for your next IoT project.
1. Your IoT project requires wireless connectivity
Being able to send data, directly or indirectly, to the internet is crucial to an IoT project. When you do so wirelessly, you can reduce clutter from your IoT project.
Given that, the Wio Terminal came with 2.4 Ghz / 5GHz WiFi and Bluetooth BLE 5.0 to fulfil the connectivity aspects of your IoT project.
If your project needs to send data to some other device through WiFi or Bluetooth, then the Wio Terminal can do that for you.
2. You want to include a screen to provide visual feedback for your IoT project
If you employ a screen in your project, then your project can provide visual feedback to humans.
Given that, your user can quickly look at some charts without logging into a dashboard from another device.
When unexpected situations are detected, action items can be put up on screen for the user to act upon.
When you use the Wio Terminal, you get access to a 2.4” 320x240 LCD screen to provide visual feedback.
Otherwise, you will have to find a screen that is compatible with the microcontroller board that you use.
3. You can get haptic feedback for your IoT project through programmable buttons and 5-way switch
When you use a Wio Terminal, you have 3 programmable buttons and a 5-way switch to receive haptic feedback.
Given that, your users can interact with your project by pressing these buttons.
For example, the user can cycle through different pieces of information on screen with the 5-way switch. On the other hand, the user can press a button for acceptance and another for cancellation of options.
4. You want your IoT project to listen to its surroundings
When your project needs auditory input, you can count on the microphone on the Wio Terminal.
Since you have the microphone, you will be able to record the sound of your garden when you are not there.
If your Wio Terminal is connected to your WiFi network, then it can also pass those audio recordings to another device for further analysis.
5. You can detect the brightness of the operating environment of your IoT project
If you are building a project to measure the light intensity of the environment, then you will need to use a light sensor.
Since there is a light sensor at the back of the Wio Terminal, there is no need for you to get one.
Just make sure you don't cover up the backside of the Wio Terminal when you are using the light sensor.
6. You can make some noise with the Wio Terminal based on situational needs
If you are monitoring some environmental values, then you may want to sound a buzzer when things go wrong.
Given that, the Wio Terminal has a buzzer that you can trigger when the situation arises.
For example, you may use a growth light for your plants to grow well. In this case, you can use your Wio Terminal to trigger the buzzer when the light bulb is not as bright as it should be.
7. You want to detect movements with your IoT project
If you want to detect movements with your IoT project, then you will need an accelerometer.
When you shake the Wio Terminal, it will be able to feel the vibrations with its in-built 3-axis accelerometer. Given that, you can detect any peculiar vibrations on your building and sound the buzzer to warn you about it.
If there is a need to ensure that your project is in an upright position, then the Wio Terminal can help with that too.
8. You have the option of including external storage of up to 16 GB through a microSD card
Since the Wio Terminal can read and write to a 16 GB microSD card, it can hold large amount of data within the device.
Indeed, with a myriad of sensory inputs, your Wio Terminal can generate a large amount of data. If you do not have network access, then you can hold sensor data for a while before you collect it.
In addition to that, you may need to use client side certificates to send data to cloud services. Given that you have 16 GB of storage, you can rest assured that your Wio Terminal is able to hold the client certificates to access those cloud services.
9. There are several ways for your Wio Terminal to interact with a Raspberry Pi
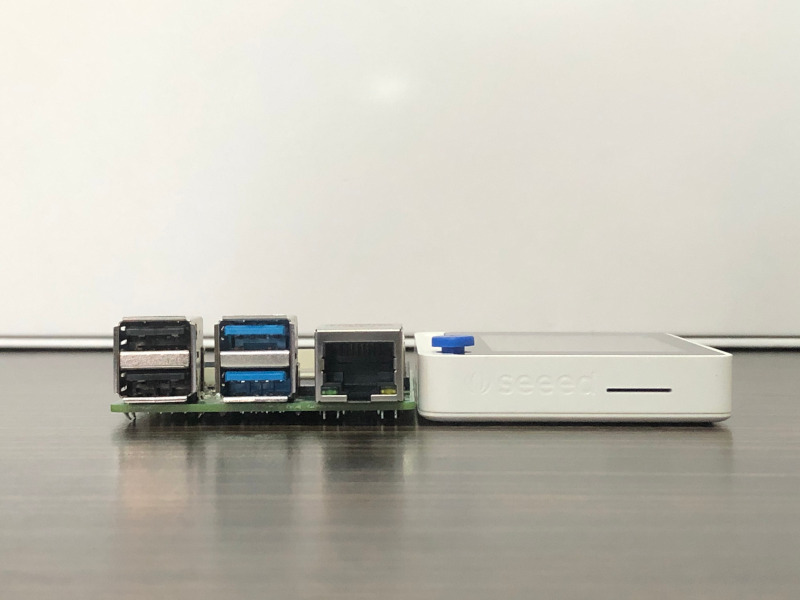
Since the Wio Terminal has a 40 pin GPIO header, you can attach it on a Raspberry Pi. However, you will need to use a GPIO stacking header to do so.
In addition to that, you can also use the provided USB cable to connect the Wio Terminal with your Raspberry Pi.
Given these points, your Wio Terminal have two ways to directly interact with your Raspberry Pi.
Typically in this kind of setup, your Wio Terminal can serve as a sensor data collector and a screen display. At the other end, the Raspberry Pi can act as an IoT gateway that performs complex decision making or data aggregation on behalf of cloud services.
10. There are two multifunction Grove connectors for hardware extensions
When you need sensors that are not integrated with the Wio Terminal, you can rely on the two multi-function Grove connectors.
Since the Grove system is vast, you should be able to find additional sensors that you need for your IoT project.
For example, you can attach the Temperature & Humidity Sensor Pro if you want to sense temperature and humidity.
11. Features are integrated in a small form factor within an ABS case
When we use a microcontroller development board for an IoT project, we will first need to source for compatible sensor parts. Once we got the parts, we will then connect the sensor parts directly to the development board and implement the logic to use the sensors.
For example, you may connect the ADXL345 accelerometer an ESP32 development board like this: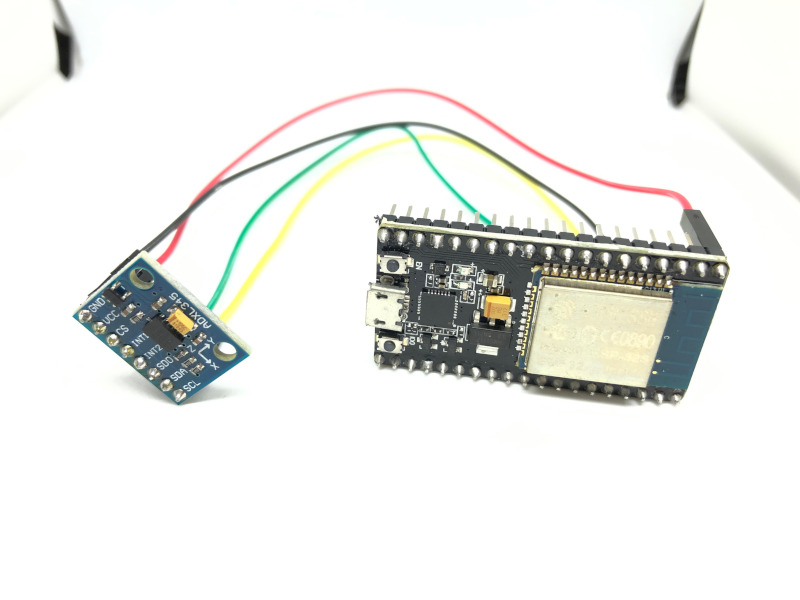
When we are ready, we then solder the sensor parts and board together to use them as an end product: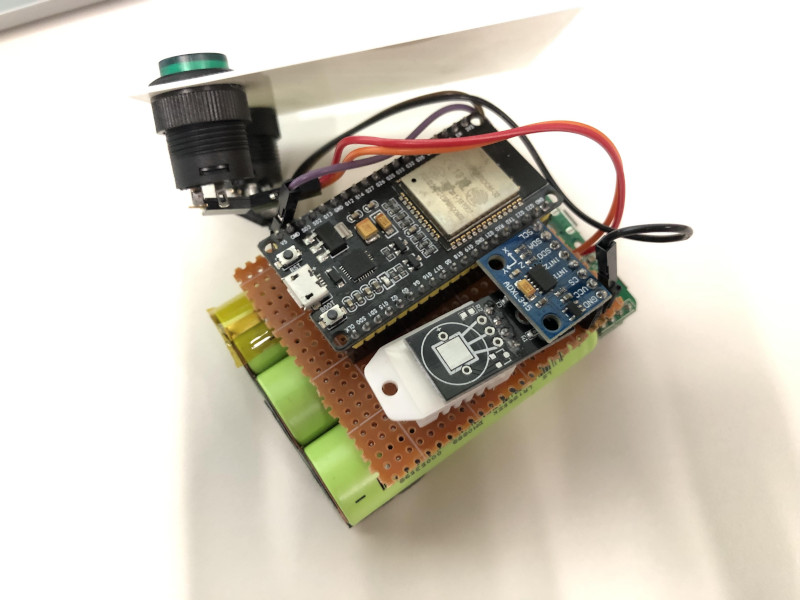
As shown above, soldering and circuitry design work is needed if we build our IoT project from scratch.
When you get the Wio Terminal, you get the features that we had covered so far: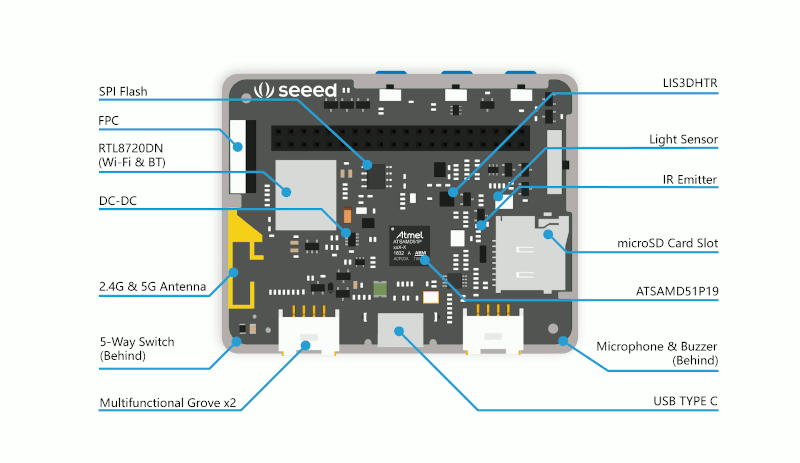 within a 72mm x 57mm x 12mm plastic case:
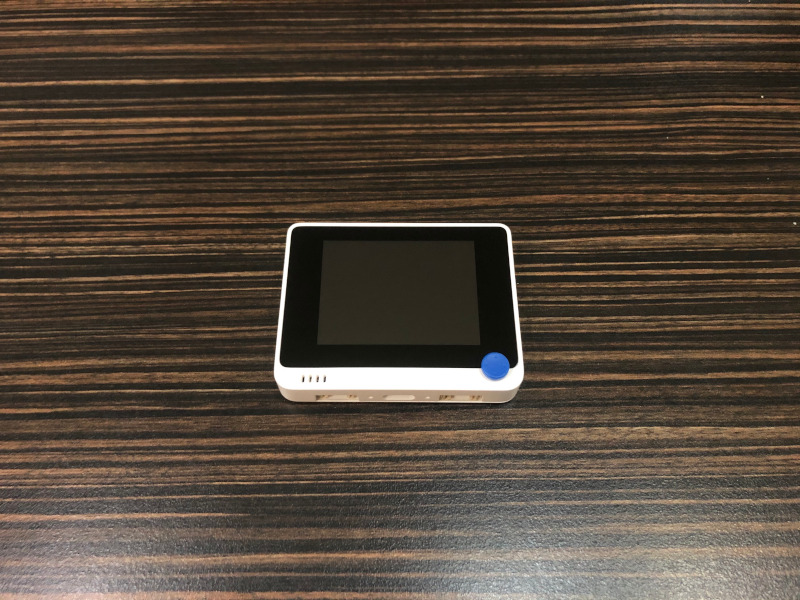
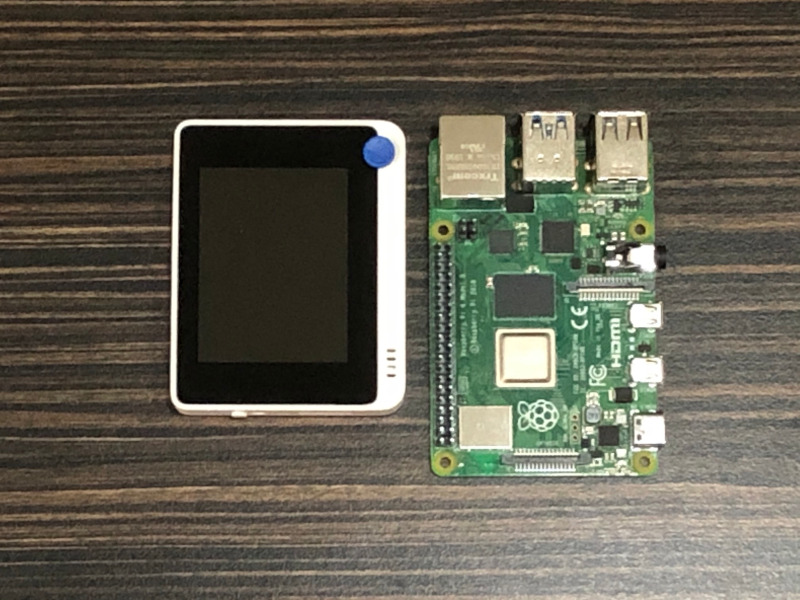
Indeed, a 72mm x 57mm x 12mm plastic case is smaller than a Raspberry Pi 4B:
12. You can program the Wio Terminal with popular software tools
When you choose the Wio Terminal to build your IoT project, you get several choices to build the software.
If you came with Arduino programming background, then you will be able to upload Arduino sketches to program your Wio Terminal.
Otherwise, you can write Python scripts to program your Wio Terminal through ArduPy or CircuitPython.
13. There are resources to help us use the Wio Terminal
In order to simplify usage of the Wio Terminal, Seeed Studio provides clear documentation online.
In addition to those written documentations, I am seeing new tutorial videos in the Wio Terminal classroom playlist.
When we cannot find what we need, we can also get help from Seeed Studio's forum.