How to setup Raspbian Buster for your Raspberry Pi 4 Model B
Last updated: 8th February 2020
Since the Raspberry pi 4 Model B comes with several nice upgrades, it is a single board computer that you may want to get.
After you got your Raspberry Pi 4 rig and microSD card, the next step will be to setup an operating system.
At this point in time, you may want to install one of the Raspbian Buster images that got released for the Pi 4.
With that in mind, read on to learn how to setup Raspbian Buster for your Raspberry Pi 4 Model B.
Recommended hardware list
- CanaKit Raspberry Pi 4 Basic Kit 4GB
- SanDisk 128GB Extreme microSDXC UHS-I Memory Card with Adapter
- Raspberry Pi 4B aluminium heatsink armor case with dual fans or one of the Raspberry Pi 4B cases with cooling mechanisms
- UGREEN Micro HDMI to HDMI Cable Adapter
- 4K Monitor with HDMI port
- Nice mechanical keyboard for programmer
- Nice wired mouse with 16400 DPI
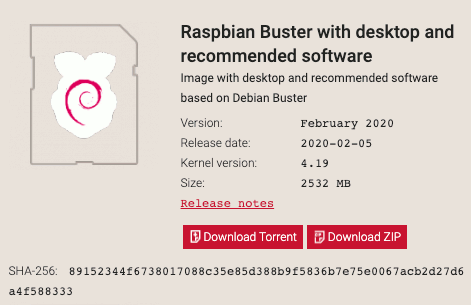
Downloading a copy of Raspbian Buster onto your computer
First, go to the Raspbian download page to download Raspbian Buster with desktop and recommended software onto a computer with an SD card writer:
Installing Raspbian Buster image onto your microSD card
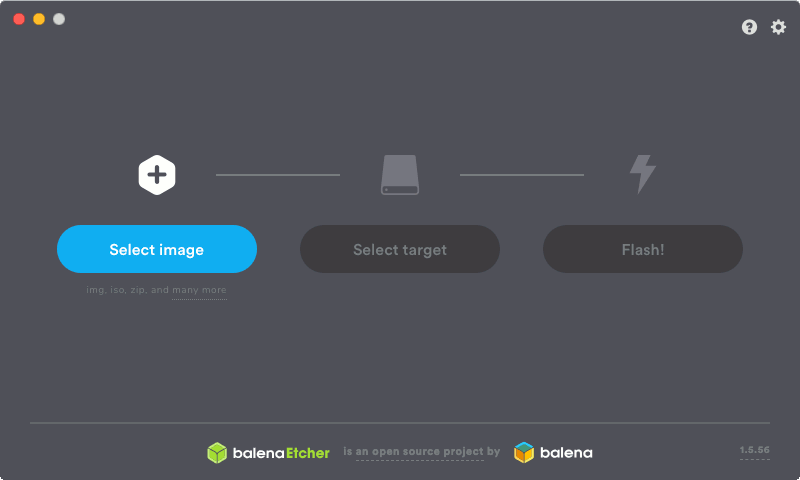
While waiting for the download, you can insert your microSD card into the SD card writer.
After you had downloaded the .zip file, use balenaEtcher to flash the image to your microSD card.
Booting up Raspbian Buster on your Raspberry Pi 4
When your balenaEtcher had completed the installation, remove the microSD card from your computer and put it into the SD card slot on your Pi 4. In addition to that, attach the USB-C power adapter, monitor, keyboard and mouse to your Raspberry Pi 4 Model B. If you have a network cable, you can also choose to connect it to your Pi 4.
Once you had connected the peripherals to your Pi, supply power to the power adapter.
When you do so, your Pi 4 will first resize the file system to take up the entire space on your microSD card. After it had done so, your Raspberry Pi 4 Model B will restart.
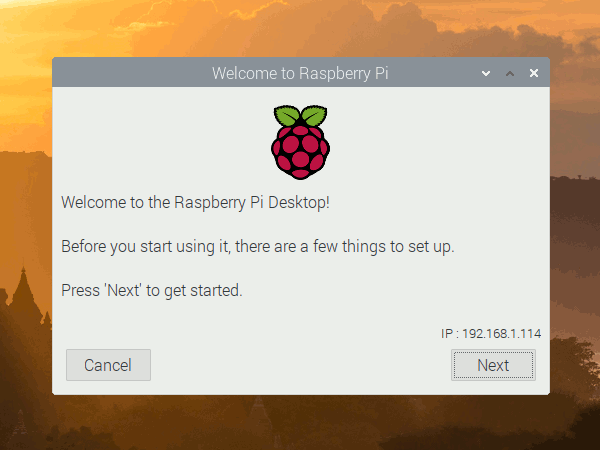
Completing the first time setup wizard
Once your Raspberry Pi 4 Model B starts up again, a first time setup wizard will guide you through the initial configurations.
Follow the wizard to complete the initial configurations for your Pi 4.
Enabling 4K video resolution on Raspbian Buster
Since a higher operating temperature is expected for 4K usage, make sure you have attached the heat sinks to your Pi 4.
This is the reason why 4K video resolution is disabled in Raspbian Buster by default.
If you wish to watch 4K videos with your Raspberry Pi 4, then you need to enable 4K video resolution.
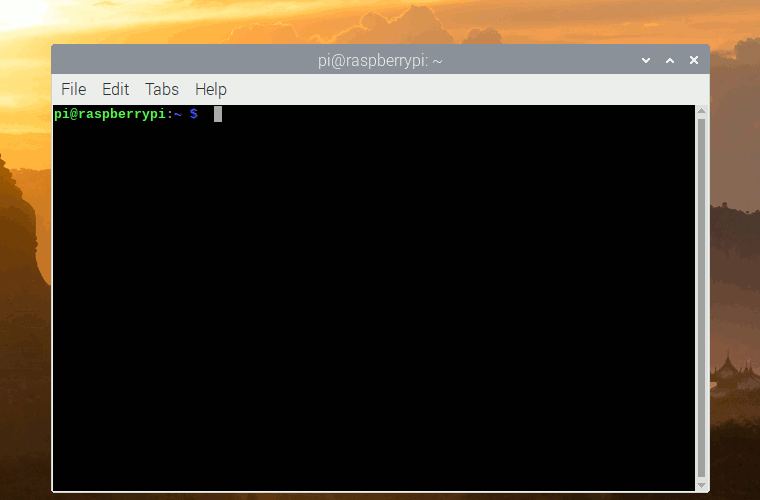
In order to enable 4K video resolution, first start a terminal program:
![]()
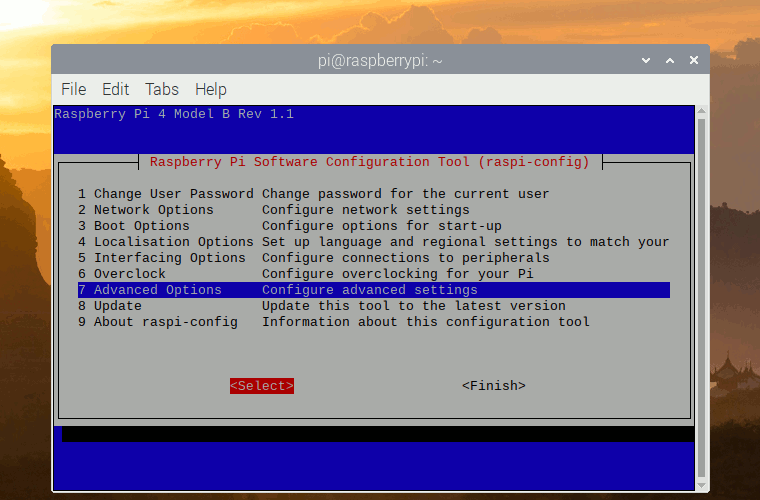
Once the terminal program got started, type the following command to start the Raspberry Pi Software Configuration Tool:
sudo raspi-config
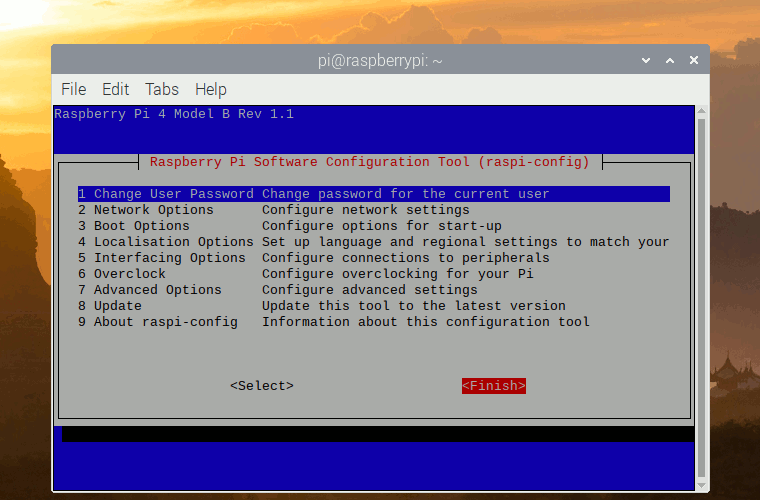
When Raspberry Pi Software Configuration Tool get started in your terminal, select Advanced Options:
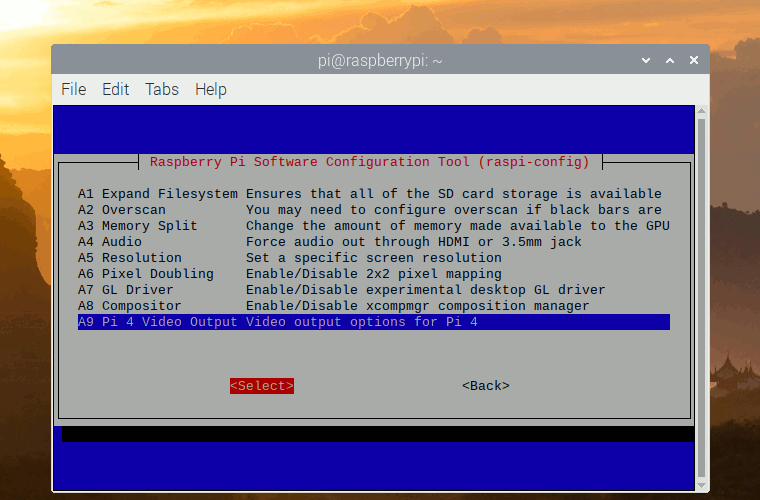
Select Pi 4 Video Output:
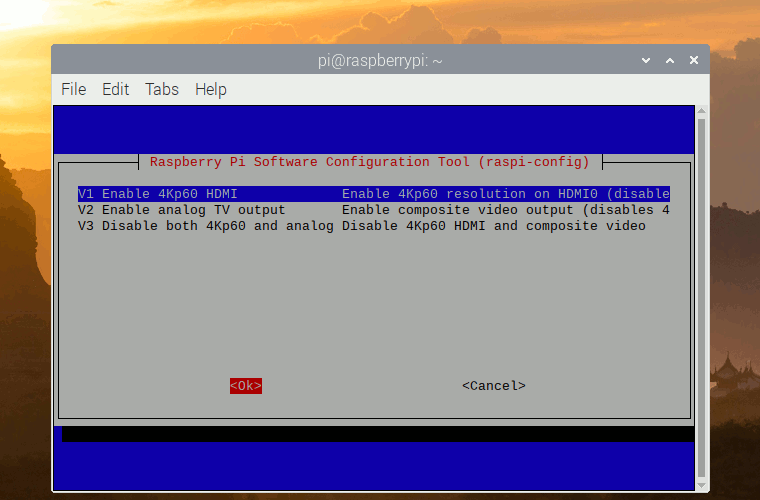
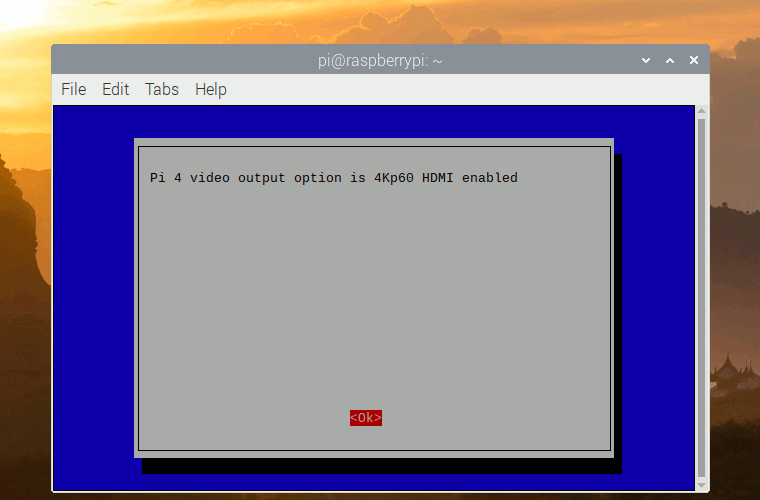
Select Enable 4Kp60 HDMI:
Confirm your selection:
Select Finish from the first screen:
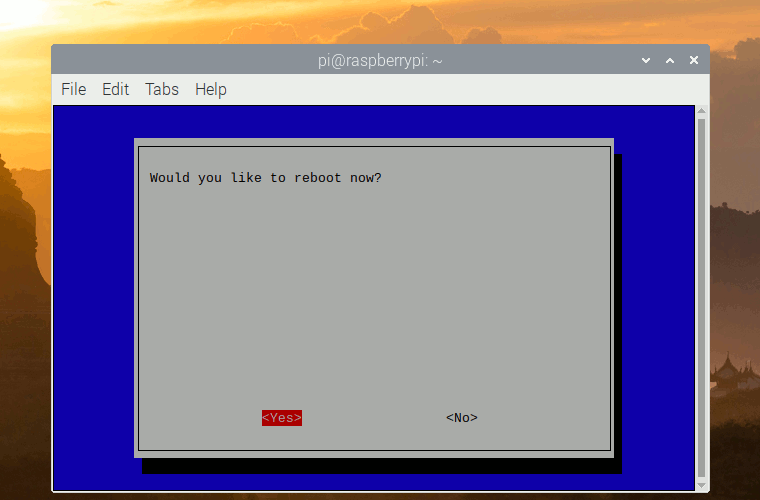
And restart your Raspbian Buster:
Once your Raspbian Buster had restarted, your Pi 4 should be sending 4K video output to your monitor screen.
Adding new software
Since you had downloaded the full version of Raspbian Buster, you will have most of the recommended software out of the box.
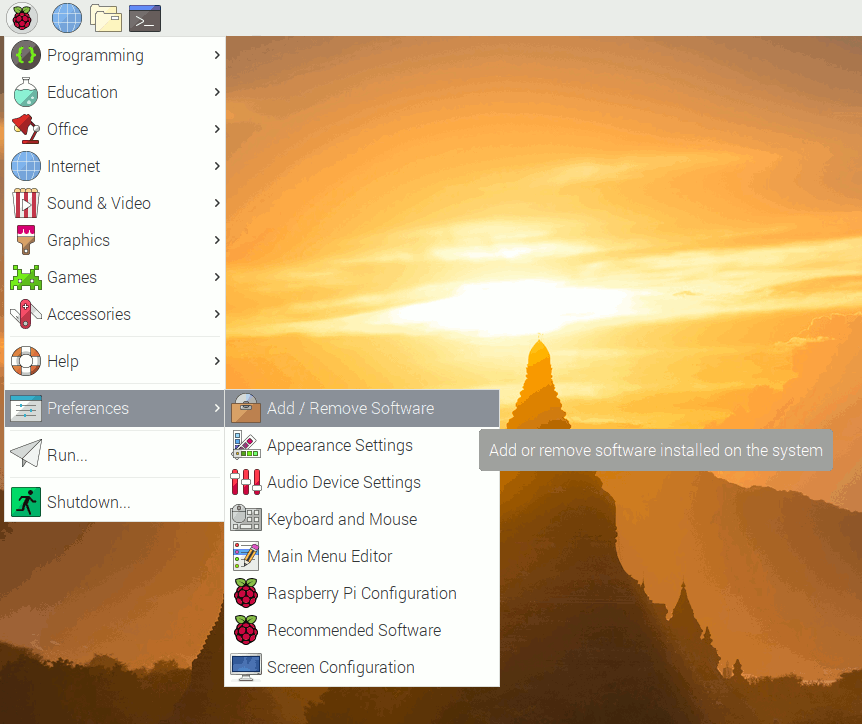
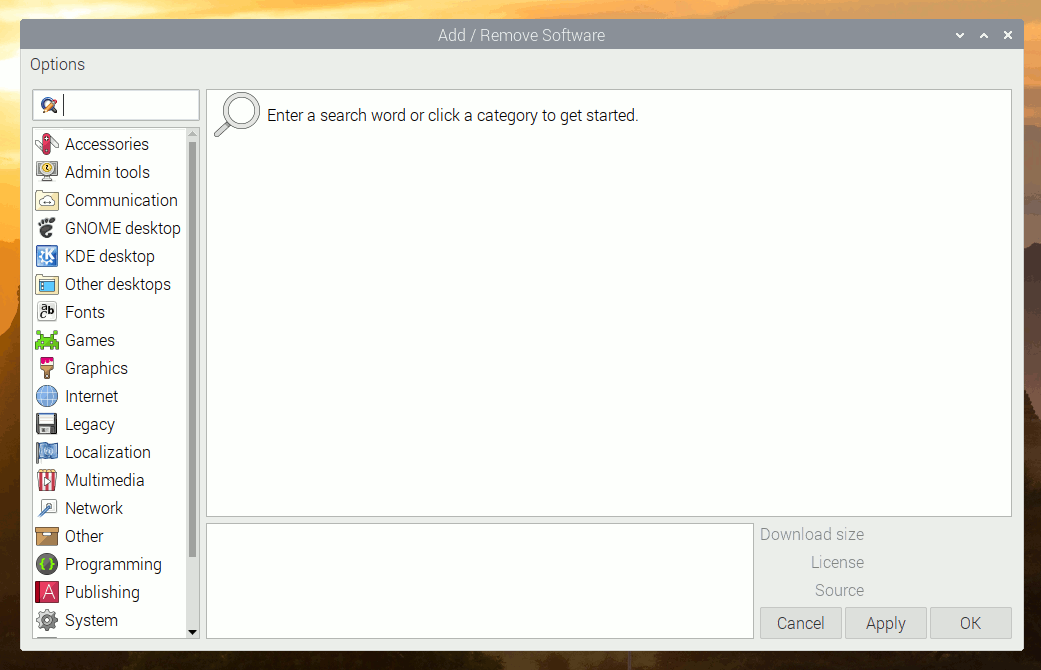
In case you want to find new software to install, you can go to -> Preferences -> Add / Remove Software to do so:
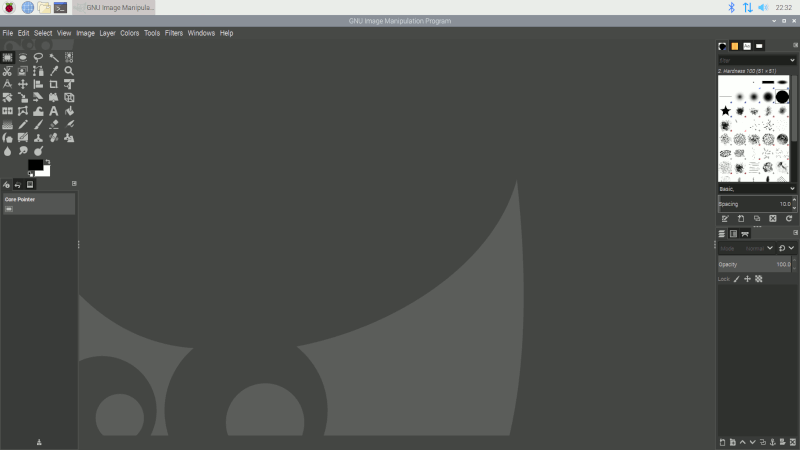
Installing GIMP to edit your images on your Raspberry Pi 4 Model B for free
So can you do image editing on a Raspberry Pi 4 Model B with 4GB ram?
Yes, I tried it and the experience is decent. In fact, I had created the animated gifs for this post with a GIMP instance running on my Pi 4.
If you want to install GIMP on your Pi 4, simply search for gimp in the Add / Remove Software and check GNU Image Manipulation Program along with the components that you need:
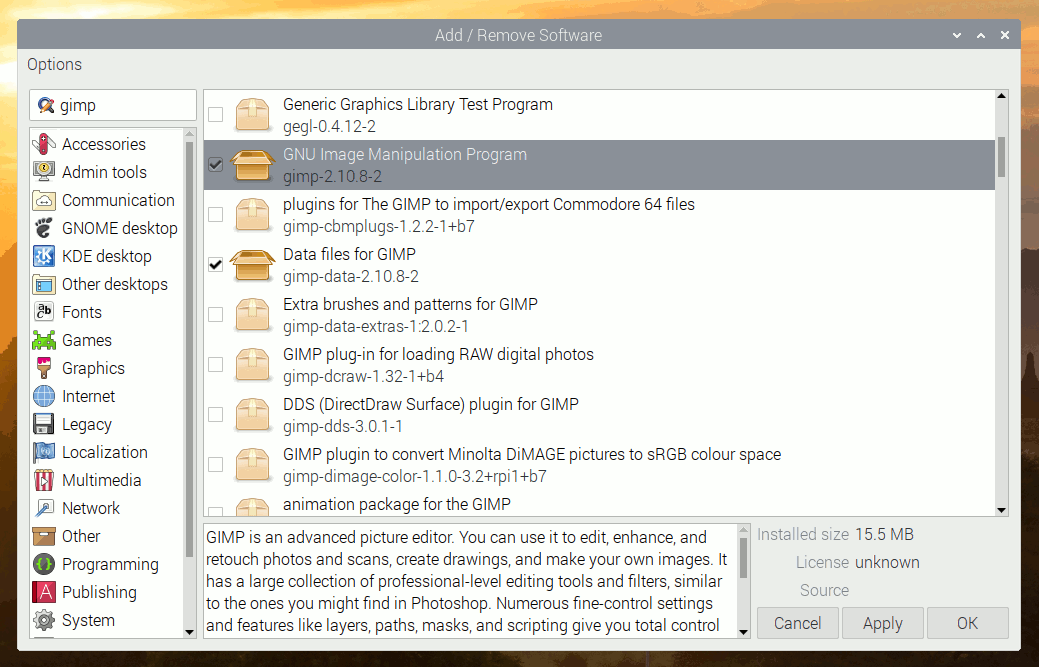
Once you had done so, click Apply then OK to install GIMP.
When GIMP is installed, you can find it under Graphics -> GNU Image Manipulation Program:
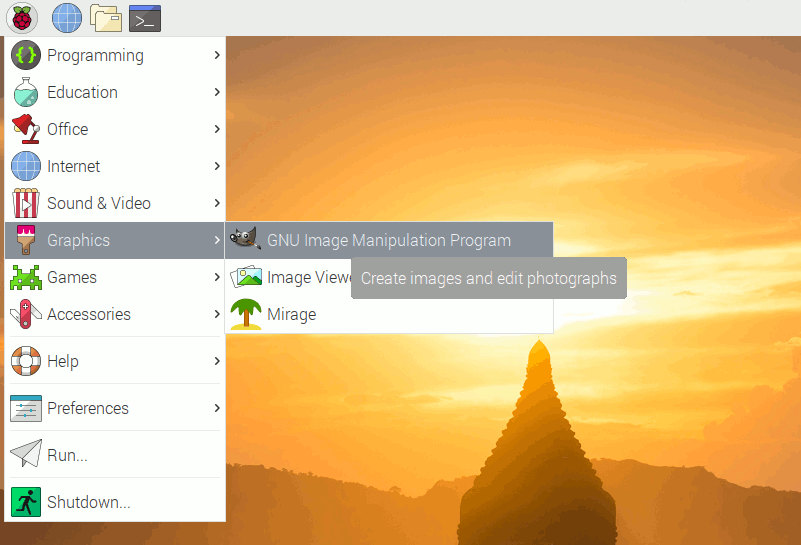
After you click on the menu item, it take seconds to load up our trusty GIMP: