How to setup the Raspberry Pi Official 7 Inch Touch Screen with your Raspberry Pi 4 Model B
As I have noted in my review on the Raspberry Pi 4 Model B, the Pi 4B came with substantial upgrades.
Since it has faster (and more) RAM along with better graphics processing capabilities, the Pi 4B is well suited for multimedia deployments.
Given that, you may want to add the Raspberry Pi Official 7 Inch Touch Screen to your Pi 4B so that you can use it to build a kiosk.
If that's the case, read on to see how to setup the Raspberry Pi Official 7 Inch Touch Screen with your Raspberry Pi 4B.
Hardware parts used in this tutorial
In case you need it, this is a list of hardware parts that we use in this tutorial:
Unboxing the Raspberry Pi Official 7 Inch Touch Screen
The Official Raspberry Pi touch screen came in a box like this:
Your box may look different on the outside, but you should find similar parts as mine.
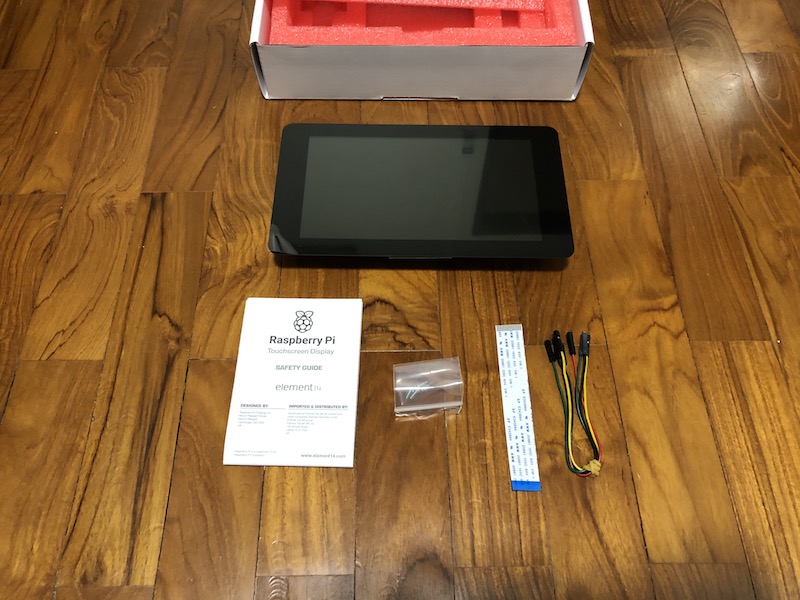
When I took out everything inside the box, I managed to find the following contents:
Preparing an operating system for your Raspberry Pi 4B
Before continuing on, be sure that you had prepared an operating system for your Raspberry Pi 4B. If you have not done so, this is how you can setup Raspbian Buster on your Raspberry Pi 4B.
Assembling the Raspberry Pi Official Touch Screen to the Pi 4B
Once you have an operating system running on your Pi 4B, this is how you can assemble the touch screen to it.
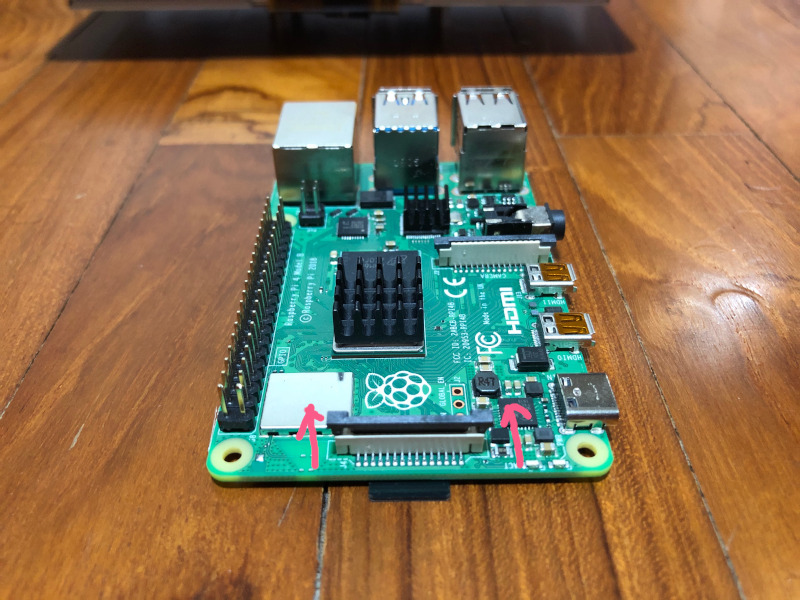
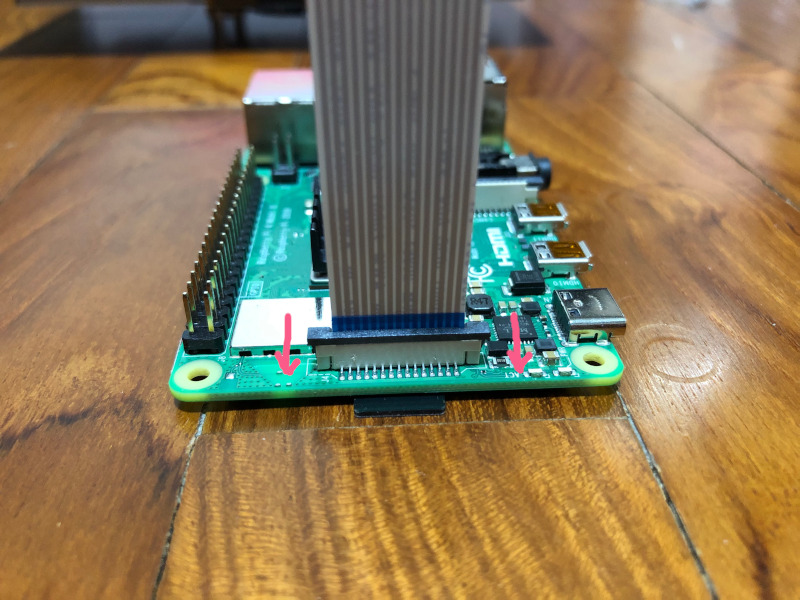
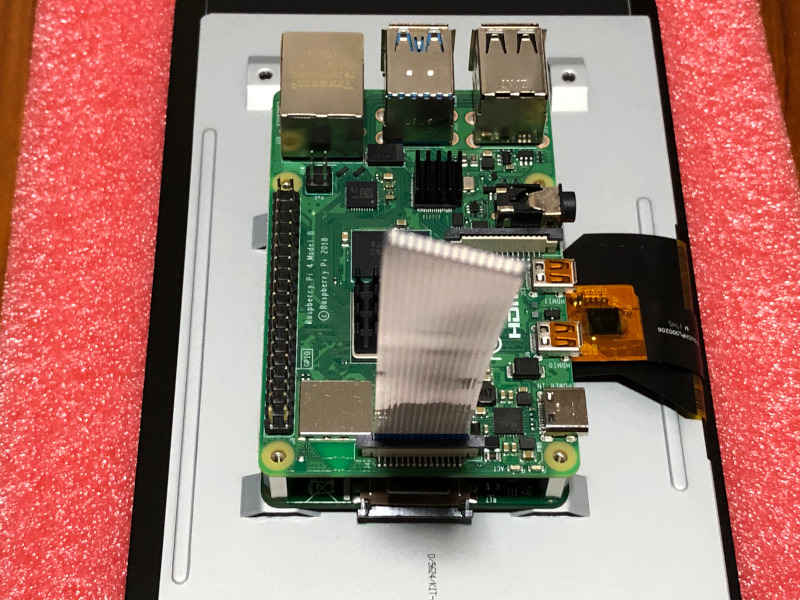
First, attach one end of the DSI cable to the DSI interface of your Pi 4B:
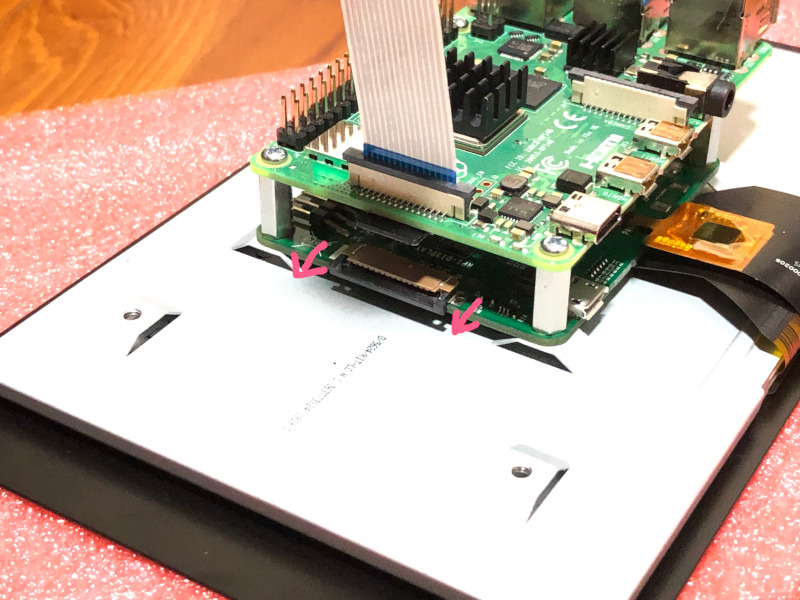
Next, position your Pi 4B such that its DSI interface is aligned with the DSI interface of the Touch Screen:
After that, fasten the Pi 4B to the Touch Screen with the four screws that are provided:

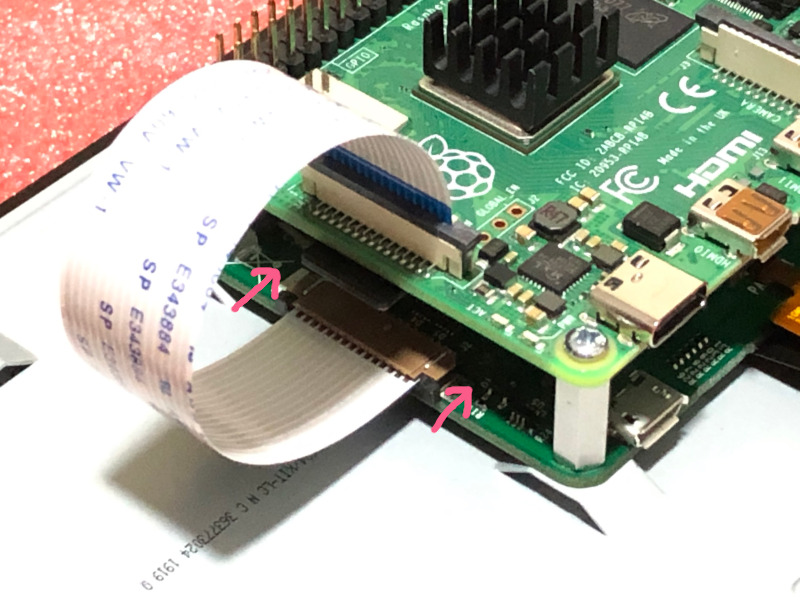
Once you have fastened the screws, slot in the other end of the DSI cable to the DSI interface of the Touch Screen:
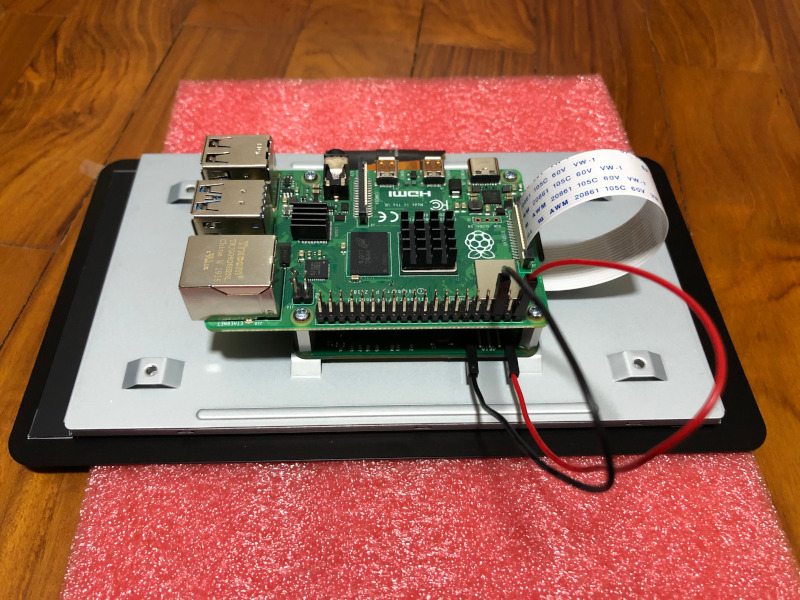
In order for the Pi 4B to supply power to the screen, connect the Power and GND pins of the screen to the 5v5 and GND pins on your Pi 4B:
Powering your Pi 4B and the touch screen
At this point in time, you are ready to power on your Raspberry Pi 4B and the touch screen. Therefore, connect the USB-C port of your Pi 4B to the power plug:

When you supply power to the plug, you will see your operating system displayed on your touch screen:
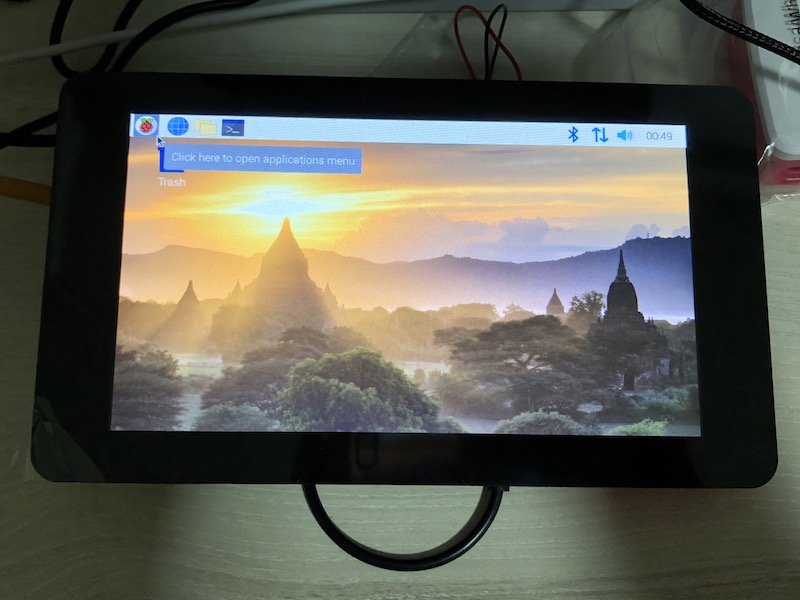
In addition to that, you should be able to touch the icons on the touch screens to open up programs on your operating system.