How to make your Raspberry Pi fill up your entire monitor screen by disabling overscan in Raspbian Stretch
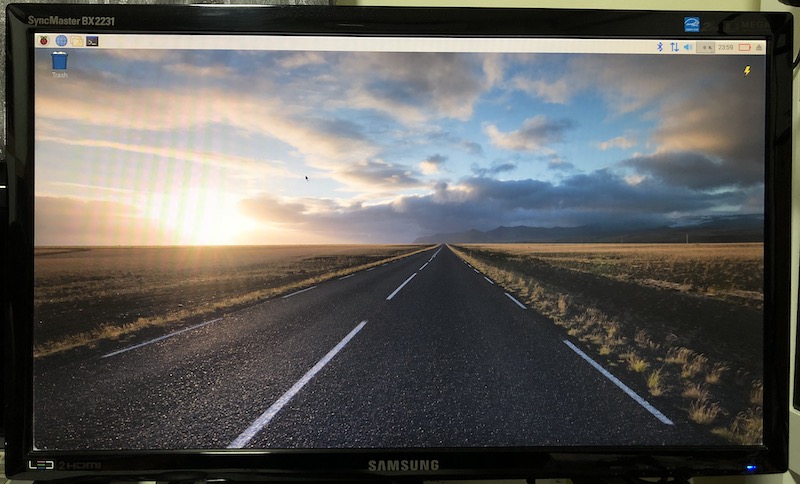
After you had booted up Raspbian Stretch for the first time, you may notice that your Raspberry Pi does not fill up your entire monitor screen:
In such a situation, the overscan function in Raspbian could be what you should disable. Given that, this post shows how to make your Raspberry Pi fill up your entire monitor screen by disabling overscan in Raspbian Stretch.
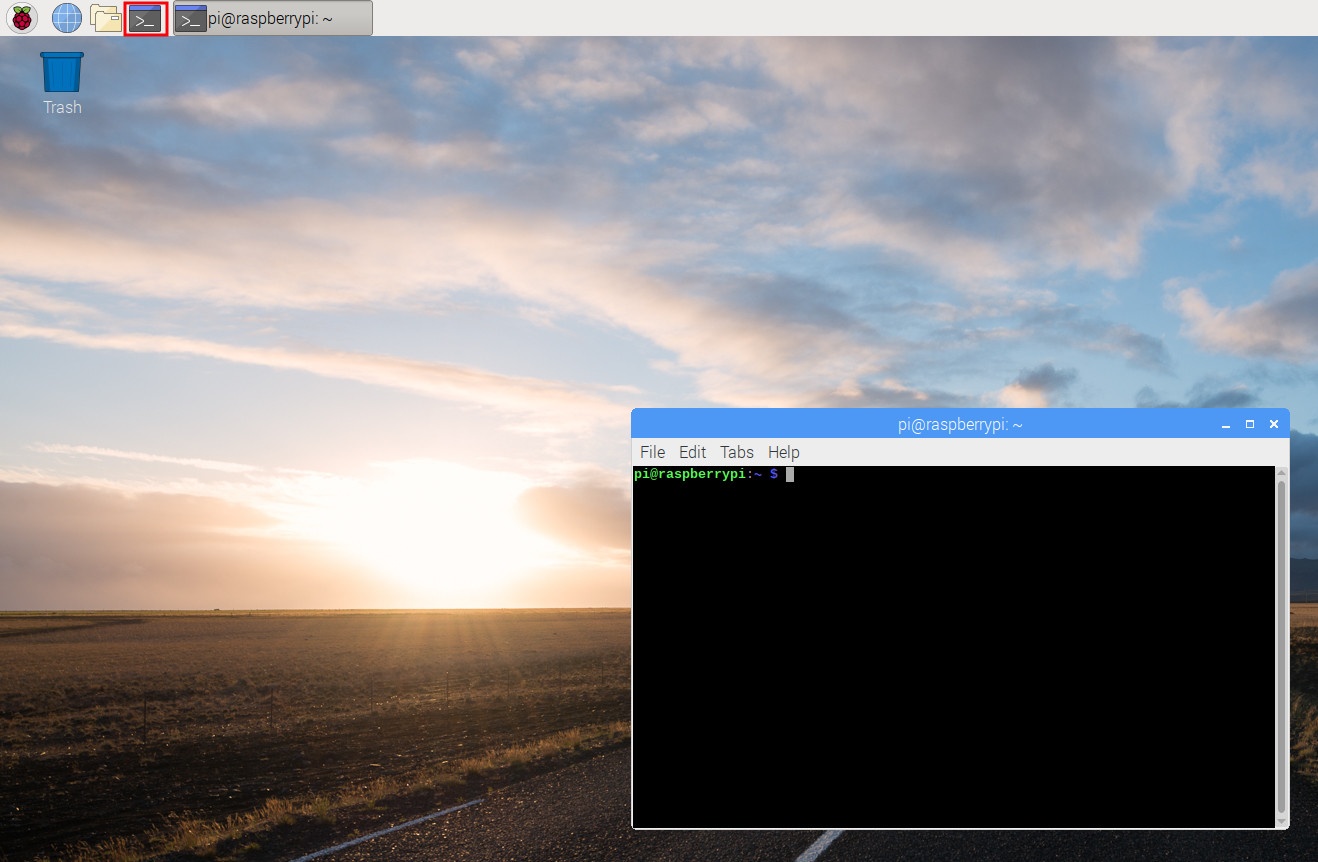
First, open a Terminal window by clicking on the highlighted icon at the top:
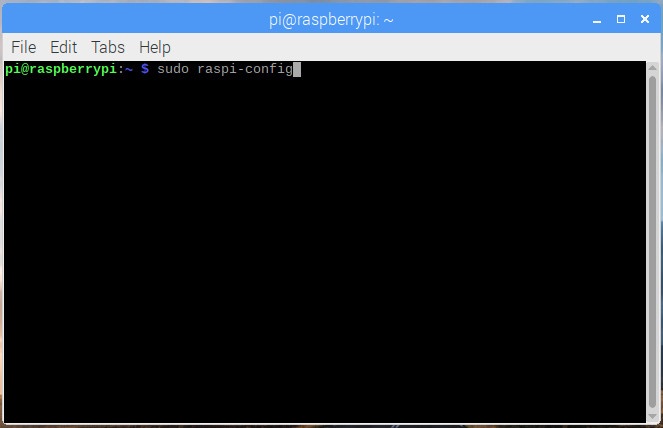
After the terminal window had started, type the following command in the terminal window:
sudo raspi-config
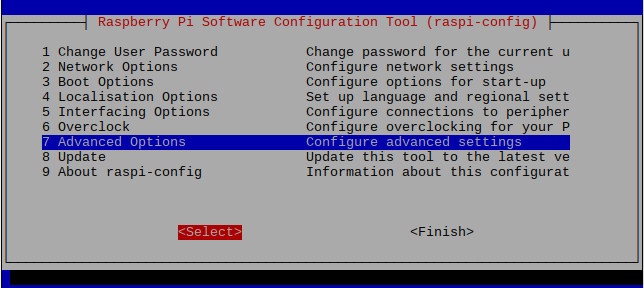
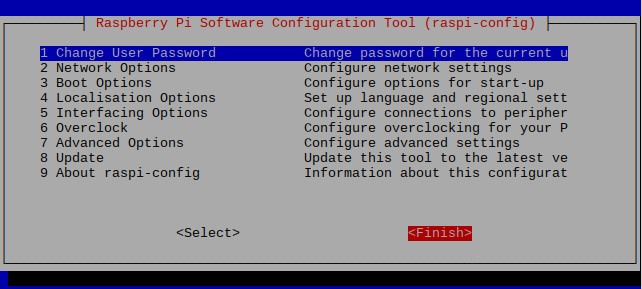
When raspi-config loads, choose Advanced Options:
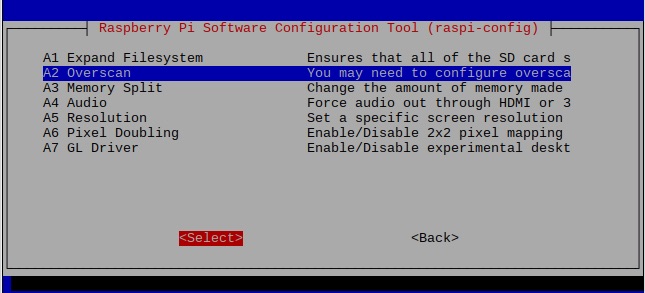
Next, choose Overscan:
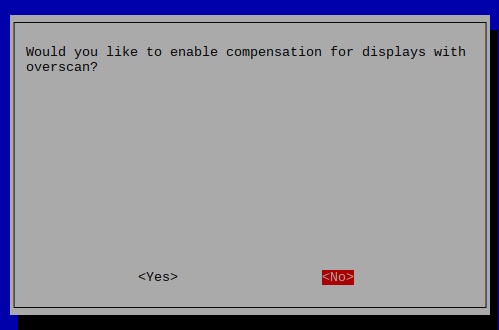
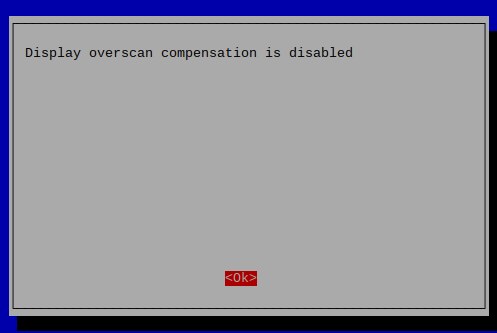
After that, choose No when raspi-config ask whether you want to enable compensation for display with overscan:
When you had indicated your choice to display overscan, you will see a confirmation message. Select Ok to dismiss the message:
Once you had dismissed the confirmation message, raspi-config will return to the first menu screen. Choose Finish to complete your configuration changes:
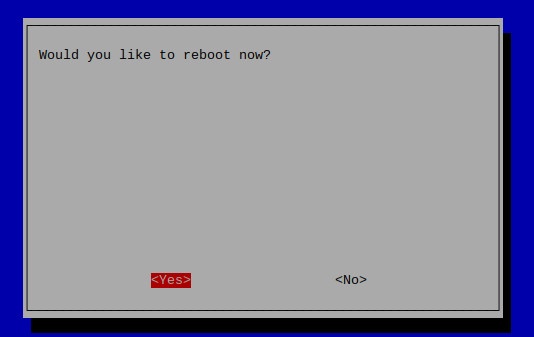
At this point in time, raspi-config will prompt you to reboot Raspbian Stretch. Choose Yes to reboot:
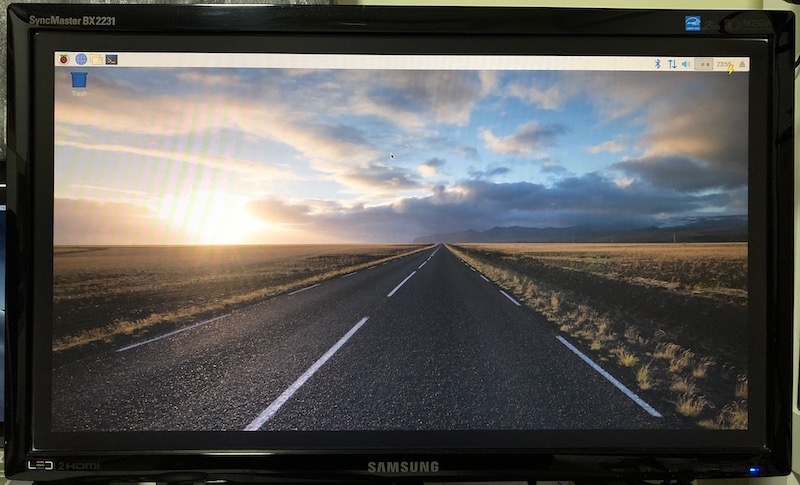
After your Raspbian Stretch reboot successfully, your Raspberry Pi should fill your entire monitor screen: