How to enable SPI master driver in Raspbian using raspi-config
Your Raspberry Pi has the ability to communicate with hardware using the Serial Peripheral Interface specification. However, this master driver is disabled by default.
If you want to use the SPI master driver to communicate with devices, then you will need to enable it.
Let's look at how we can enable the SPI master driver using the Raspberry Pi Software Configuration Tool (raspi-config).
If you are using Raspbian (for example Raspbian Buster) with a windowing system, then you will click on the terminal program icon to start a terminal program:
![]()
Once your terminal program had started, type in the following command:
sudo raspi-config
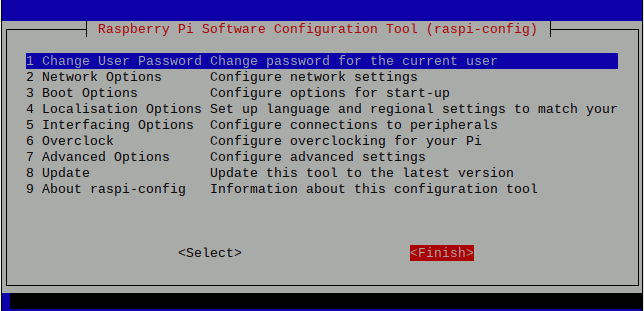
When you do so, the Raspberry Pi Software Configuration Tool will start in your terminal program:
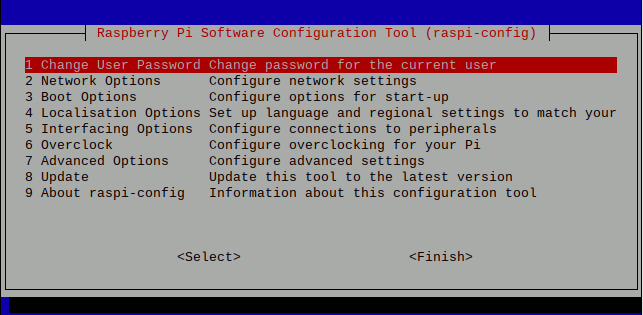
Given that, select Interfacing Options:
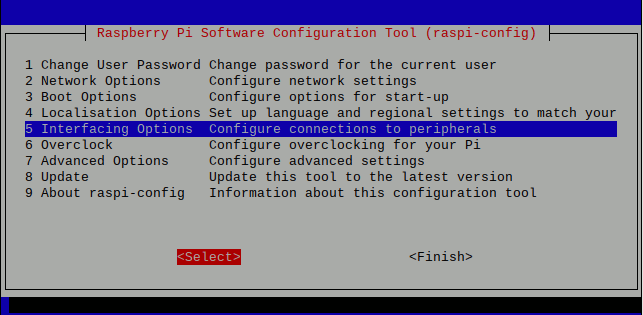
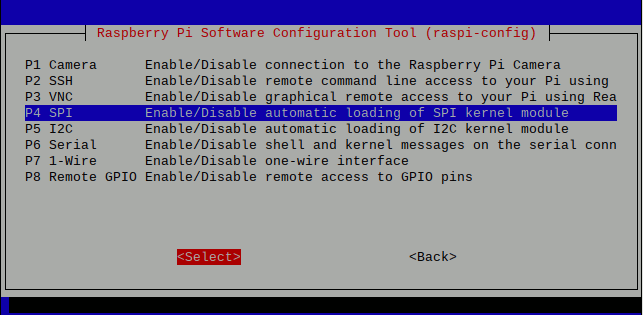
Next, select SPI:
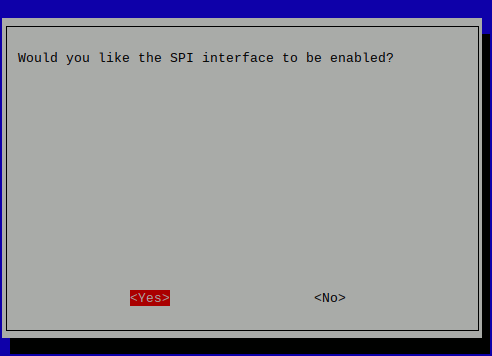
After that, raspi-config prompts for confirmation. Select Yes to confirm your selection:
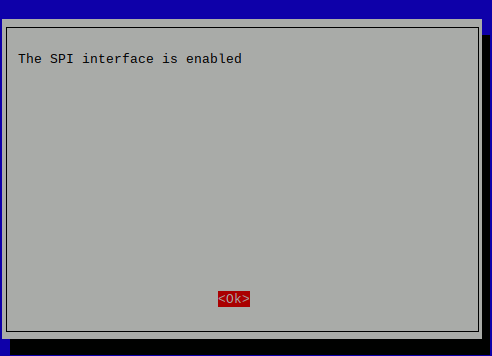
When you had done so, raspi-config informs you that SPI is configured:
After you had chose Ok, raspi-config brings you to the first screen. Select Finish to exit raspi-config: