How to capture images in the dark with the Raspberry Pi Infrared Camera Module from Seeed Studio
When I wanted to keep tabs on my corridor, I built a Raspberry Pi Zero W surveillance camera with MotionEye and Raspbian Lite.
After a while, I make my Raspberry Pi Zero W see an ultra-wide view by using one of the Fish Eye lens from a Camera Lens kits that I received as a gift.
Since then, I am able to have a wide angle view of my corridor as long as I have a browser with an Internet connection.
However, the same setup will not work for checking on my plants in the kitchen. If I am to snap some pictures after my LED growth lights are switched off, I will definitely get pitch black images.
So what kind of camera should my plant surveillance setup use? In order to capture images in the dark, I should look for a camera without the Infrared Filter - a NoIR Camera.
With this in mind, I head over to Seeed Studio and got myself the Raspberry Pi Infrared Camera Module.
Since Seeed Studio had provided me with a voucher for this purchase, I am able to minimize the cost of producing this article.
Thank you Seeed Studio!
Given that, let's see how we can capture images in the dark with the Raspberry Pi Infrared Camera Module.
Unboxing the Raspberry Pi Infrared Camera Module
The Raspberry Pi Infrared Camera Module came in a white box.

Inside the box, the Infrared camera is placed in an antistatic pack and the 2 IR LED bulbs are placed in another.
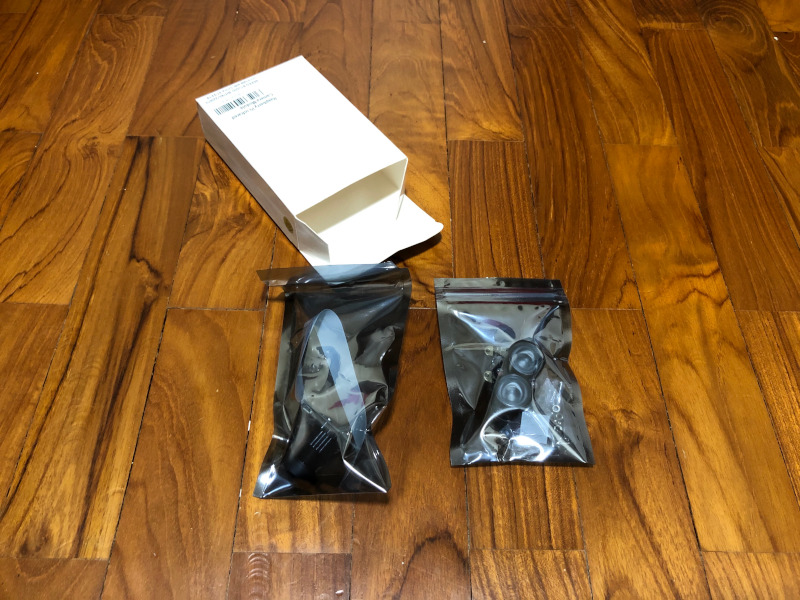
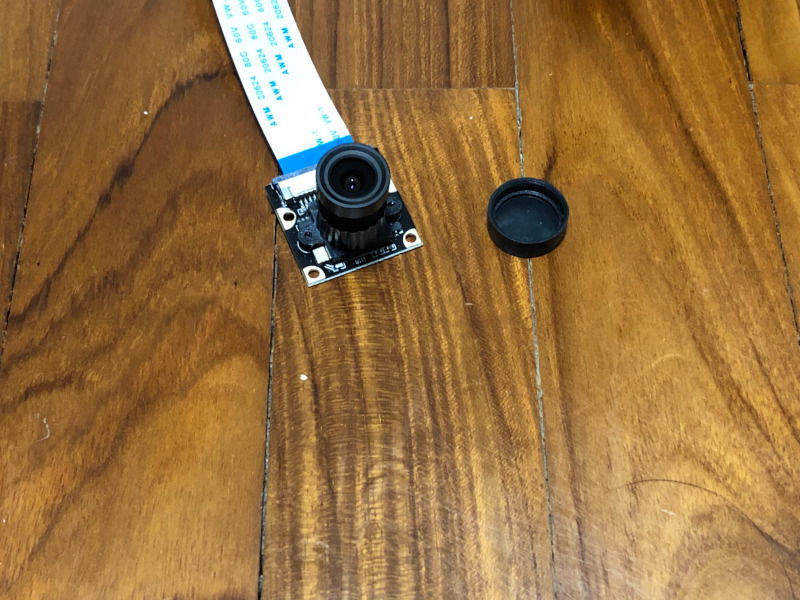
The camera also came with a cap.
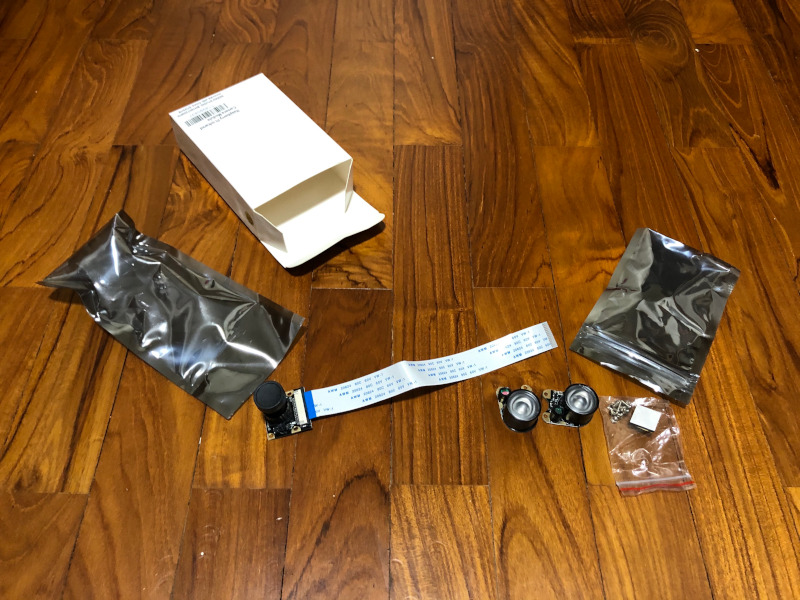
Parts to expect
If you are getting this camera, then you should expect the following parts:
- RPi Camera (F) × 1
- Infrared LED Board (B) × 2
- 15-pin FFC (opposite sides contact) × 1
- screw and nuts to attach Infrared LED Board to RPi Camera x 5
Key features of this camera module
The key features of thie camera module are as follows:
- Raspberry Pi Night Vision Camera which supports all revisions of Raspberry Pi
- 5 megapixel OV5647 sensor
- Camera specifications:
- CCD size : 1/4inch
- Aperture (F) : 1.8
- Focal Length : 3.6MM (adjustable)
- Diagonal : 75.7 degree
- Sensor best resolution : 1080p
- 4 screw holes used for attachment
- Provides 3.3V power output
- Supports connecting infrared LED and/or fill flash LED
- Dimension : 25mm x 24mm
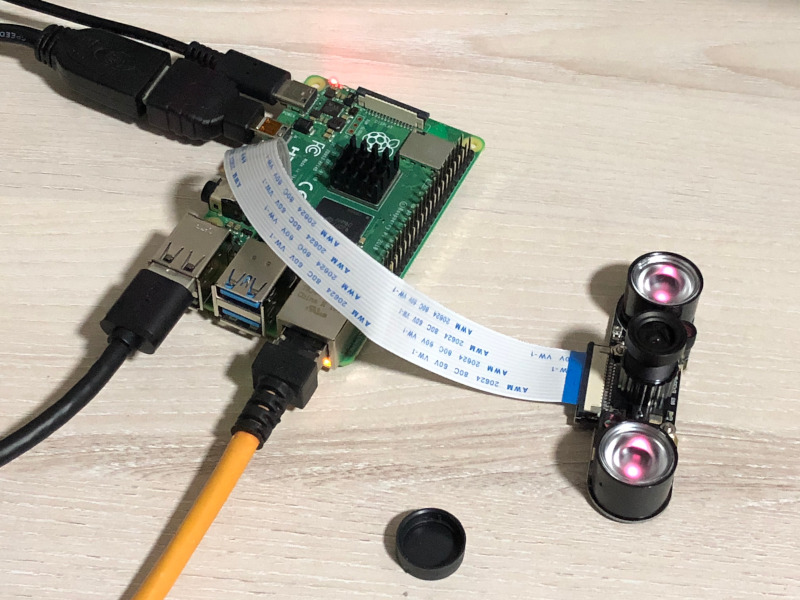
Assembling the IR LED Board to the camera module
After checking that you have all the required parts, proceed to attach the IR LED bulbs to the camera module.
Simply fasten the 4 nuts and screws like this:
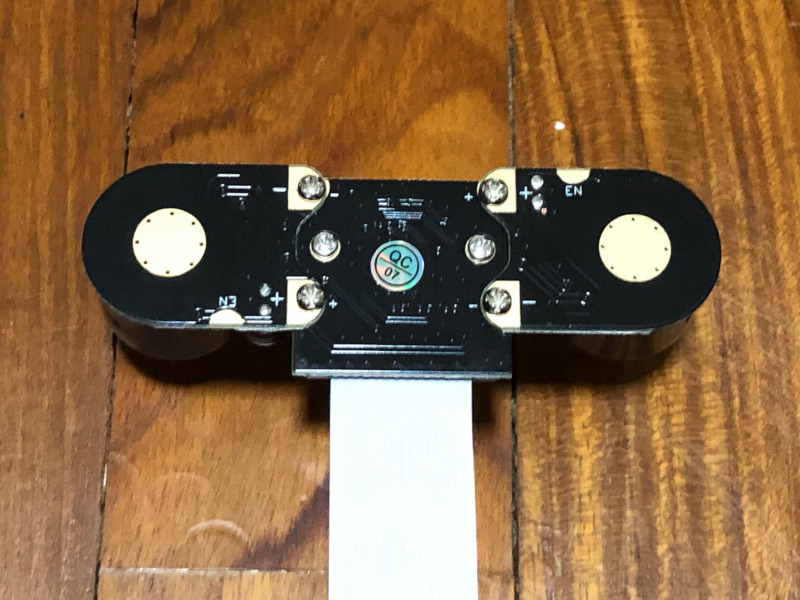
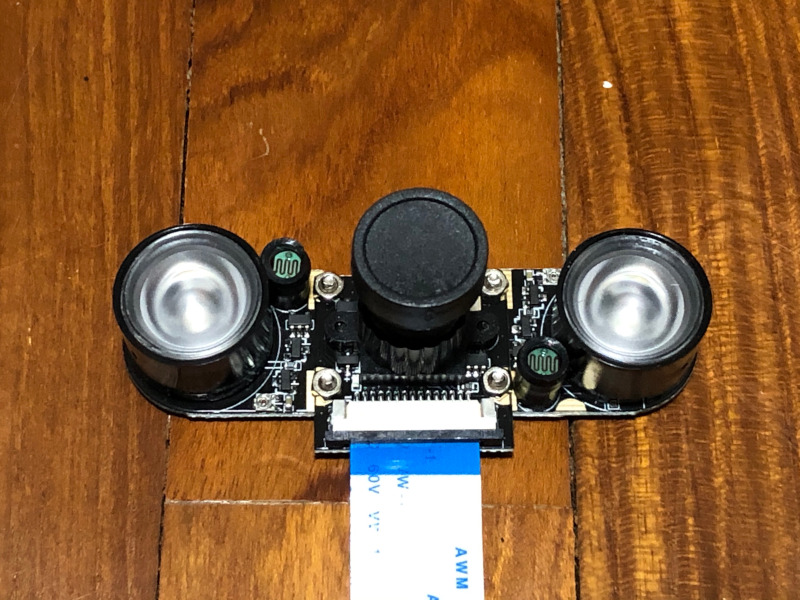
Since there are conductors on the IR LED bulbs and Camera Module where the screws are, the IR LED bulbs will be able to draw power when the Camera Module is connected to the Raspberry Pi.
Connecting the Raspberry Pi Infrared Camera Module to a Raspberry Pi
Since the Raspberry Pi Infrared Camera Module comes with the 15-Pin FFC ribbon, we can readily connect it to the Camera Serial Interface on Raspberry Pi 2/3/4 Model A+/B/B+. If you are using a Raspberry Pi 2/3/4, this is how you can connect the camera to your Raspberry Pi.
However, if you are connecting your Raspberry Pi Infrared Camera Module to a Raspberry Pi Zero or Pi Zero W, you will need to buy a separate Pi Zero Ribbon Cable Adapter. When you have the Pi Zero Ribbon Cable Adapter, you can then connect your camera by following the instructions mentioned in how to connect Raspberry Pi camera module to Raspberry Pi Zero W and the official case.
Setting up an operating system and enabling the Raspberry Pi Camera on your operating system
Once you have connected the Raspberry Pi Infrared Camera Module to a Raspberry Pi, the next step is to setup an operating system like Raspbian to run your Pi. After you had done so, you will also need to enable the Raspberry Pi Camera on your operating system
Enabling Raspberry Pi Camera on Raspbian Buster
For example, suppose that you had setup Raspbian Buster on a Raspberry Pi 4.
When you boot into Raspbian Buster, click on the Raspberry Pi icon at the top left corner and navigate to Preferences -> Raspberry Pi Configuration:
 .
.
Once the Raspberry Pi Configuration program starts, select the Interfaces tab. In the Interfaces tab, select the Enable option for the camera and click OK.
 .
.
After you had done so, Raspberry Pi Configurations will prompt you to restart your system:
 .
.
When you see that prompt, click Yes to reboot your Raspberry Pi.
Once your Raspberry Pi had rebooted, you may see the IR LED bulbs light up if the light sensors on the IR LED Board does not sense that the environment is not bright enough:
Testing out your Raspberry Pi Infrared Camera Module on Raspbian Buster
At this point in time, you can use the raspistill command line tool to test out your camera.
First, start a terminal program by clicking the terminal icon at the top:
![]()
After your terminal program loads up, enter the following command to take a picture:
raspistill -o test-image.jpg
When you do so, you should see a preview window that shows the camera feed. After a few seconds, the camera will capture an image and save it to test-image.jpg in the home directory.
Sample images from Raspberry Pi Infrared Camera Module
In case you are wondering how the images turn out to be, here are some sample images that I took with my Raspberry Pi Infrared Camera Module.
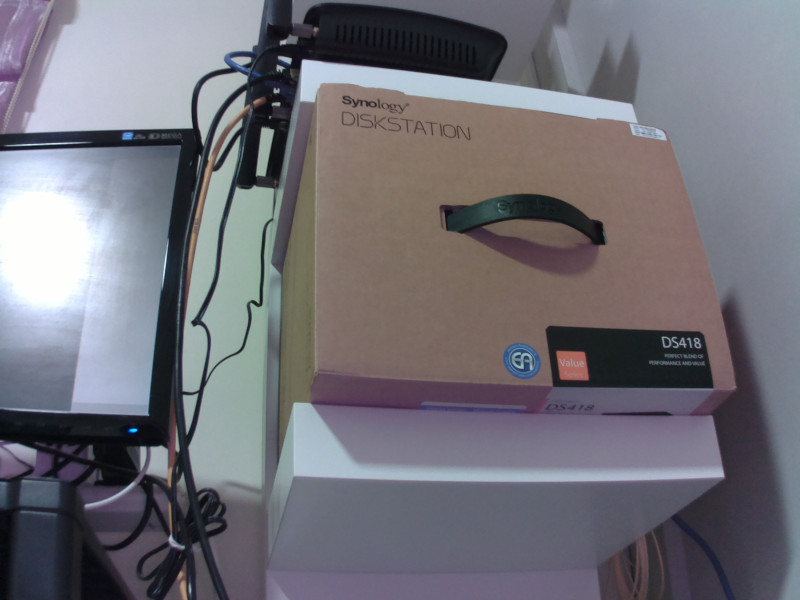
Sample image taken without IR LED bulbs in a well lighted room
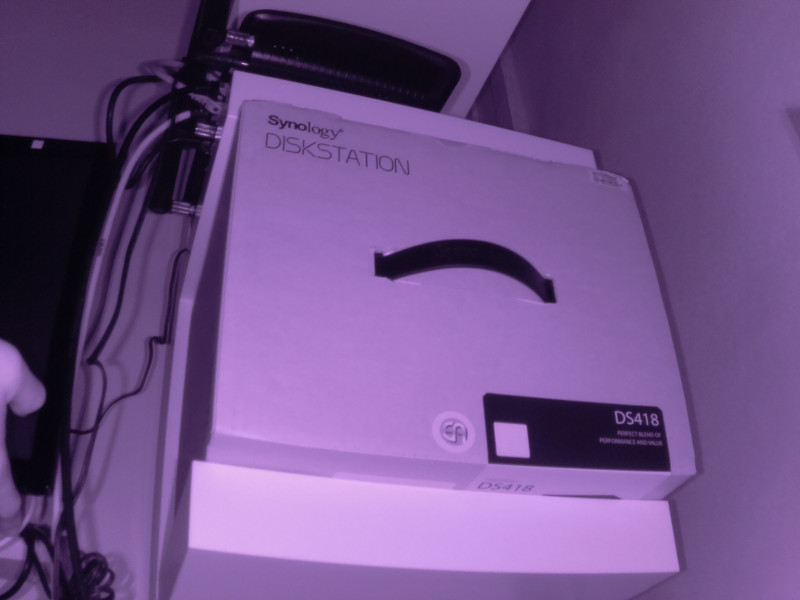
Sample image taken in a dark room without IR LED bulbs

Sample image taken in a dark room with IR LED bulbs
Summing up
In this post, we saw how we can use the Raspberry Pi Infrared Camera Module to take pictures in the dark.
The camera alone was able to capture images in the dark room. This could probably be due to the router (above the Synology DS418 box) emitting some heat waves.
After we had attached the IR LED board, we can see a clearer picture of the dark room.