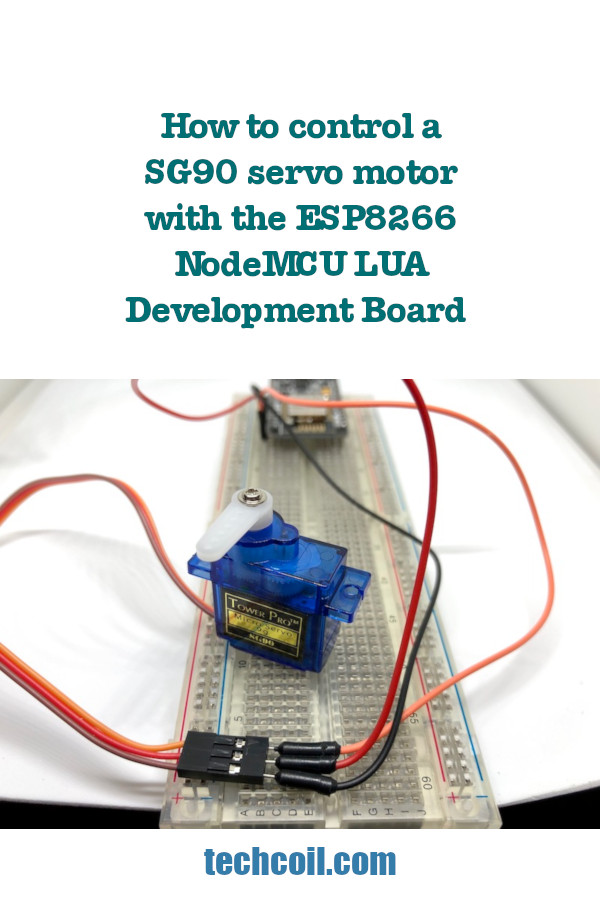
How to control a SG90 servo motor with the ESP8266 NodeMCU LUA Development Board
When you are looking to operate remote-controlled or radio-controlled toy cars, robots and airplanes, you will need to use servo motors.
Since the ESP8266 NodeMCU LUA Development Board is cost efficient for IOT solutions, it can be used for controlling servo motors.
So how can we control a servo motor with the ESP8266 NodeMCU LUA Development Board?
This post discusses how we can control the SG90 servo motor, with the ESP8266 NodeMCU LUA Development Board.
How to connect the SG90 servo motor to the ESP8266 NodeMCU LUA Development Board
First, let us look at how we can connect the SG90 servo motor to the ESP8266 NodeMCU LUA Development Board.
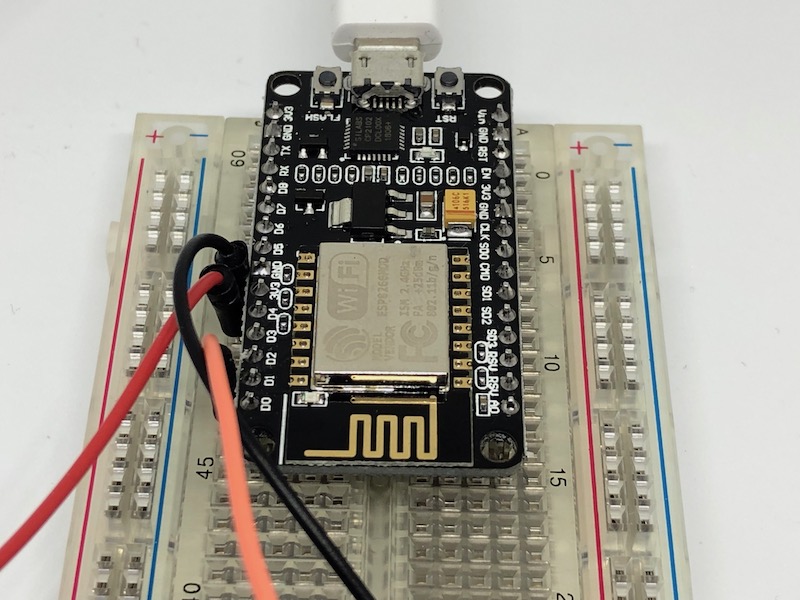
As shown above, we first seat the ESP8266 development board onto a breadboard. Next to the development board, we use three male to male jumper wires:
- The red one connects to a 3v3 port.
- The black one connects to a Gnd port.
- The orange one connects to the D1 port.
Once we had connected the wires onto the breadboard, we then connect them to the SG90 servo motor in the following manner:
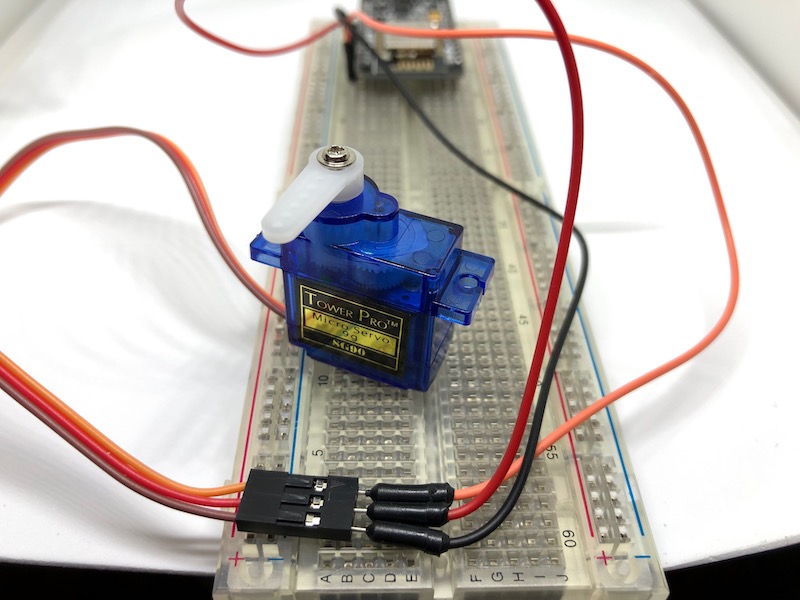
After we have connected the hardware in this way, we will be able to control the servo motor from the board.
Enabling ESP8266 Development on Arduino IDE
At this point in time, we are ready to get our mini program into the ESP8266 board to control the servo motor. In order to do so, we need to use a tool to write our program into the flash memory of the development board.
Since it is easy to write code and flash programs with Arduino IDE, we can use it to serve our purpose.
In order to use Arduino IDE for this guide, be sure to enable ESP8266 development on Arduino IDE before continuing.
Writing the Arduino Sketch to get ESP8266 NodeMCU LUA Development Board turn the servo motor
In order to understand how to control our servo motor, let's take a look at the following Arduino Sketch:
#include <Servo.h>

Servo servo;

void setup() {
    servo.attach(D1);
    servo.write(0);
    delay(2000);
}

void loop() {
    servo.write(0);
    delay(3000);
    servo.write(90);
    delay(3000);
    servo.write(180);
    delay(3000);
}
So what will the above codes do to our servo motor?
First, we included the Servo library into the sketch.
After we had done so, we create a Servo object from the library. When we had created a Servo object, we will be able to work on it inside the setup and loop functions. The setup() function will be run once and the loop() function will be run until power is cut off from the board.
Within the setup function, we first attach the servo to D1, a predefined constant for the D1 port, via the Servo.attach() function. By doing so, we will be able to control the servo which is attached to D1 port of the board. We then turn the servo motor to 0 degrees via Servo.write() and make the program wait for 2 seconds.
Within the loop function, we repeatedly turn the servo motor to 0, 90 and 180 degrees. Before making each turn, we make the program wait for 3 seconds.