How to capture the Northern Lights with an entry level DSLR
My most recent trip to the Aurora Village, Ivalo was a very fruitful one. My wife and I were able to experience what we had wanted to experience - Finnish Christmas Festival, the snow, the starry nights and the Northern Lights or Aurora Borealis.
Prior to taking the trip, I had been pondering over whether to get a Canon EOS 5D Mark IV or stick with my old Canon EOS Rebel T1i to capture the Northern Lights.
Lucky for my wallet, I was able to procrastinate long enough to avoid adding another three grand to our travel expenses. An entry level DSLR like the Canon EOS Rebel T1i or Canon EOS Rebel T5i is capable enough to help ordinary folks like us capture blessings from the northern skies.
If you are also chasing the Northern Lights with an entry level DSLR, here are some tips for you.
Download the My Aurora Forecast & Alerts app
Before you leave your home country for the Northern Lights, remember to install the My Aurora Forecast & Alerts app. The Aurora Map feature of the app is very useful for timing when to point your camera at the sky. It also features the best locations for viewing the Northern Lights and a gallery of Aurora Borealis photo uploaded by others.
The app is available for both iOS and Android users.
Book your stay with a cabin or igloo for the best viewing experience
Northern Lights appear in the skies of the Arctic Circle. As such, the temperature could get really cold, especially in the night. The heater facilities of a cabin or igloo not only ensure that you can enjoy the Northern Lights without the baggage of thick winter clothing, but also keep your battery level of your DSLR from dropping rapidly.
In addition, with a DSLR spare battery and the power outlet of your Cabin or Igloo, you can take as many photos as you like without running out of battery juice.
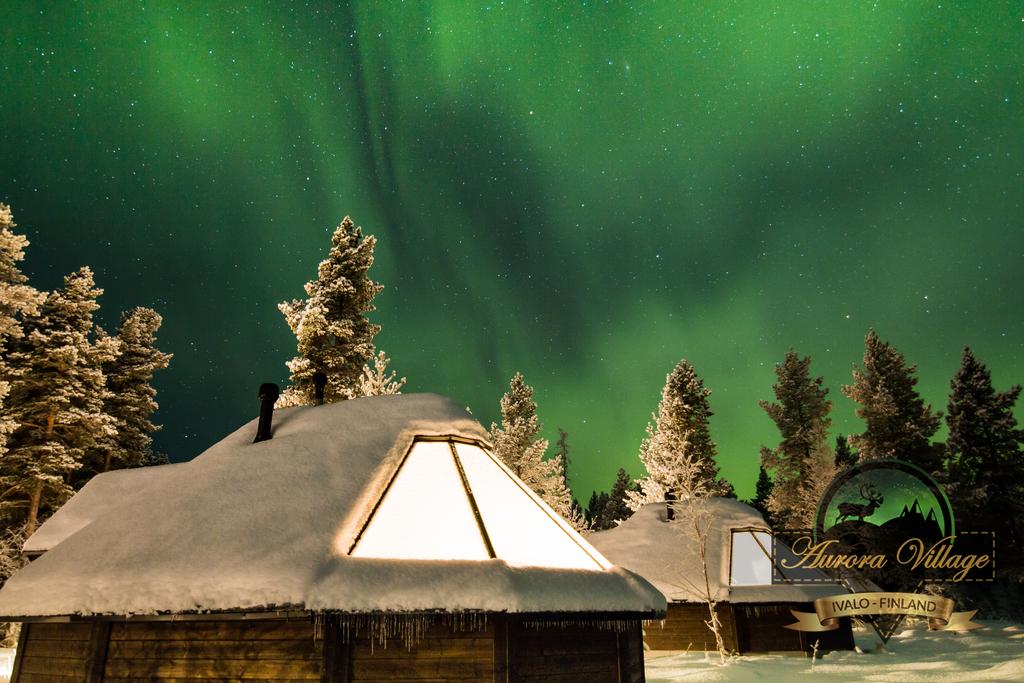
If you are planning to watch the Northern Lights from Finland, I strongly recommend that you book your stay with Aurora Village Ivalo.
An image from Aurora Village:
If you intend to capture the Northern Lights while camping along a lake or river, you may want to consider bringing along extra batteries. If you are using Canon Rebel T5i, T4i, T3i or T2i, consider bringing along the Powerextra 4 pack Replacement Canon LP-E8 Battery.
Get a remote control to control your DLSR without touching it
When you are capturing the Northern Lights with your DSLR, you will want to avoid touching the camera as that will create blurry images.
With a wireless remote control like the Canon RC6, you can release and close the shutter without any surface contact with your camera.
Or even better: Get a timer remote control to automate the capturing of Northern Lights
A normal remote control lets you decide when to release and close the shutter of your camera. After you get a good gist of the shutter timing, you may want to automate the capturing of Northern Lights.
To do that, you will want to bring along a timer remote control or intervalometer. Be sure to get one that is compatible with your DSLR. For example, the Neewer LCD Timer Shutter Release Remote Control for Canon 700D/T5i will not work on a Canon EOS 5D Mark IV.
Bring along a wide angle lens
A wide angle lens allows you to capture a wider field of view without moving too far away from your photography subject.
If you intend to capture the Northern Lights from within your cabin, a wide angle lens will be very useful as spacing in your cabin could be quite restrictive.
Look to the north
There are moments where the Northern Lights don't cover the entire sky, that's why you will want to look to the north to catch its entrance from behind the trees or mountains.
A cabin is positioned such that its glass panels are facing the north. Simply look out of the glass panels while waiting for the Northern Lights to appear.
If you are not getting a cabin, be sure to have a compass with you to get the direction right.
Setup your camera on a tripod while waiting for the lights
A camera tripod like the Mactrem PT55 Travel Camera Tripod keeps your DSLR camera steady at your desired angle of photo shooting.
And since the Northern Lights could appear for a just a while, it is tactical to set up your DSLR camera on the tripod while waiting for the lights to appear.
When the Northern Lights appear, you can simply use the remote control to release and close the camera shutter while you enjoy the magnificent view.
Switch off all lights in your cabin
When you are capturing the Northern Lights from within your cabin, make sure that you switch off all the lights in your cabin as the glass panel could reflect unwanted lights to your camera lens. Also try to cover up any light sources from the wall sockets, your smart phone display and the LED indicators from your DSLR camera.
Considering bringing along some masking tapes to cover up LED indicators that you cannot turn off.
Set your camera lens to manual focus
As there is not much light for the camera lens to perform auto focus, the shutter release will not work when your camera lens is set to auto focus. As such, we need to tell our camera to take the backseat when it comes to focusing our lens at night.
Use auto focus with your camera lens in the day to help focus your lens at the sky. This will ensure that when night falls, you will have a good focus at the sky for capturing the Northern Lights.
Use an aperture of f/2.8 to f/4
We want as much Northern Lights to enter our lens to craft beautiful Aurora Borealis images. As such an aperture of f/2.8 to f/4 is recommended.
A higher f-stop value will result in longer exposure time for the lens. We could either become impatient for the wait, or capture too much variations happening in the skies that we see large patches of colours instead of "dancing" lights.
Use an ISO 400 or ISO 800 for sensitivity of the image sensor
The higher the ISO number, the grainer the images of Aurora Borealis. A good ISO to set for your DSLR is ISO 400 or ISO 800. A larger ISO number will reduce the exposure time needed for the lens to capture the Northern Lights.
Use bulb mode to capture the Northern Lights
The shutter priority mode only provides up to 30 seconds of exposure time, which is not enough for the camera to capture a decent image of the Northern Lights.
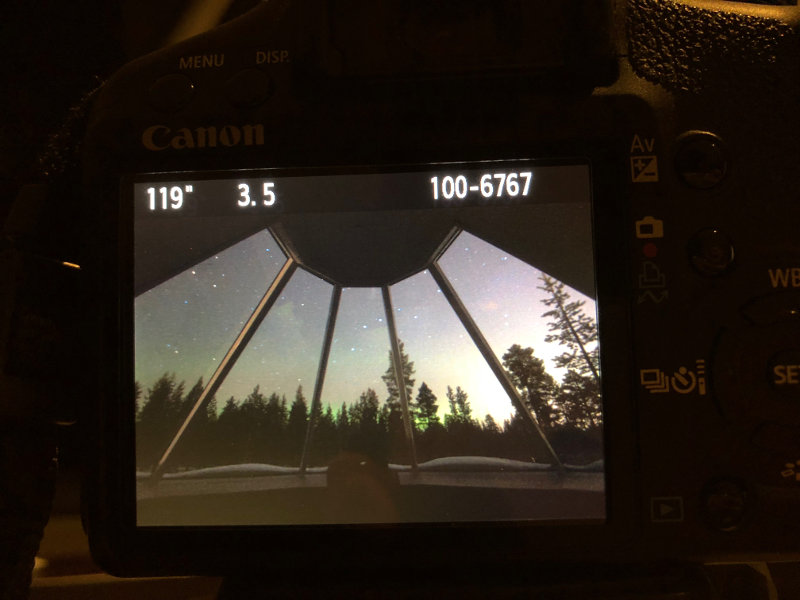
Switch your camera to manual mode and turn on bulb mode for longer exposure time. DSLR cameras set to bulb mode require two clicks to craft an image. The first click of the remote opens up the shutter, while the second closes the shutter and generates an image.
An exposure time of 60 to 120 seconds is good for camera configurations of f/3.5 and ISO 400.