How I created my own USB powered LED nightlight
If you wish to avoid tripping in a very dark room while not affecting sleep quality, then you can use a nightlight to succinctly lit up a portion of your room.
While there are many nightlight variations out there, it can be a meaningful exercise to try to create your own out of items that you already own or have in the house.
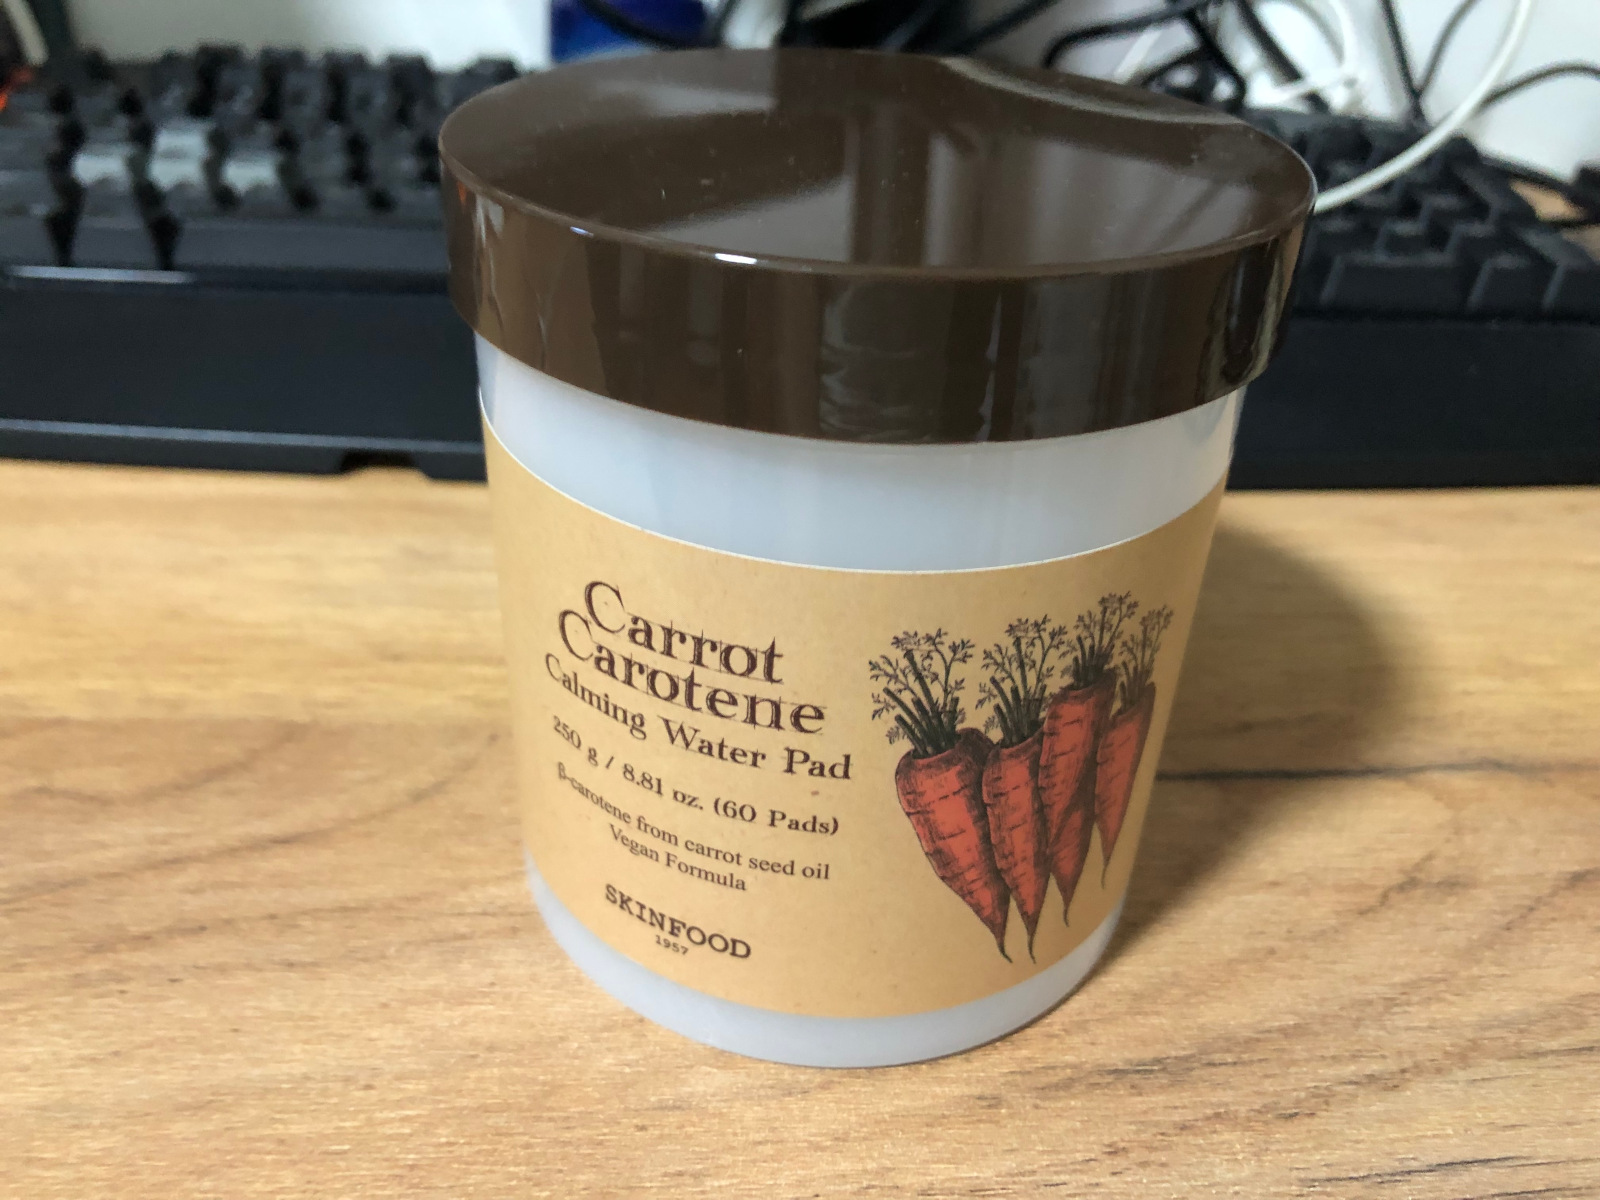
For example, instead of throwing away the Carrot Carotene Calming Water Pad container after the water pads ran out, I used it to create my nightlight.
Since it is translucent, this container can help dim the lights coming from the naked 5V Warm white LED light strip.
Given that, let us take a look at how I made use of the items that I already have to create a USB powered LED nightlight.
With some level of variations, you should be able to make your own USB powered LED nightlight too.
Parts and tools
The following is a list of parts and tools that I had used in making my own USB powered LED nightlight.
- USB 2.0 type A pin plug
- 2 conductor cable
- Inline cord switch
- Soldering iron
- Automatic wire stripping tool
- Scissors
- Solder Wire
- Glue gun
- Empty Carrot Carotene Calming Water Pad container
- 5V Warm white LED light strip
Previous references
In order to make this post short and simple, I had omitted some details on:
- How to make your own USB powered LED lights
- How to add an inline cord switch onto the cable of a USB powered device
In case you need more details on certain part of this post, feel free to reference the above posts.
Steps that I took to create my own USB powered LED nightlight
Once I had gathered the parts and equipments, I proceeded to make my own USB powered LED nightlight.
1. Prepare the translucent container to hold the 5V Warm white LED light strip
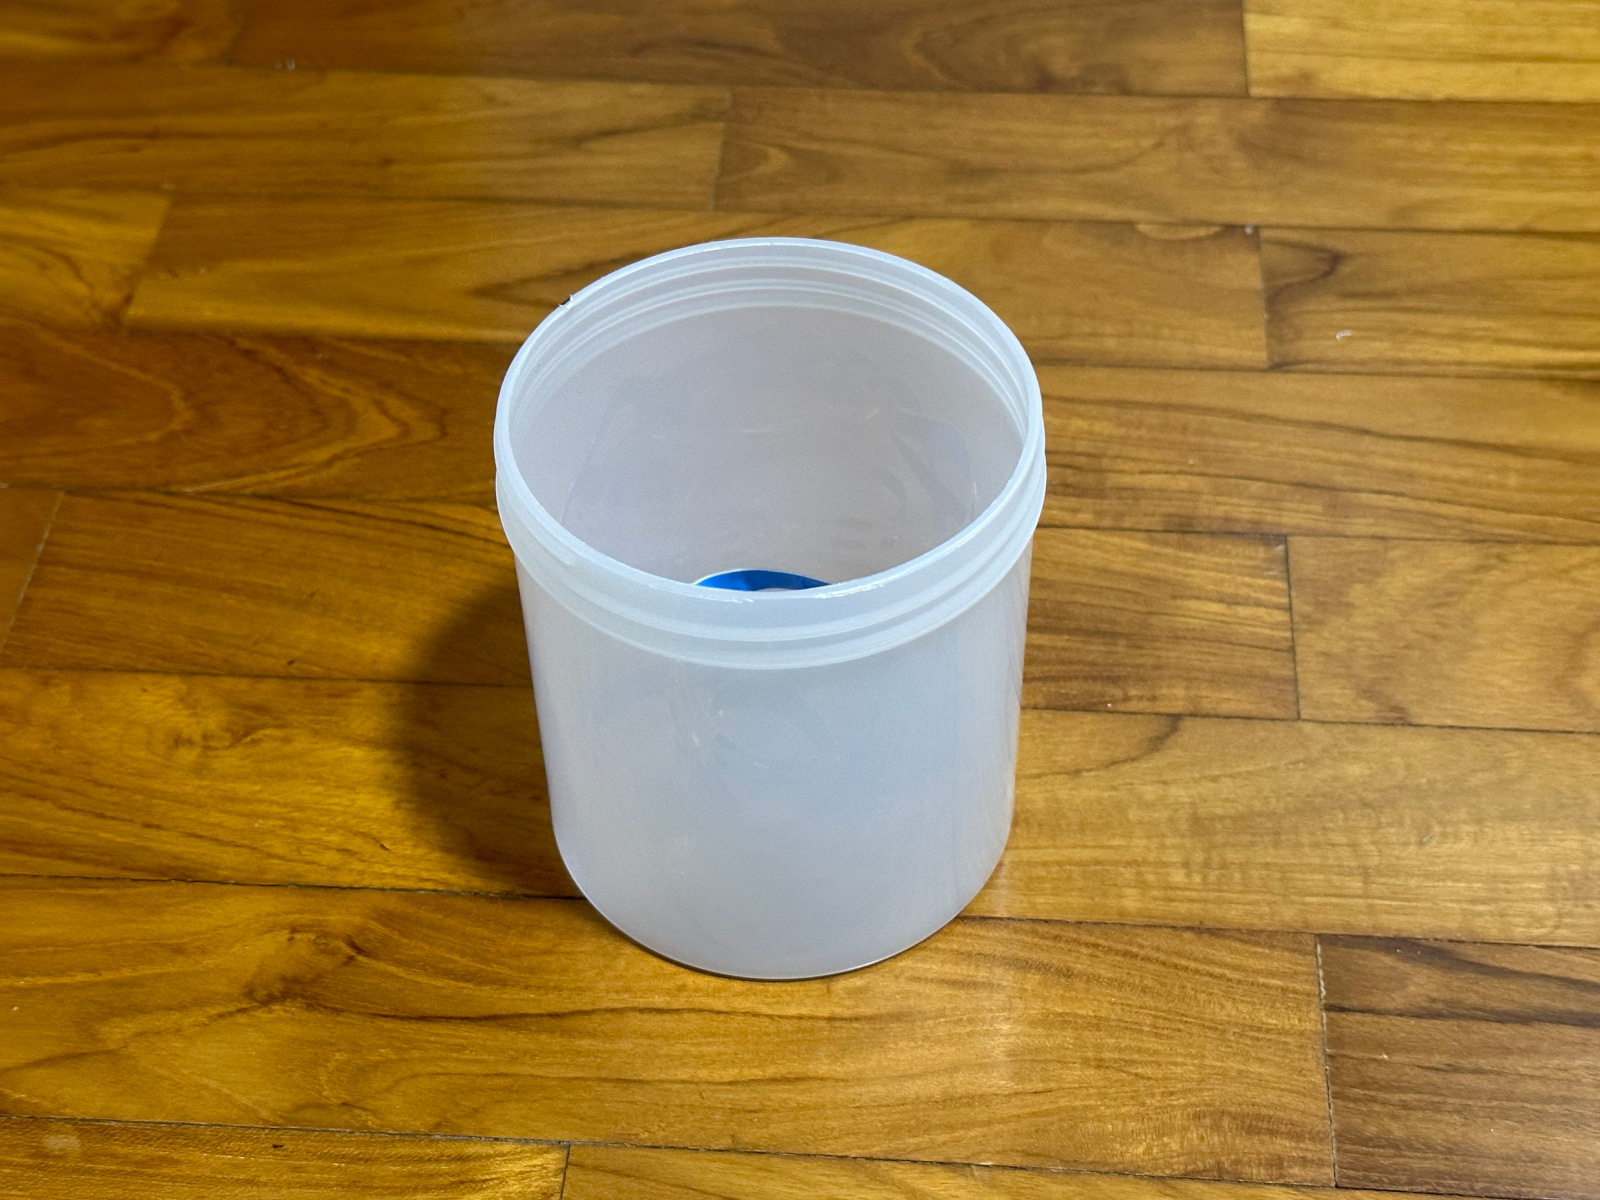
First, I washed the Carrot Carotene Calming Water Pad container.
After wiping the container dry, I peeled away the label.
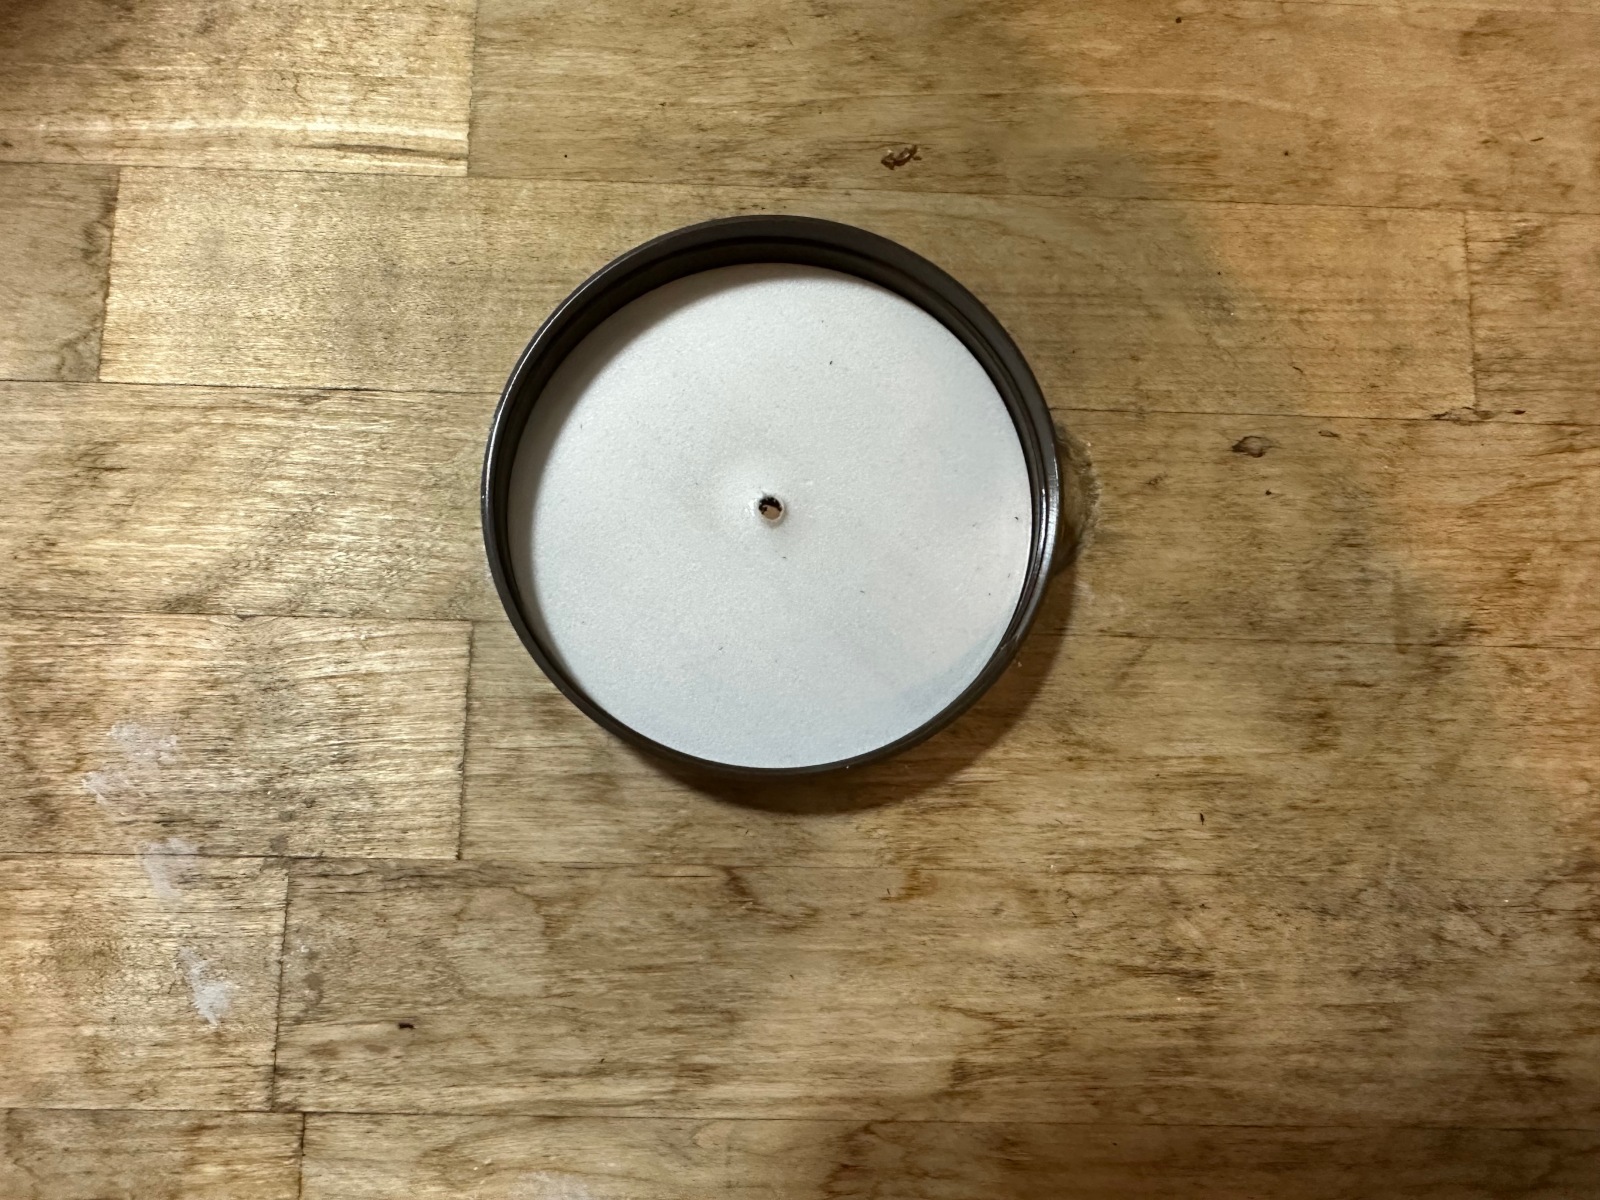
Next up is some work on the lid of the container. I used my drill to drill a hole on the lid of the container for the 2 conductor wire to run through. If you don't have a drill and your lid is made of plastic, then you can try to use the soldering iron to create a hole for the cable.
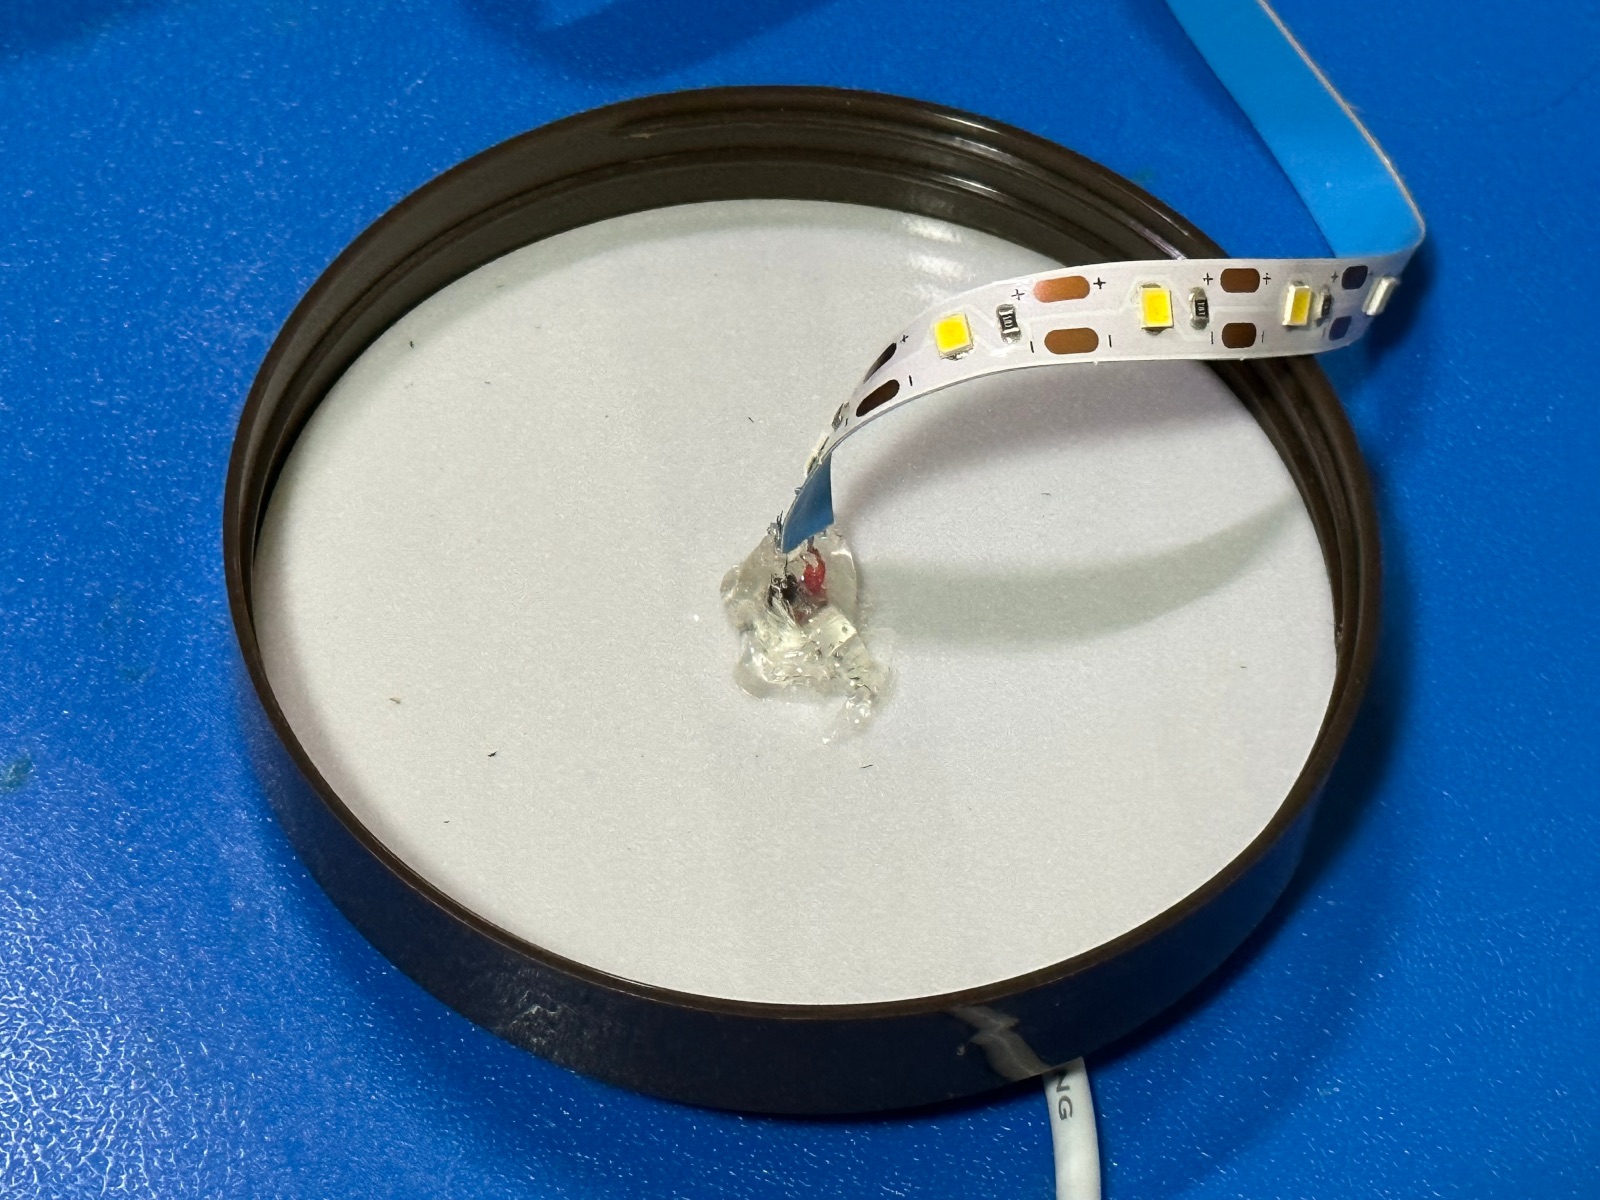
2. Solder one end of the wire to the 5V Warm white LED light strip
Once I had prepared the container and lid, I proceeded with the soldering of one end of the wire to the 5V Warm white LED light strip.
After that, I pushed one end of the cable through the hole of the lid.

Once the cable is through the hole that, I cut out a good portion of the 5V warm white LED for the lighting and soldered it to the wires on the cable.
Right after that, I used a glue gun to apply some glue to hold the wire to the lid.
3. Add an inline cord switch onto the cable of my USB powered LED nightlight
I also added an inline cord switch onto the cable of my USB powered LED nightlight to make it convenient for me to turn on my nightlight.
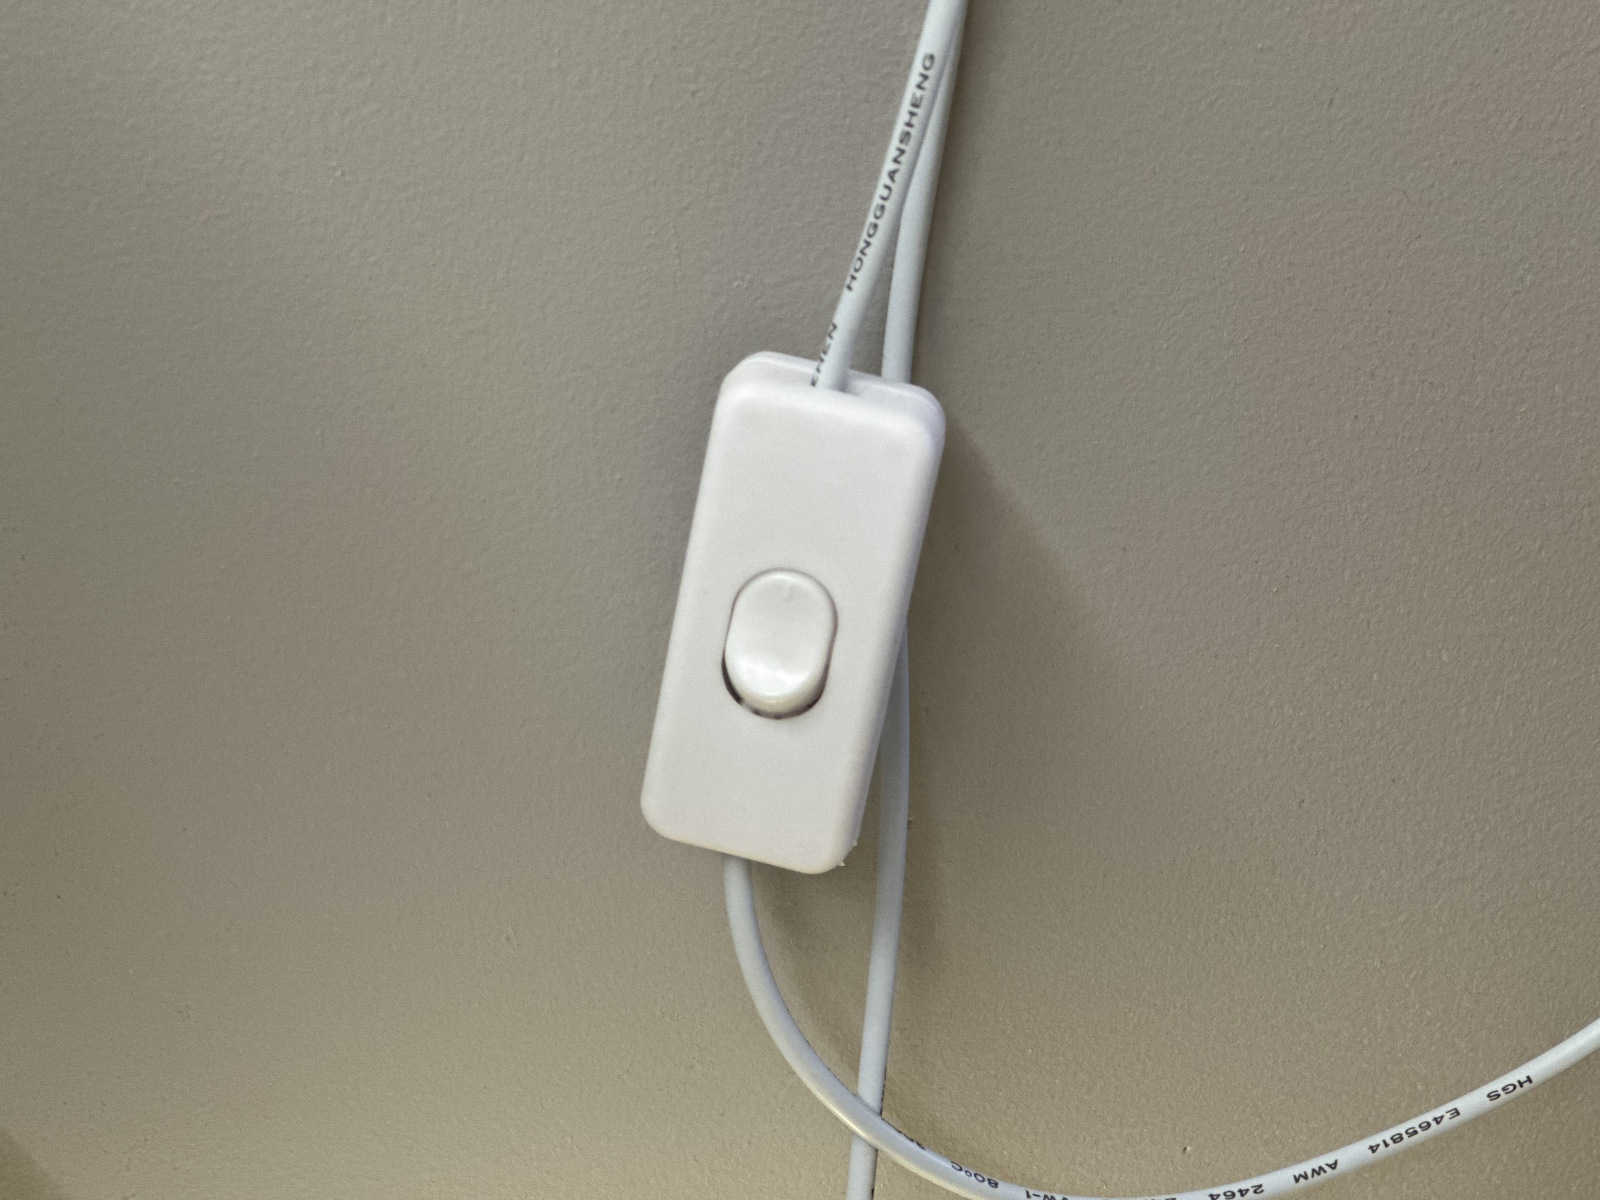
If your power socket is reachable at your convenience, you may skip this step.
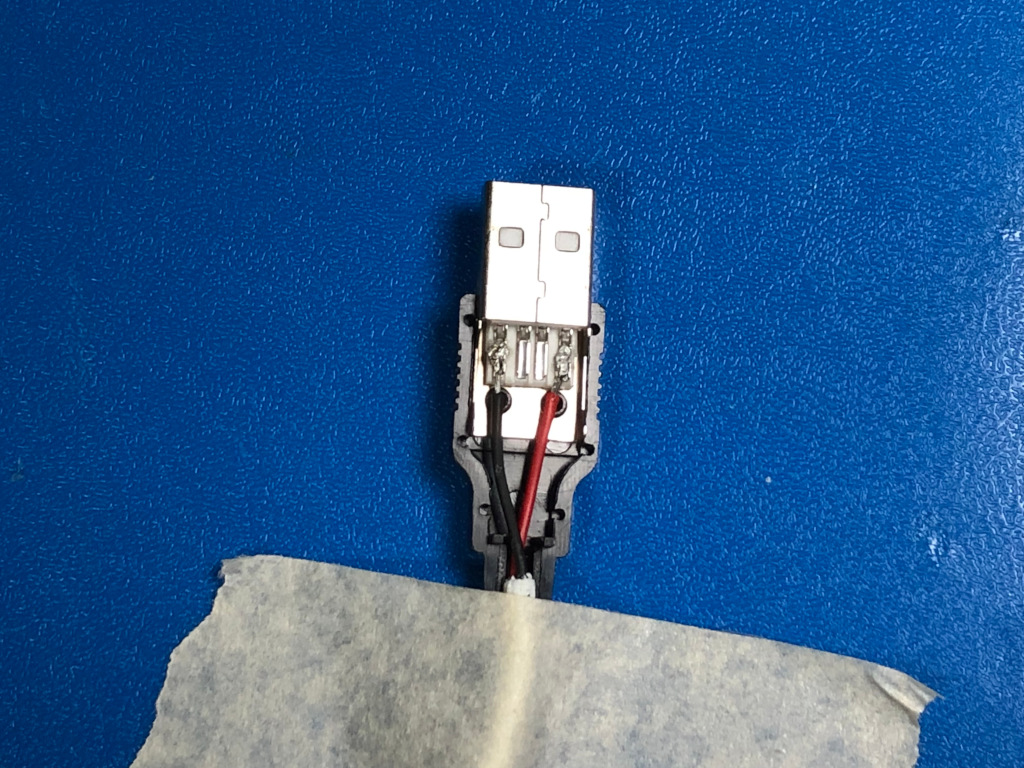
4. Solder the other end of the cable to USB 2.0 type A pin plug
After attaching the inline cord switch to my cable, I completed the circuitry by soldering a USB 2.0 type A pin plug to the other end of the cable.
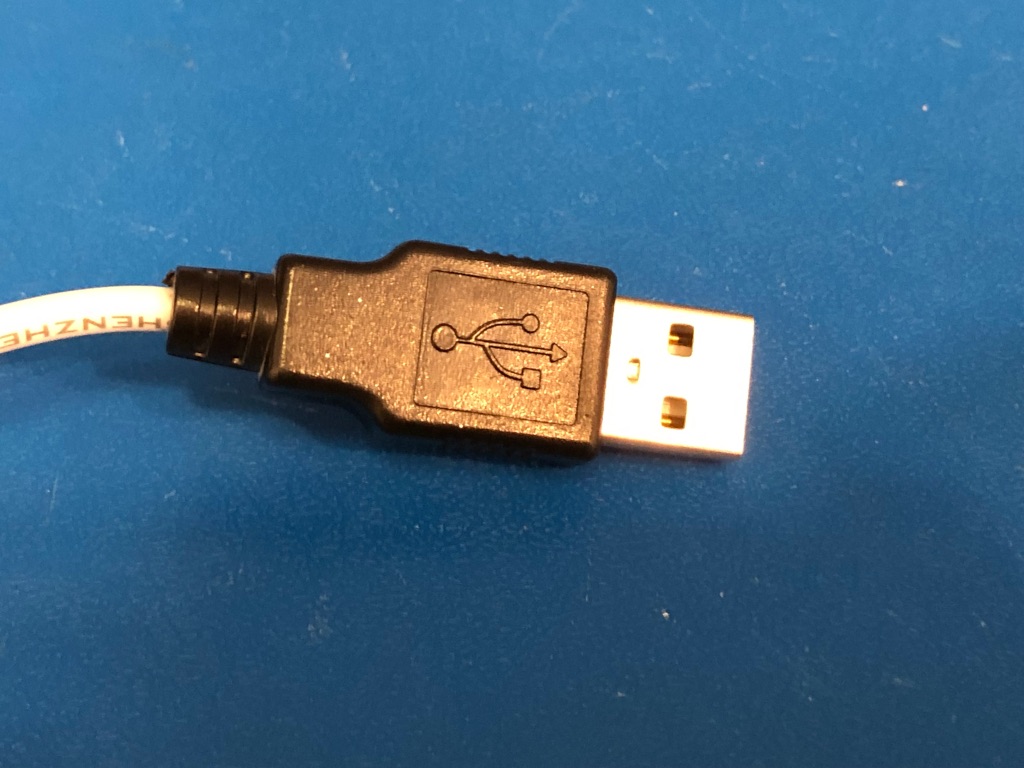
Once I am done with that, I covered up the USB type A male pin plug with the other side of the plastic cover.
5. Fasten the lid to the container
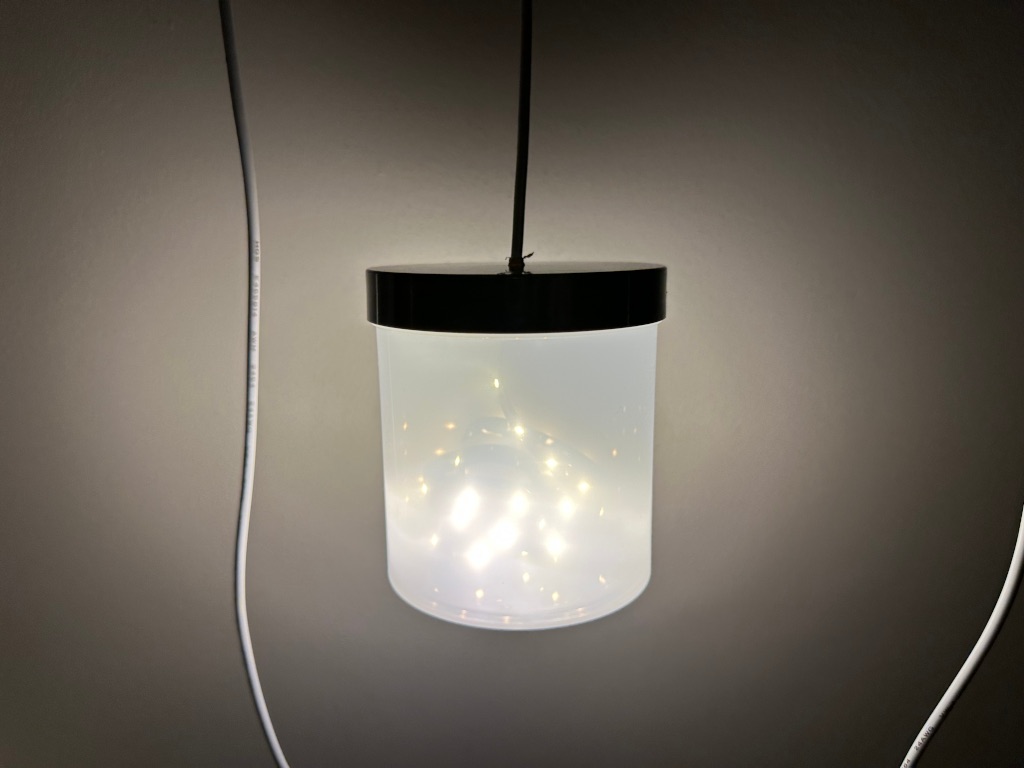
Finally, I fastened the lid to the container to complete the project.
Given that, this is how my nightlight looks like when I switched it on.